![]()
Tutorials
How to construct a 3D model from scratch?
You have: a secondary structure.
You want: a tertiary structure.
Using an RNA secondary structure as a guide, Assemble2 allows you to construct an RNA 3D model by exporting and assembling 3D fragments into the 3D viewer UCSF Chimera.
First, be sure to have the program UCSF Chimera connected to Assemble2. First you need to record the absolute path for the Chimera executable:
- either at the first launch of Assemble2 (a window will popup to set the path for the executable of Chimera),
- or from the menu "File -> Configure... -> Assemble2" (see here for details).
- when you start Assemble2
- by clicking on
 (see here for details)
In this tutorial, we will construct an RNA 3D model based on a secondary structure computed from the sample file named "to_model_from_scratch.fasta" (available in the folder samples/molecules provided with Assemble2). Before to start the construction of the 3D model, you have to know some fundamental rules:
- you always have to start your model with an helix,
- for all the subsequent 3D fragments, you will need to have at least one residue in common between the 3D model displayed in Chimera and the new 3D fragment to be created. Assemble2 will use these "sticky" residues to clip the 3D fragment to the current 3D model.
- to avoid duplicates, newest residues will always replace previous ones.
- creation of a first helix,
- creation of a single-strand/junction linked to this helix ("sticky" residues for the next helices will be automatically created),
- creation of a new helix connected to this single-strand/junction,
- and so on...
| You want to create... | You need to... | In Chimera, you should have... |
|---|---|---|
| An helix | select an helix in the main panel and click on  | No prerequisites if it is the first one. If not, you need at least one "sticky" residue directly downstream or upstream of the helix. Single-strands and junctions create such "sticky" residues automatically. |
| A single-strand extracted from a solved 3D structure | select a single-strand in the main panel, select a 3D fragment in the lateral panel "3D folds" and click on | You need a "sticky" residue directly upstream of the single-strand. |
| A single-strand with a regular helical fold | select a single-strand in the main panel and click on | You need a "sticky" residue directly upstream of the single-strand. |
| A junction extracted from a solved 3D structure | select a junction in the main panel, select a 3D fragment in the lateral panel "3D folds" and click on | You need at least one "sticky" residue directly downstream or upstream of the junction. |
| A base-pair | select a base-pair in the main panel and click on | The two residues making the base-pair need to be already present in the 3D scene. Assemble2 will substitute them with the new base-pair. |
| A single residue | select a single residue in the main panel and click on | The upstream residue has to be already present in the 3D scene. |
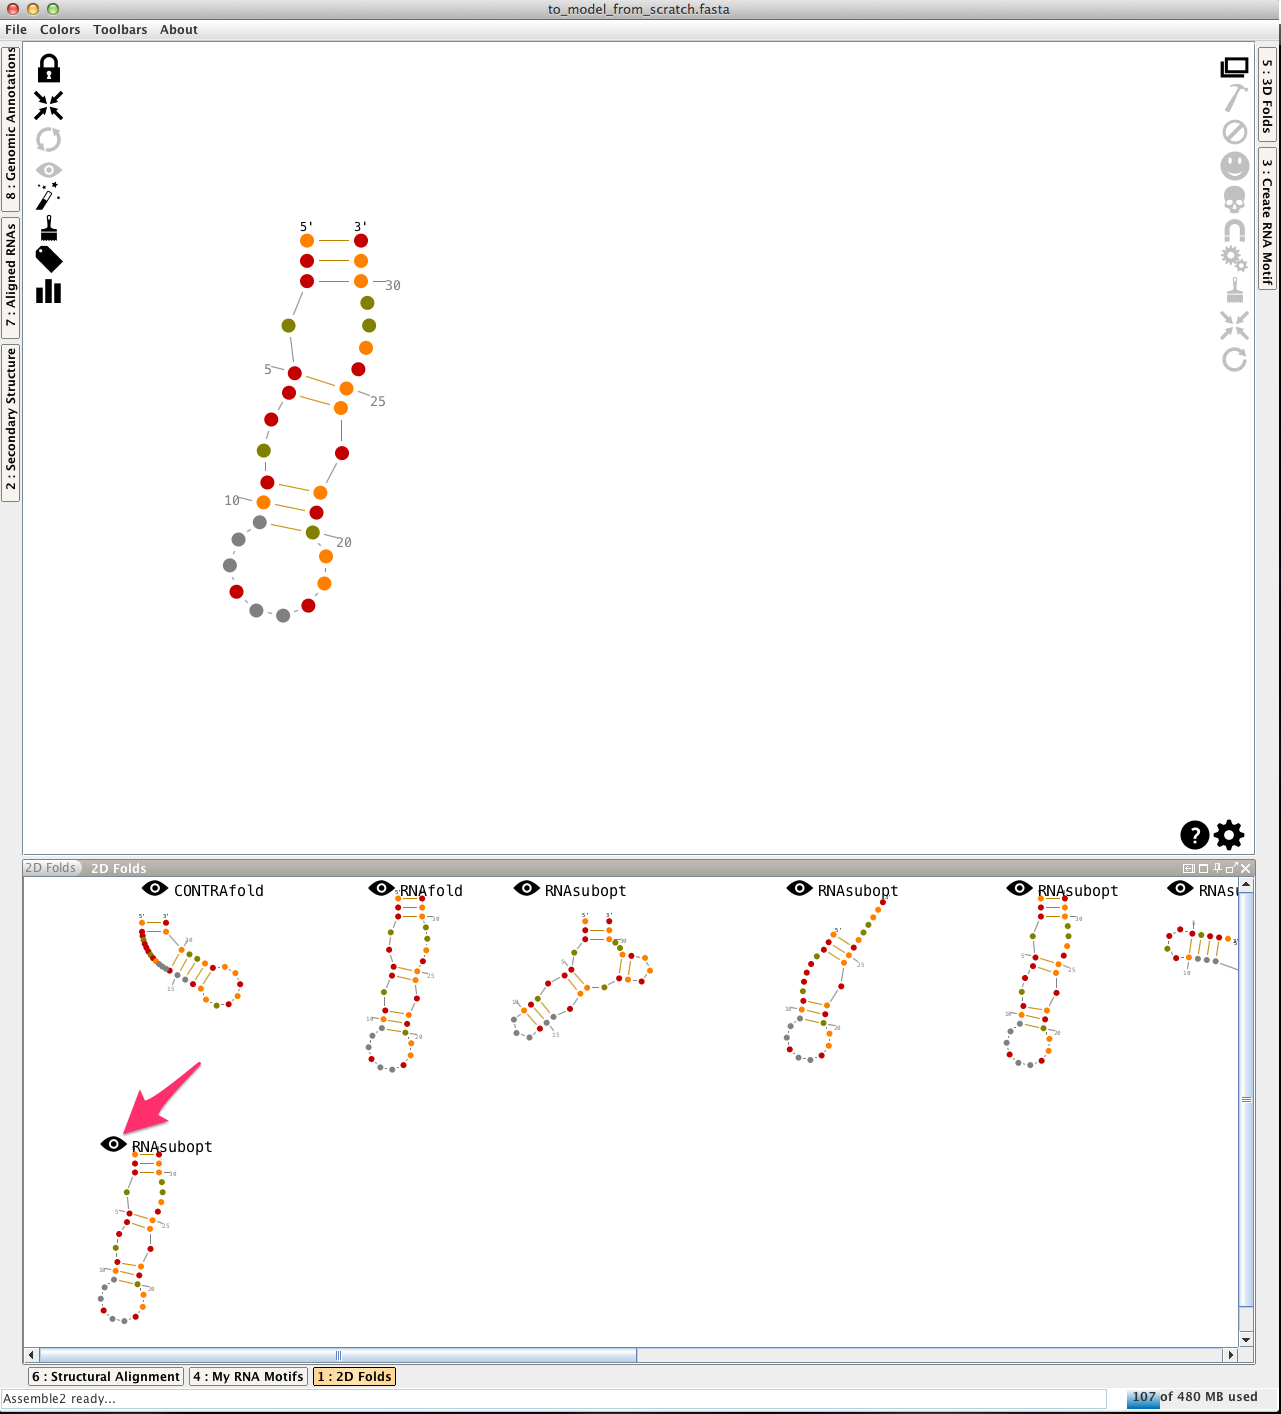
Open the file "to_model_from_scratch.fasta", and choose a 2D prediction from the lateral panel named "2D folds":
In the main panel, choose an helix by clicking three times on one of its residues:

Click on
to create its 3D fold in Chimera: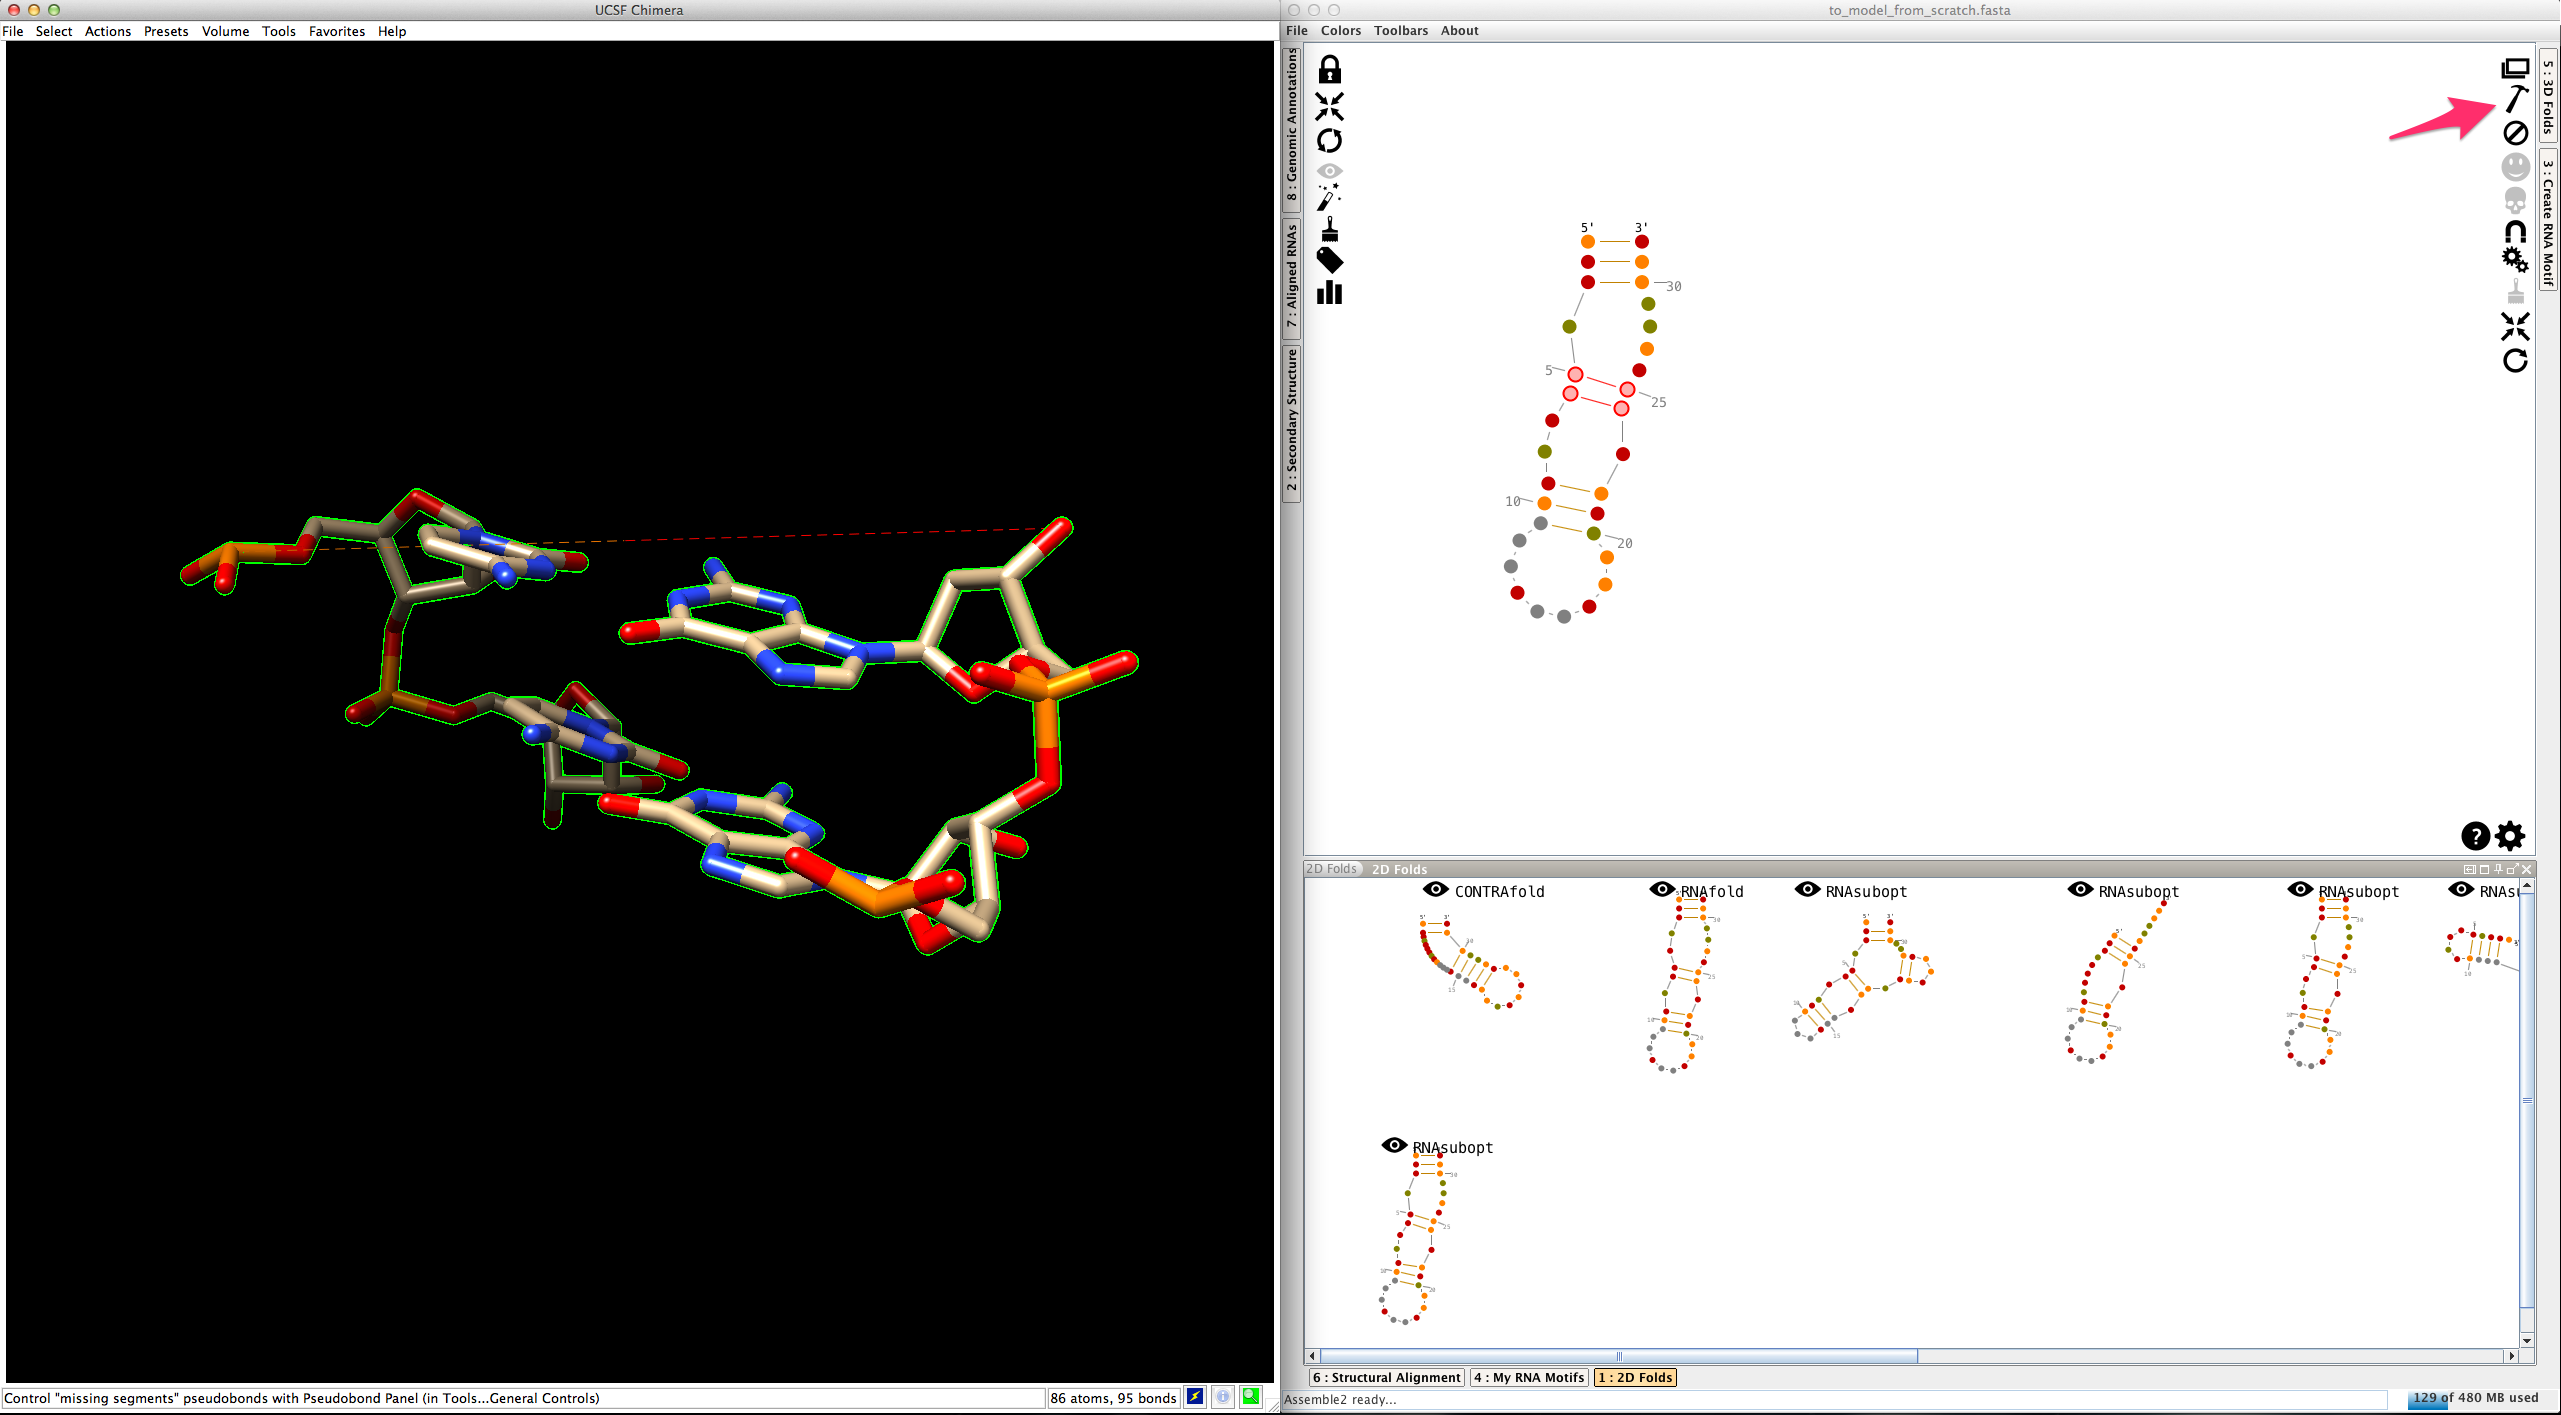
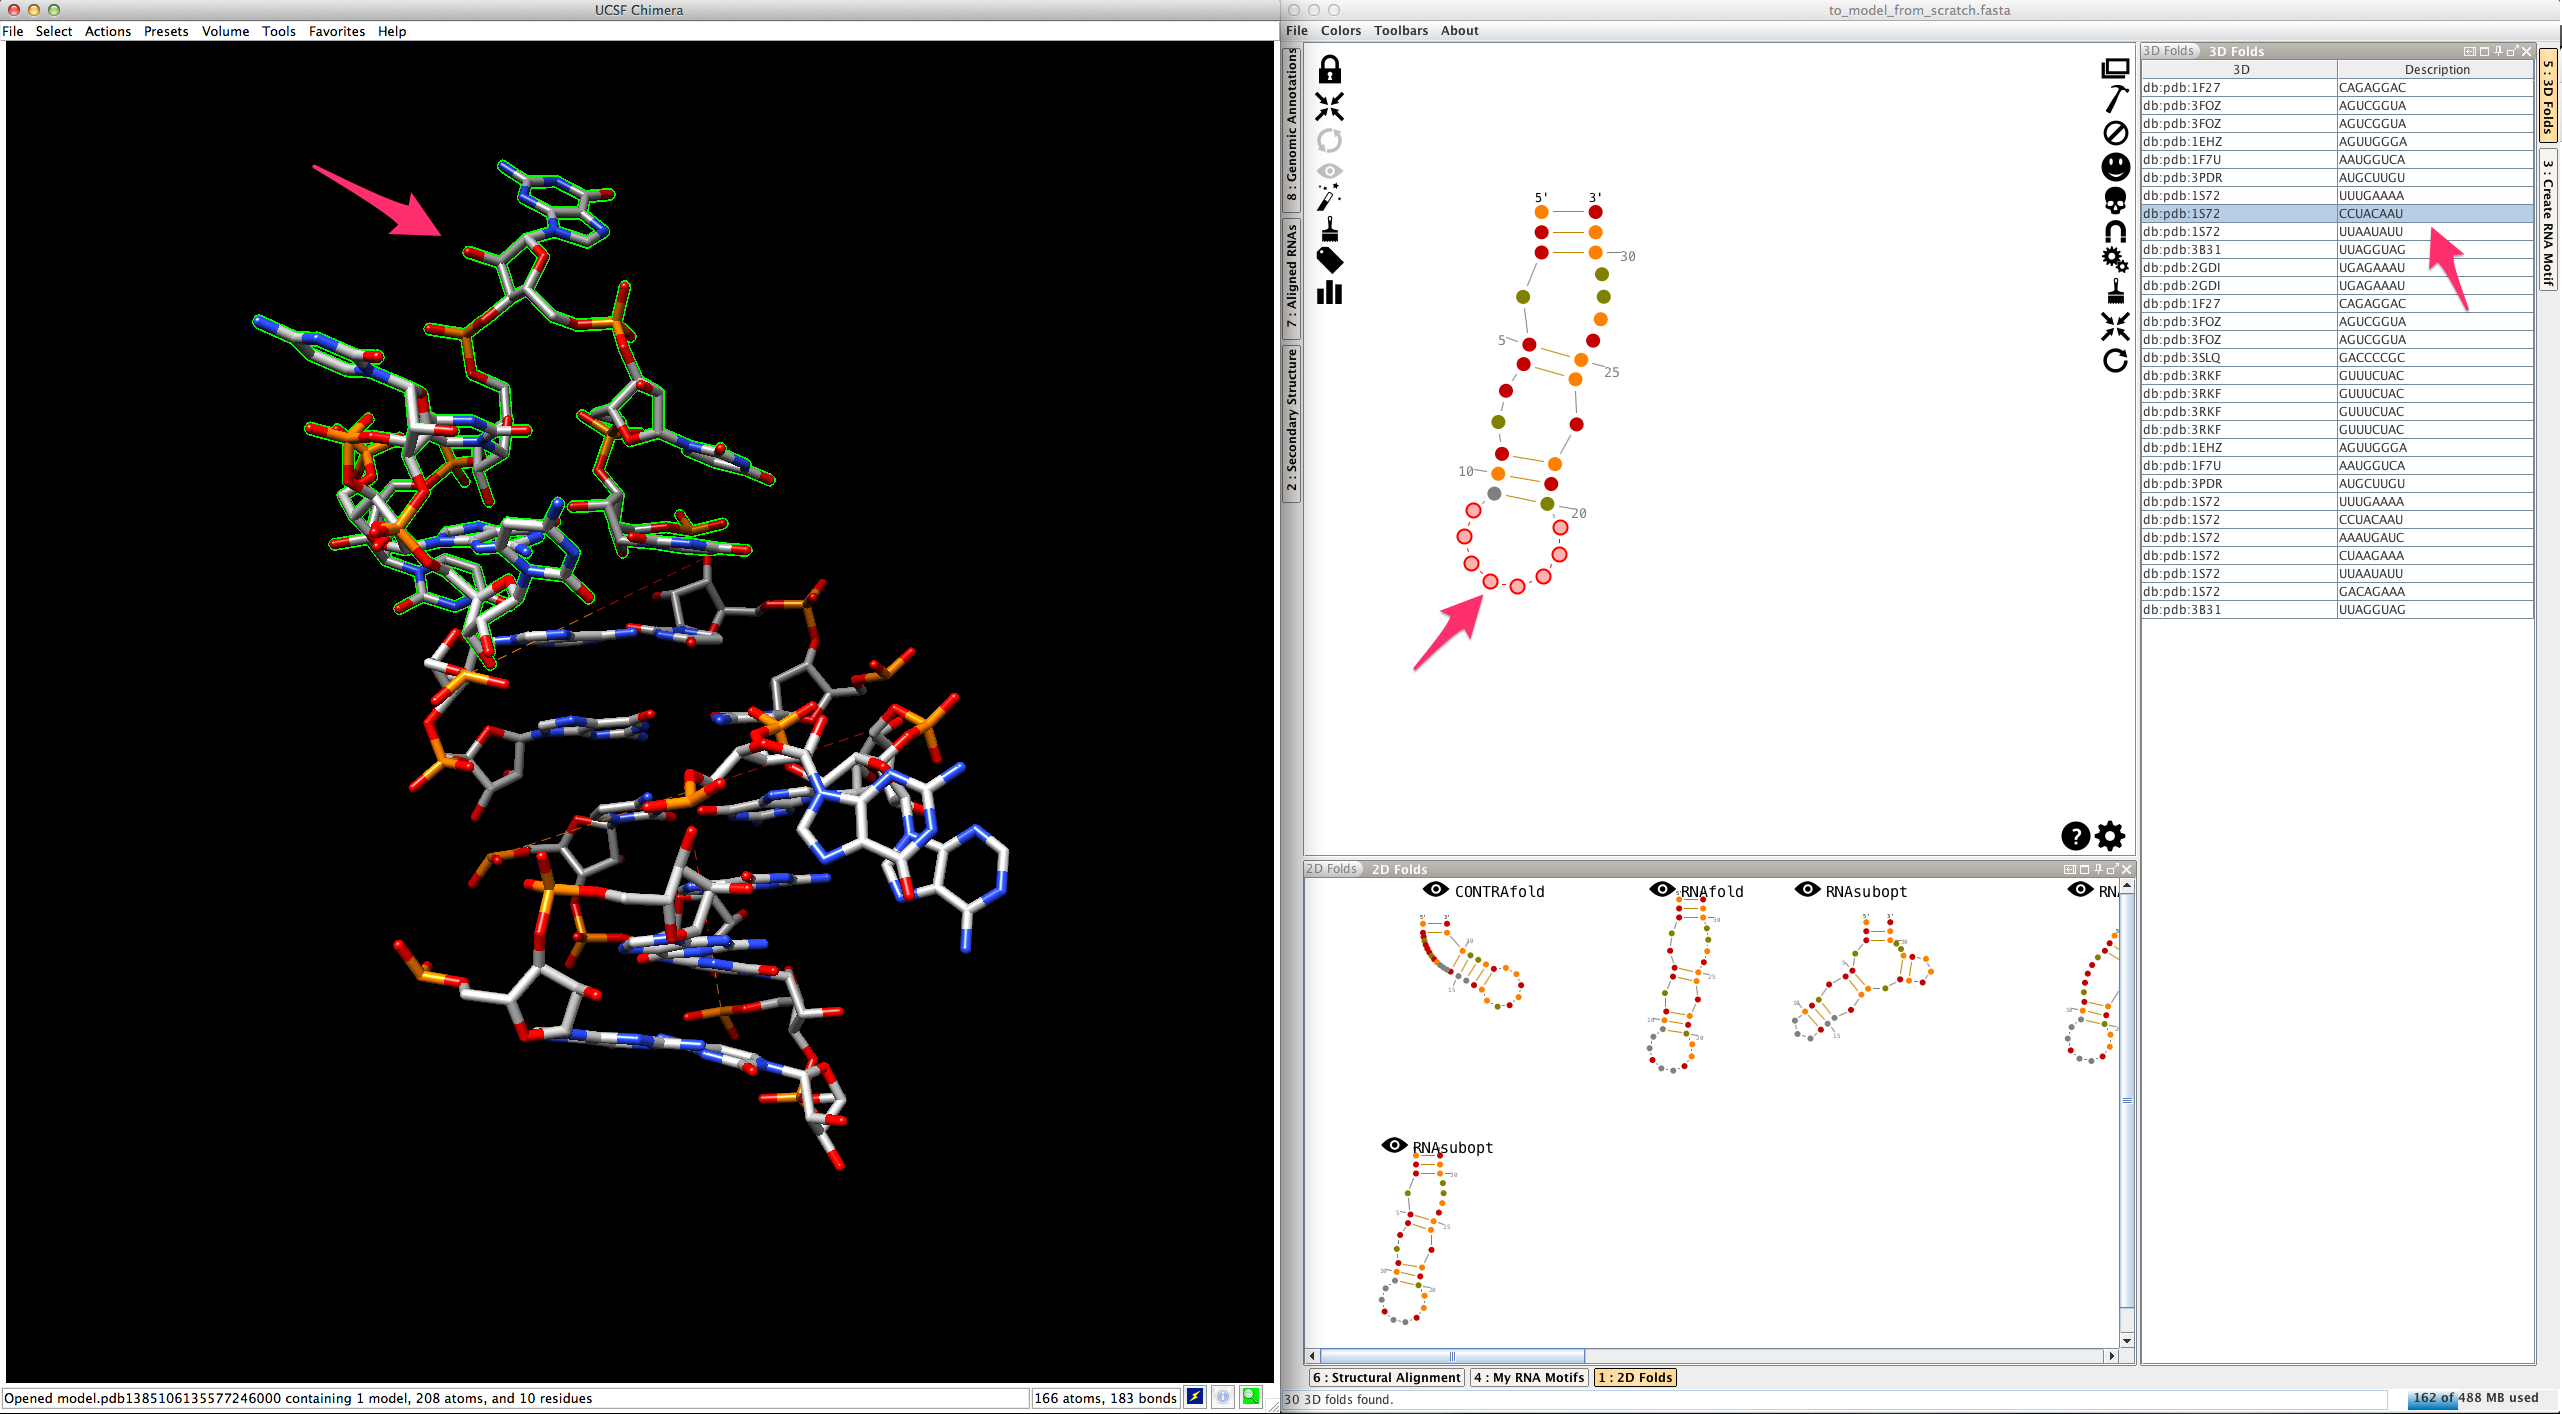
Now select one of the two junctions linked to this helix. Junctions are made with one or several single-strands. Consequently, you have two different ways to create their 3D fold:
- either as a single piece,
- or single-strand per single-strand.
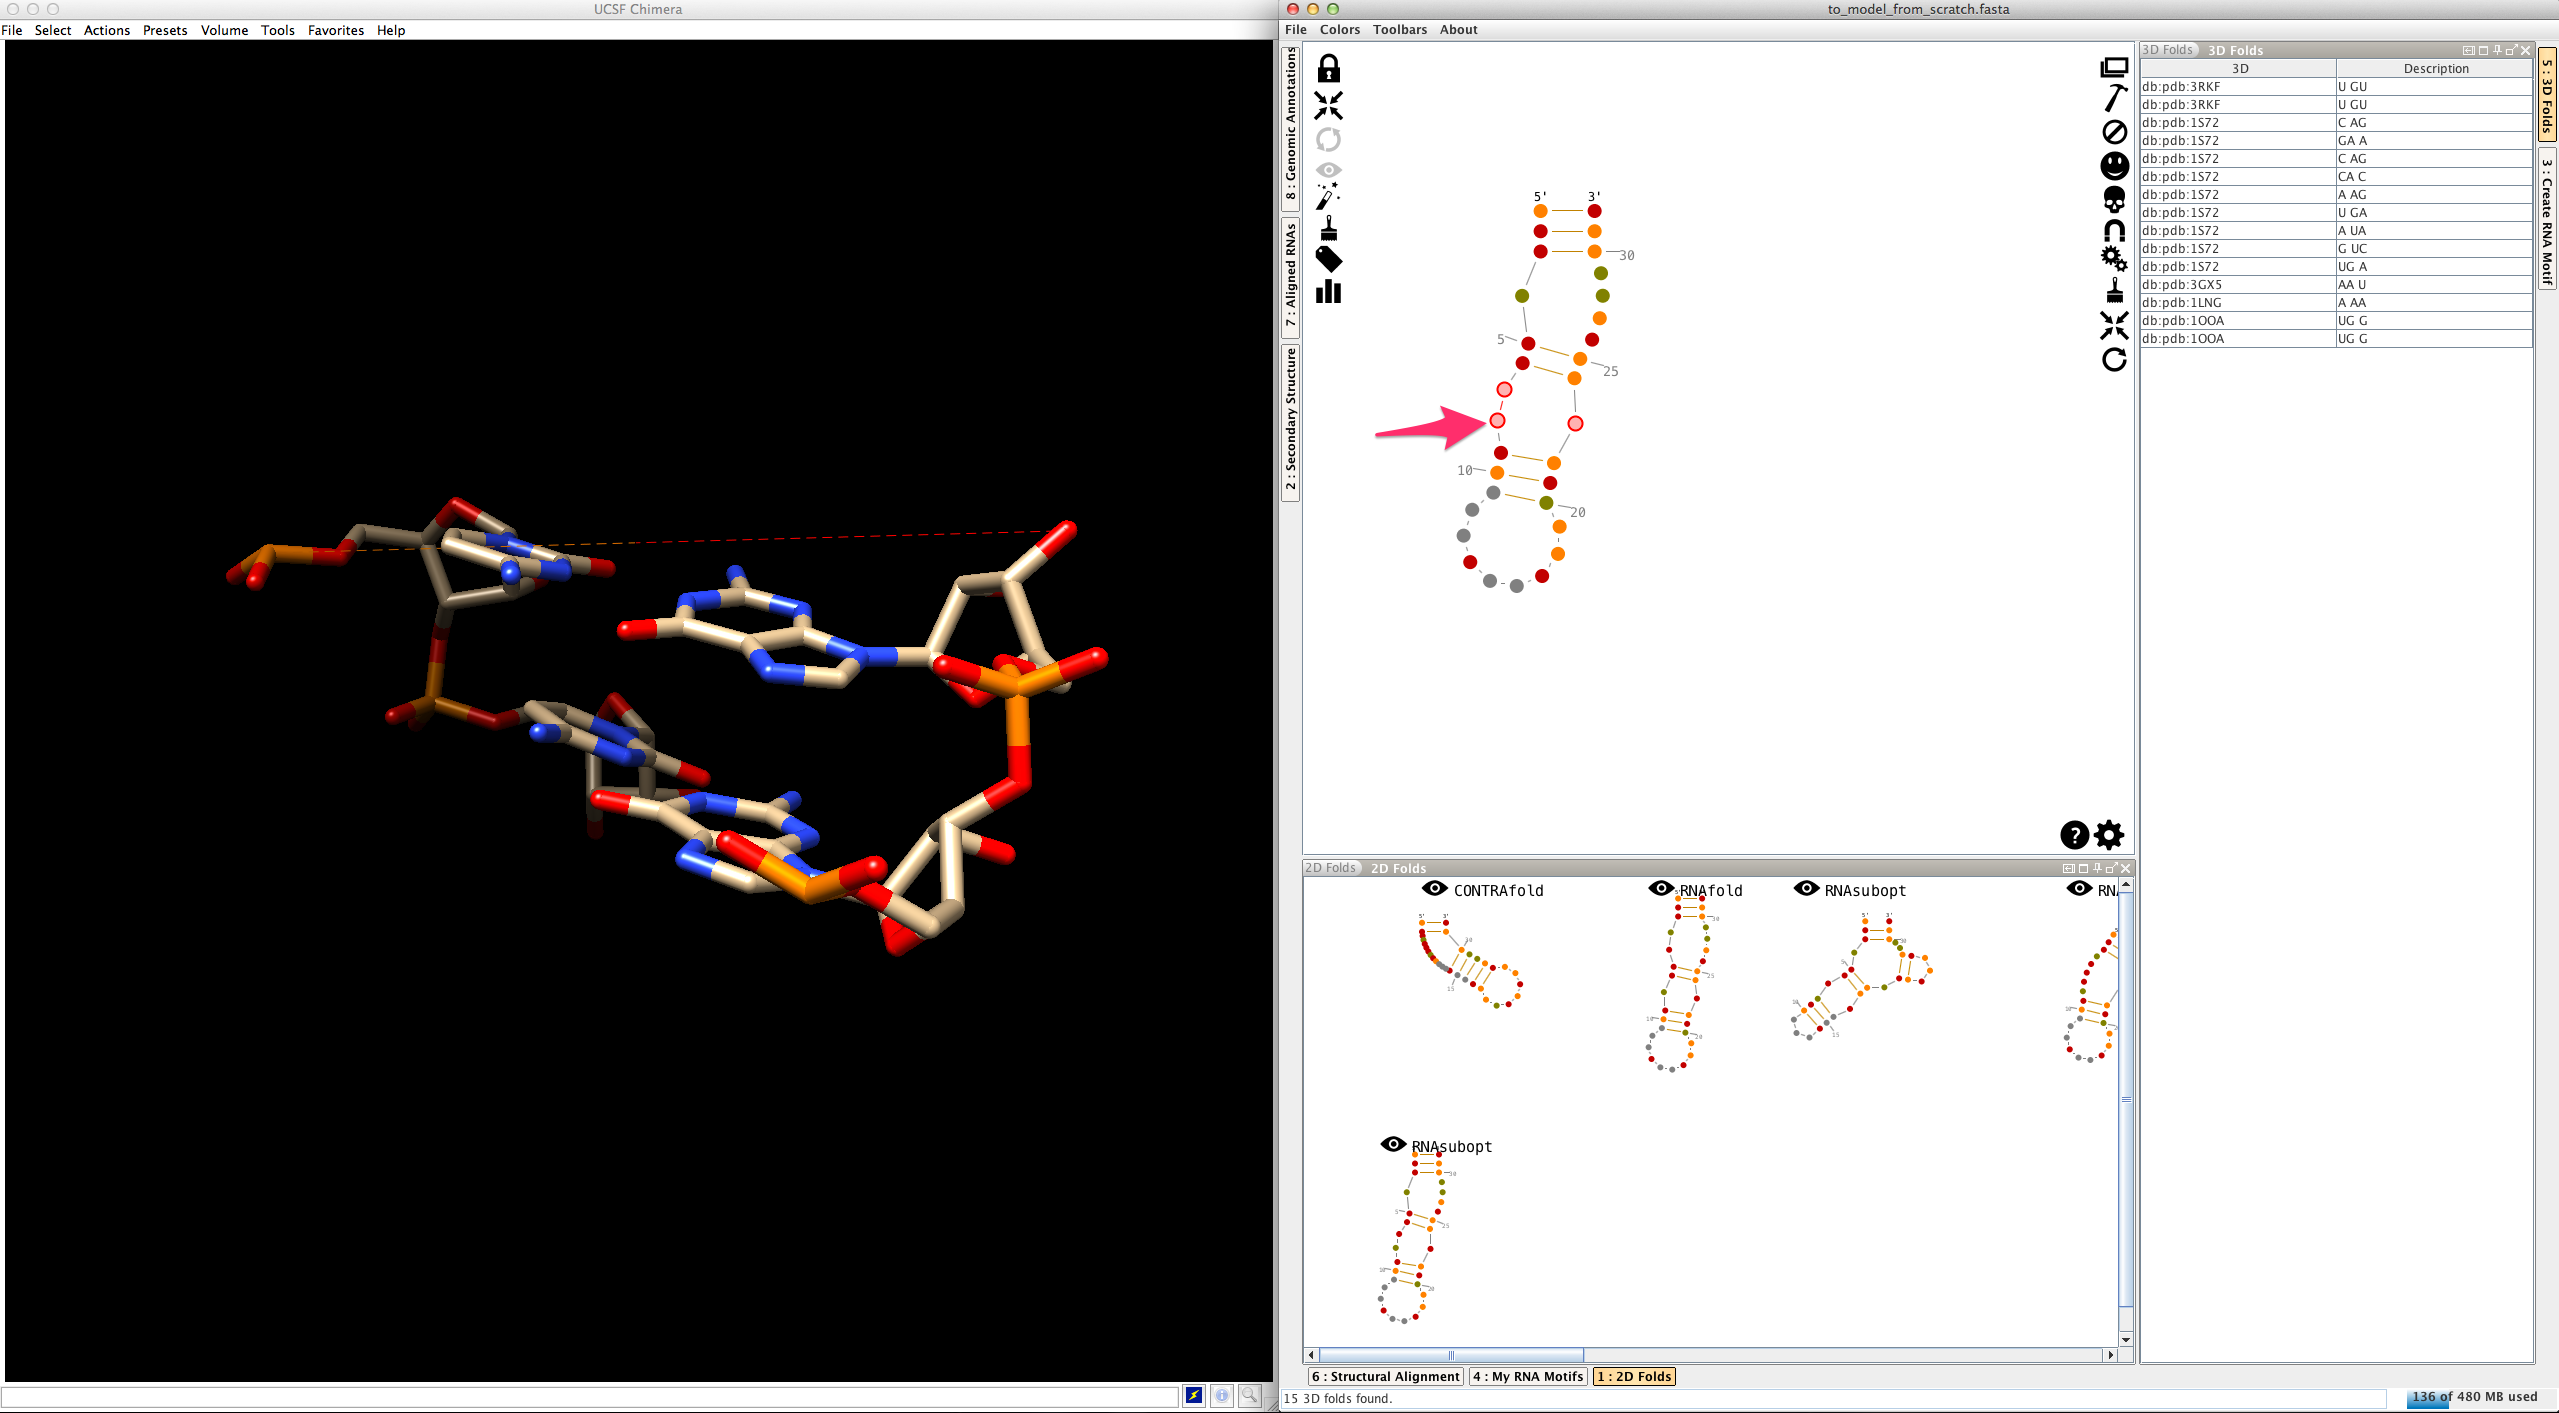
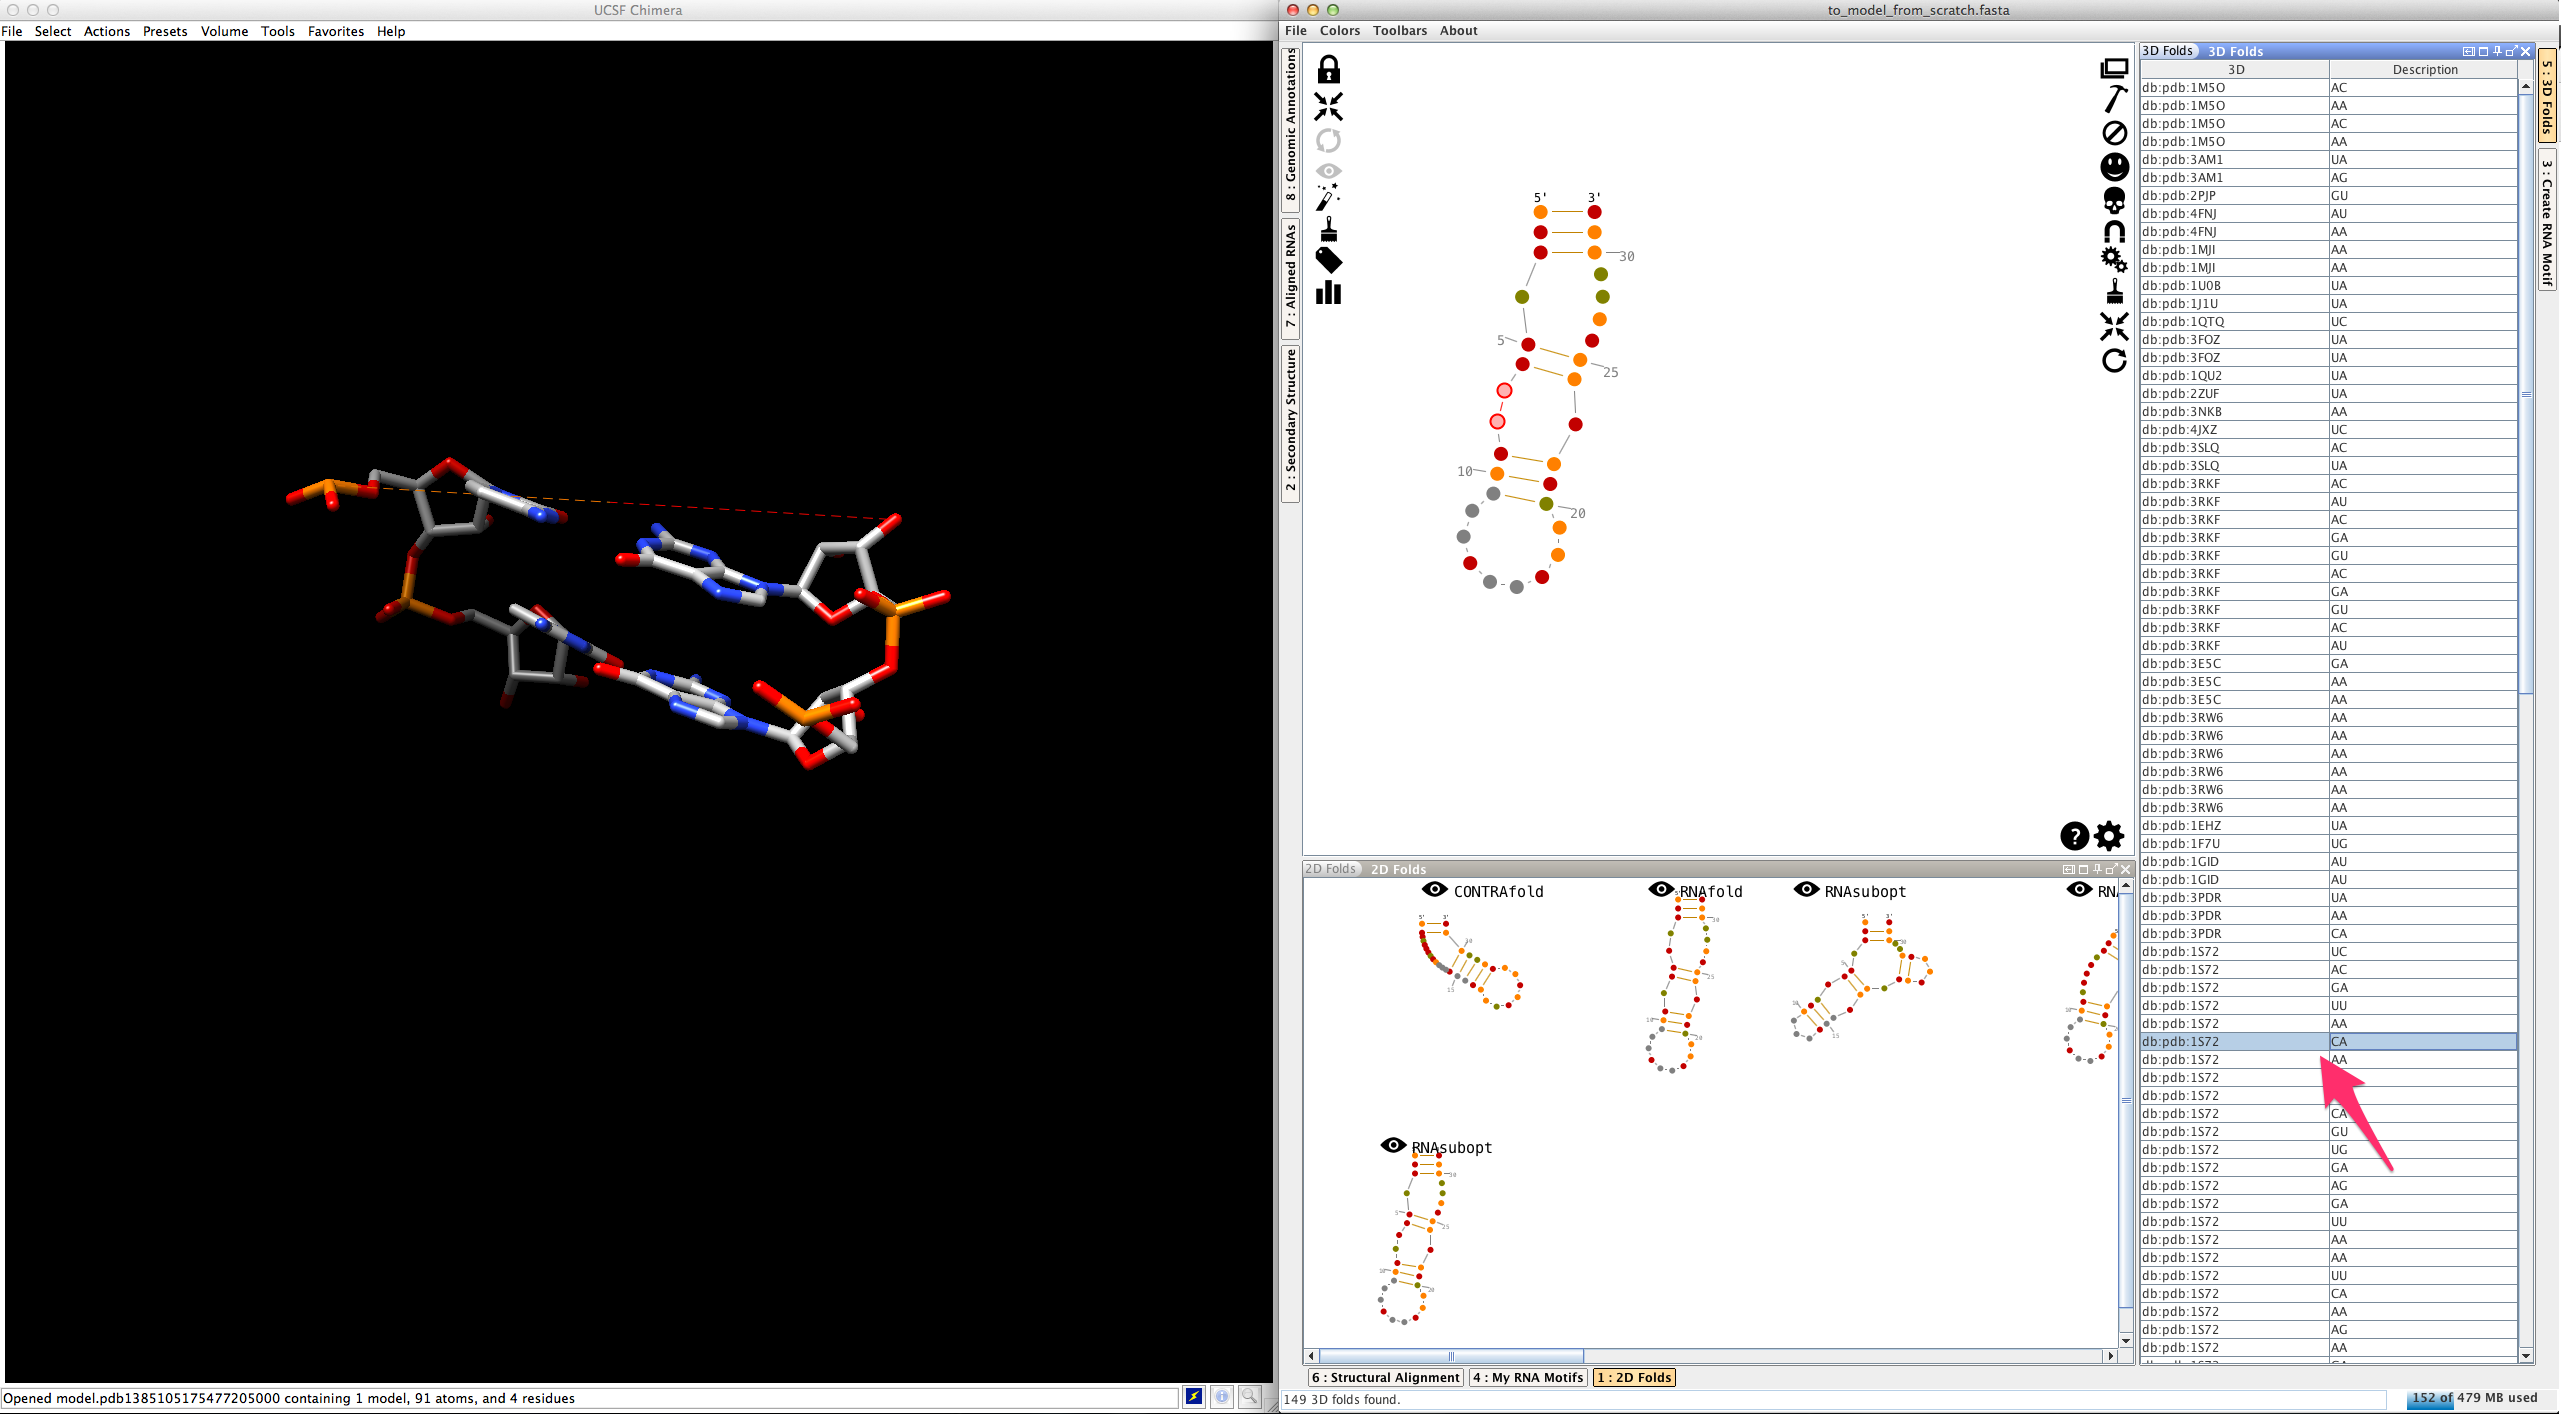
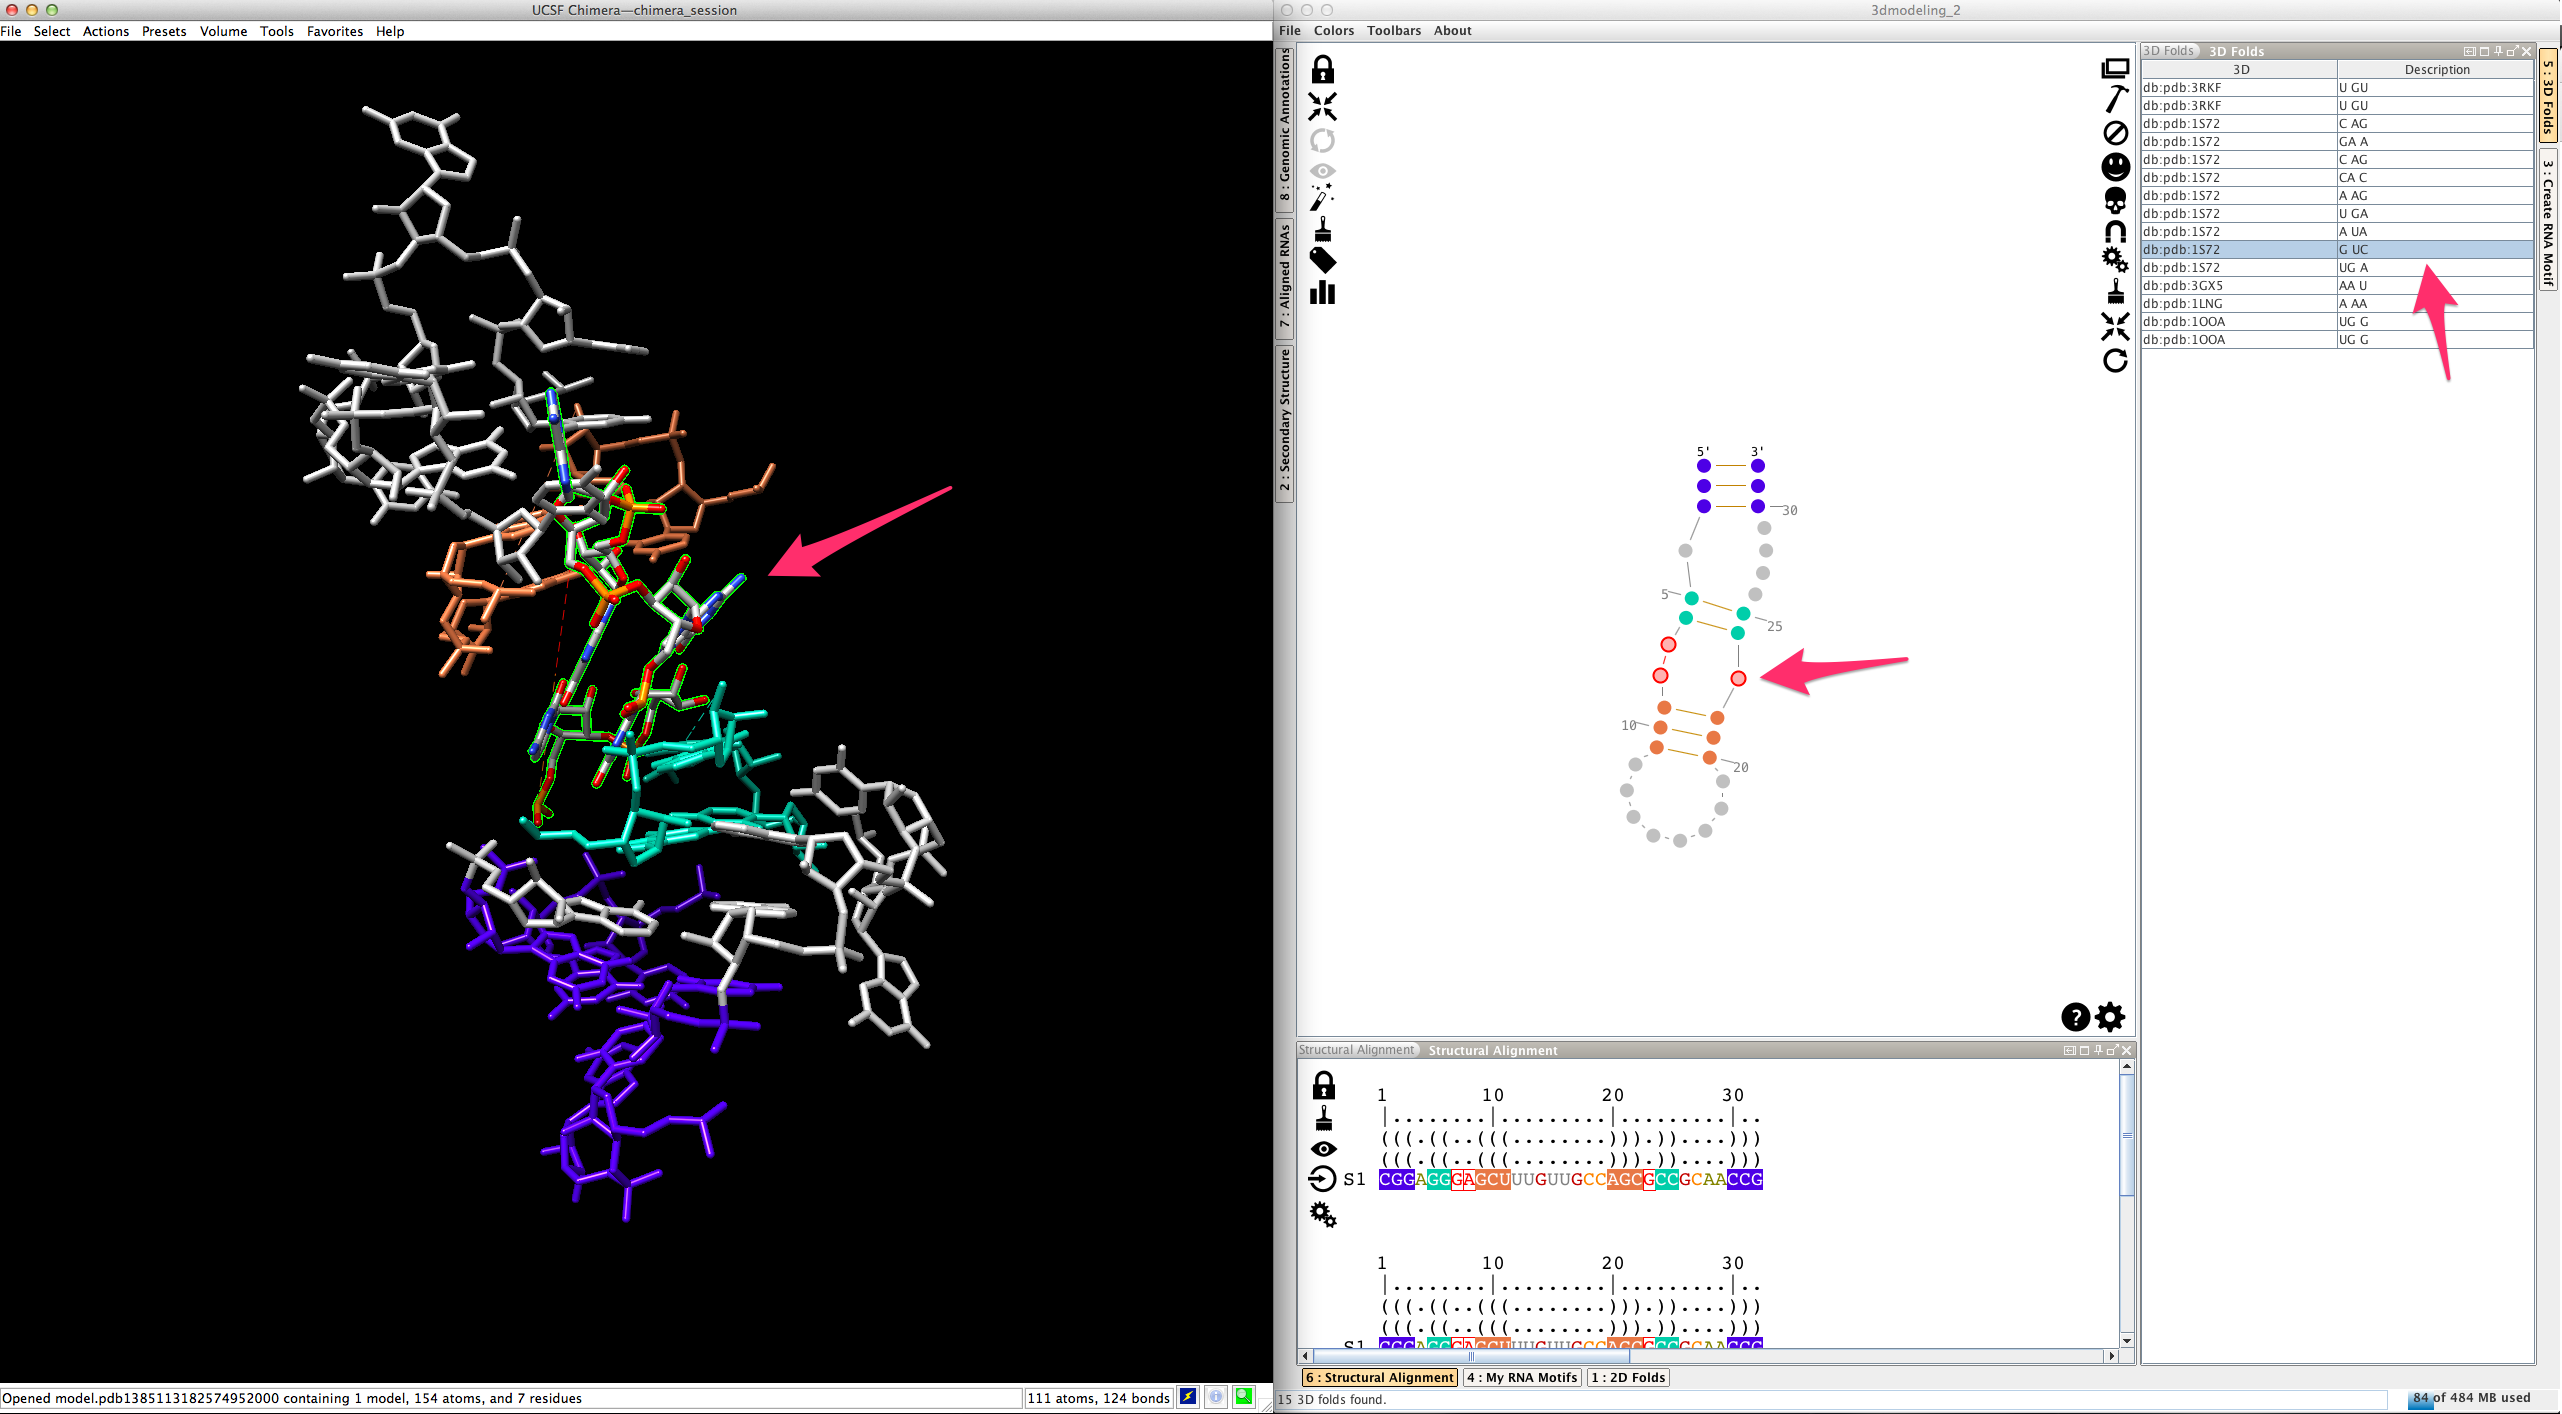
Assemble2 will open the lateral panel named "3D folds", listing junctions extracted from solved tertiary structures and having compatible topology and length:
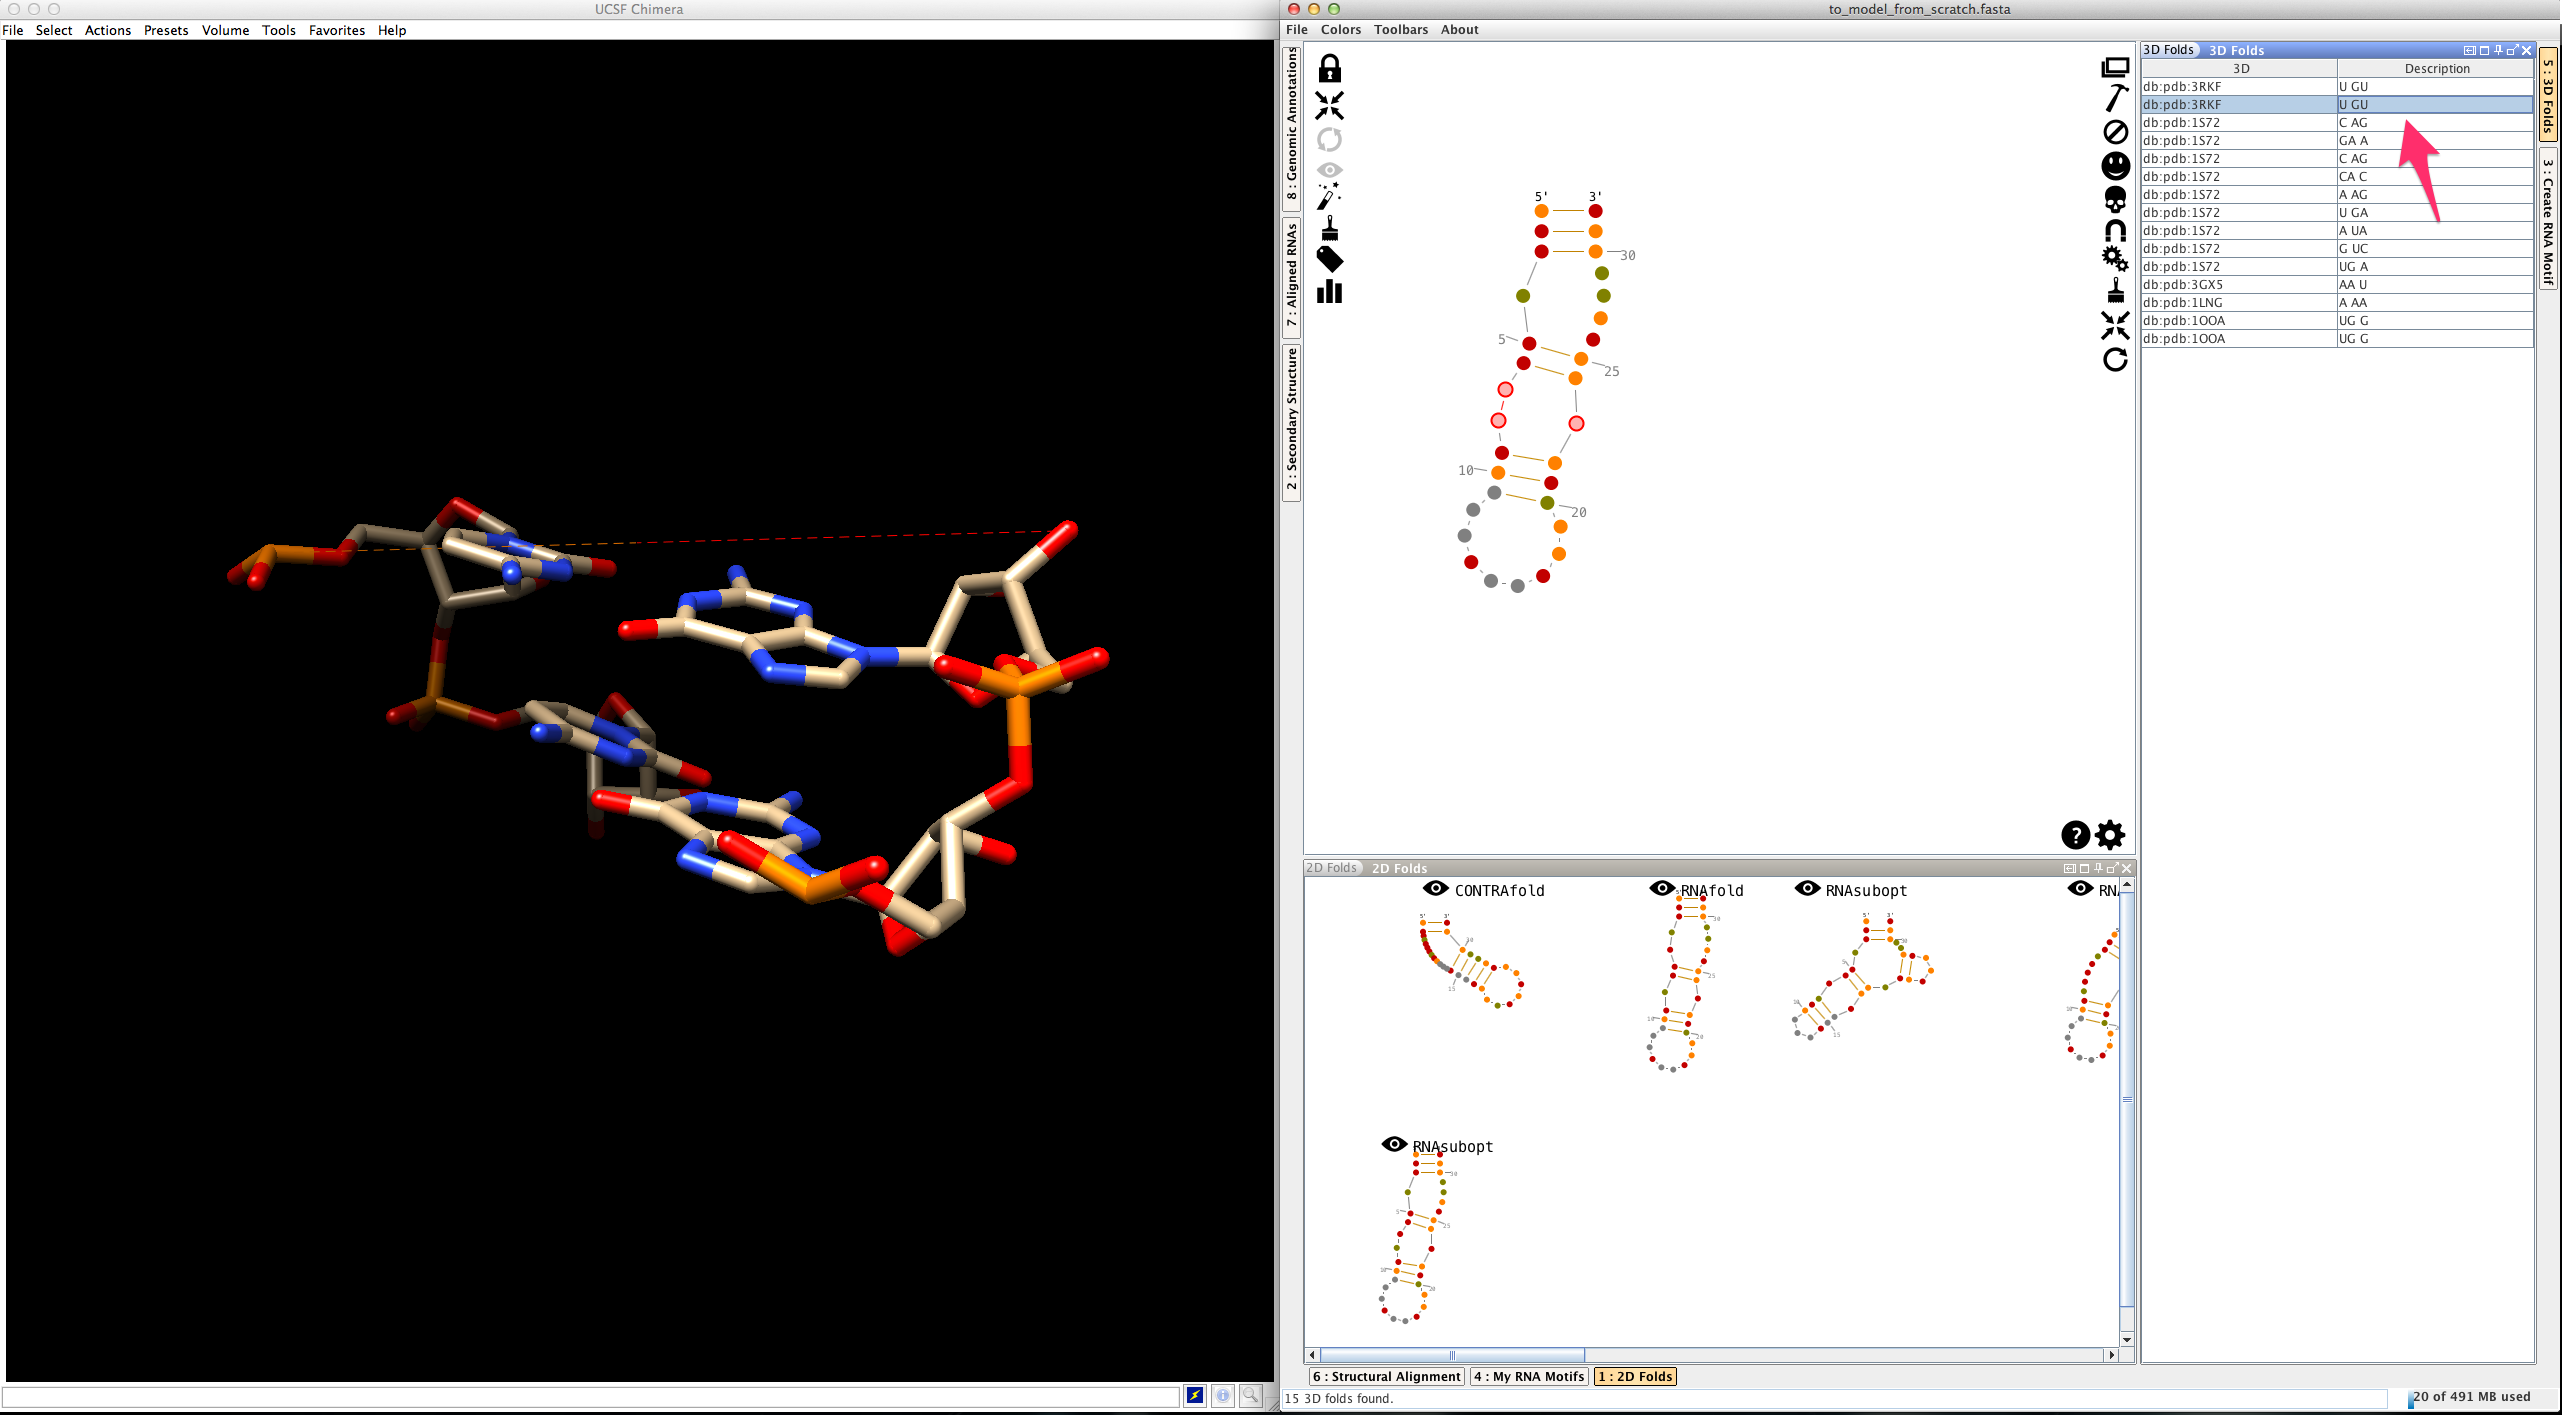
Select an entry in the list. Click on
to apply its 3D fold to your selection and to export it in Chimera:
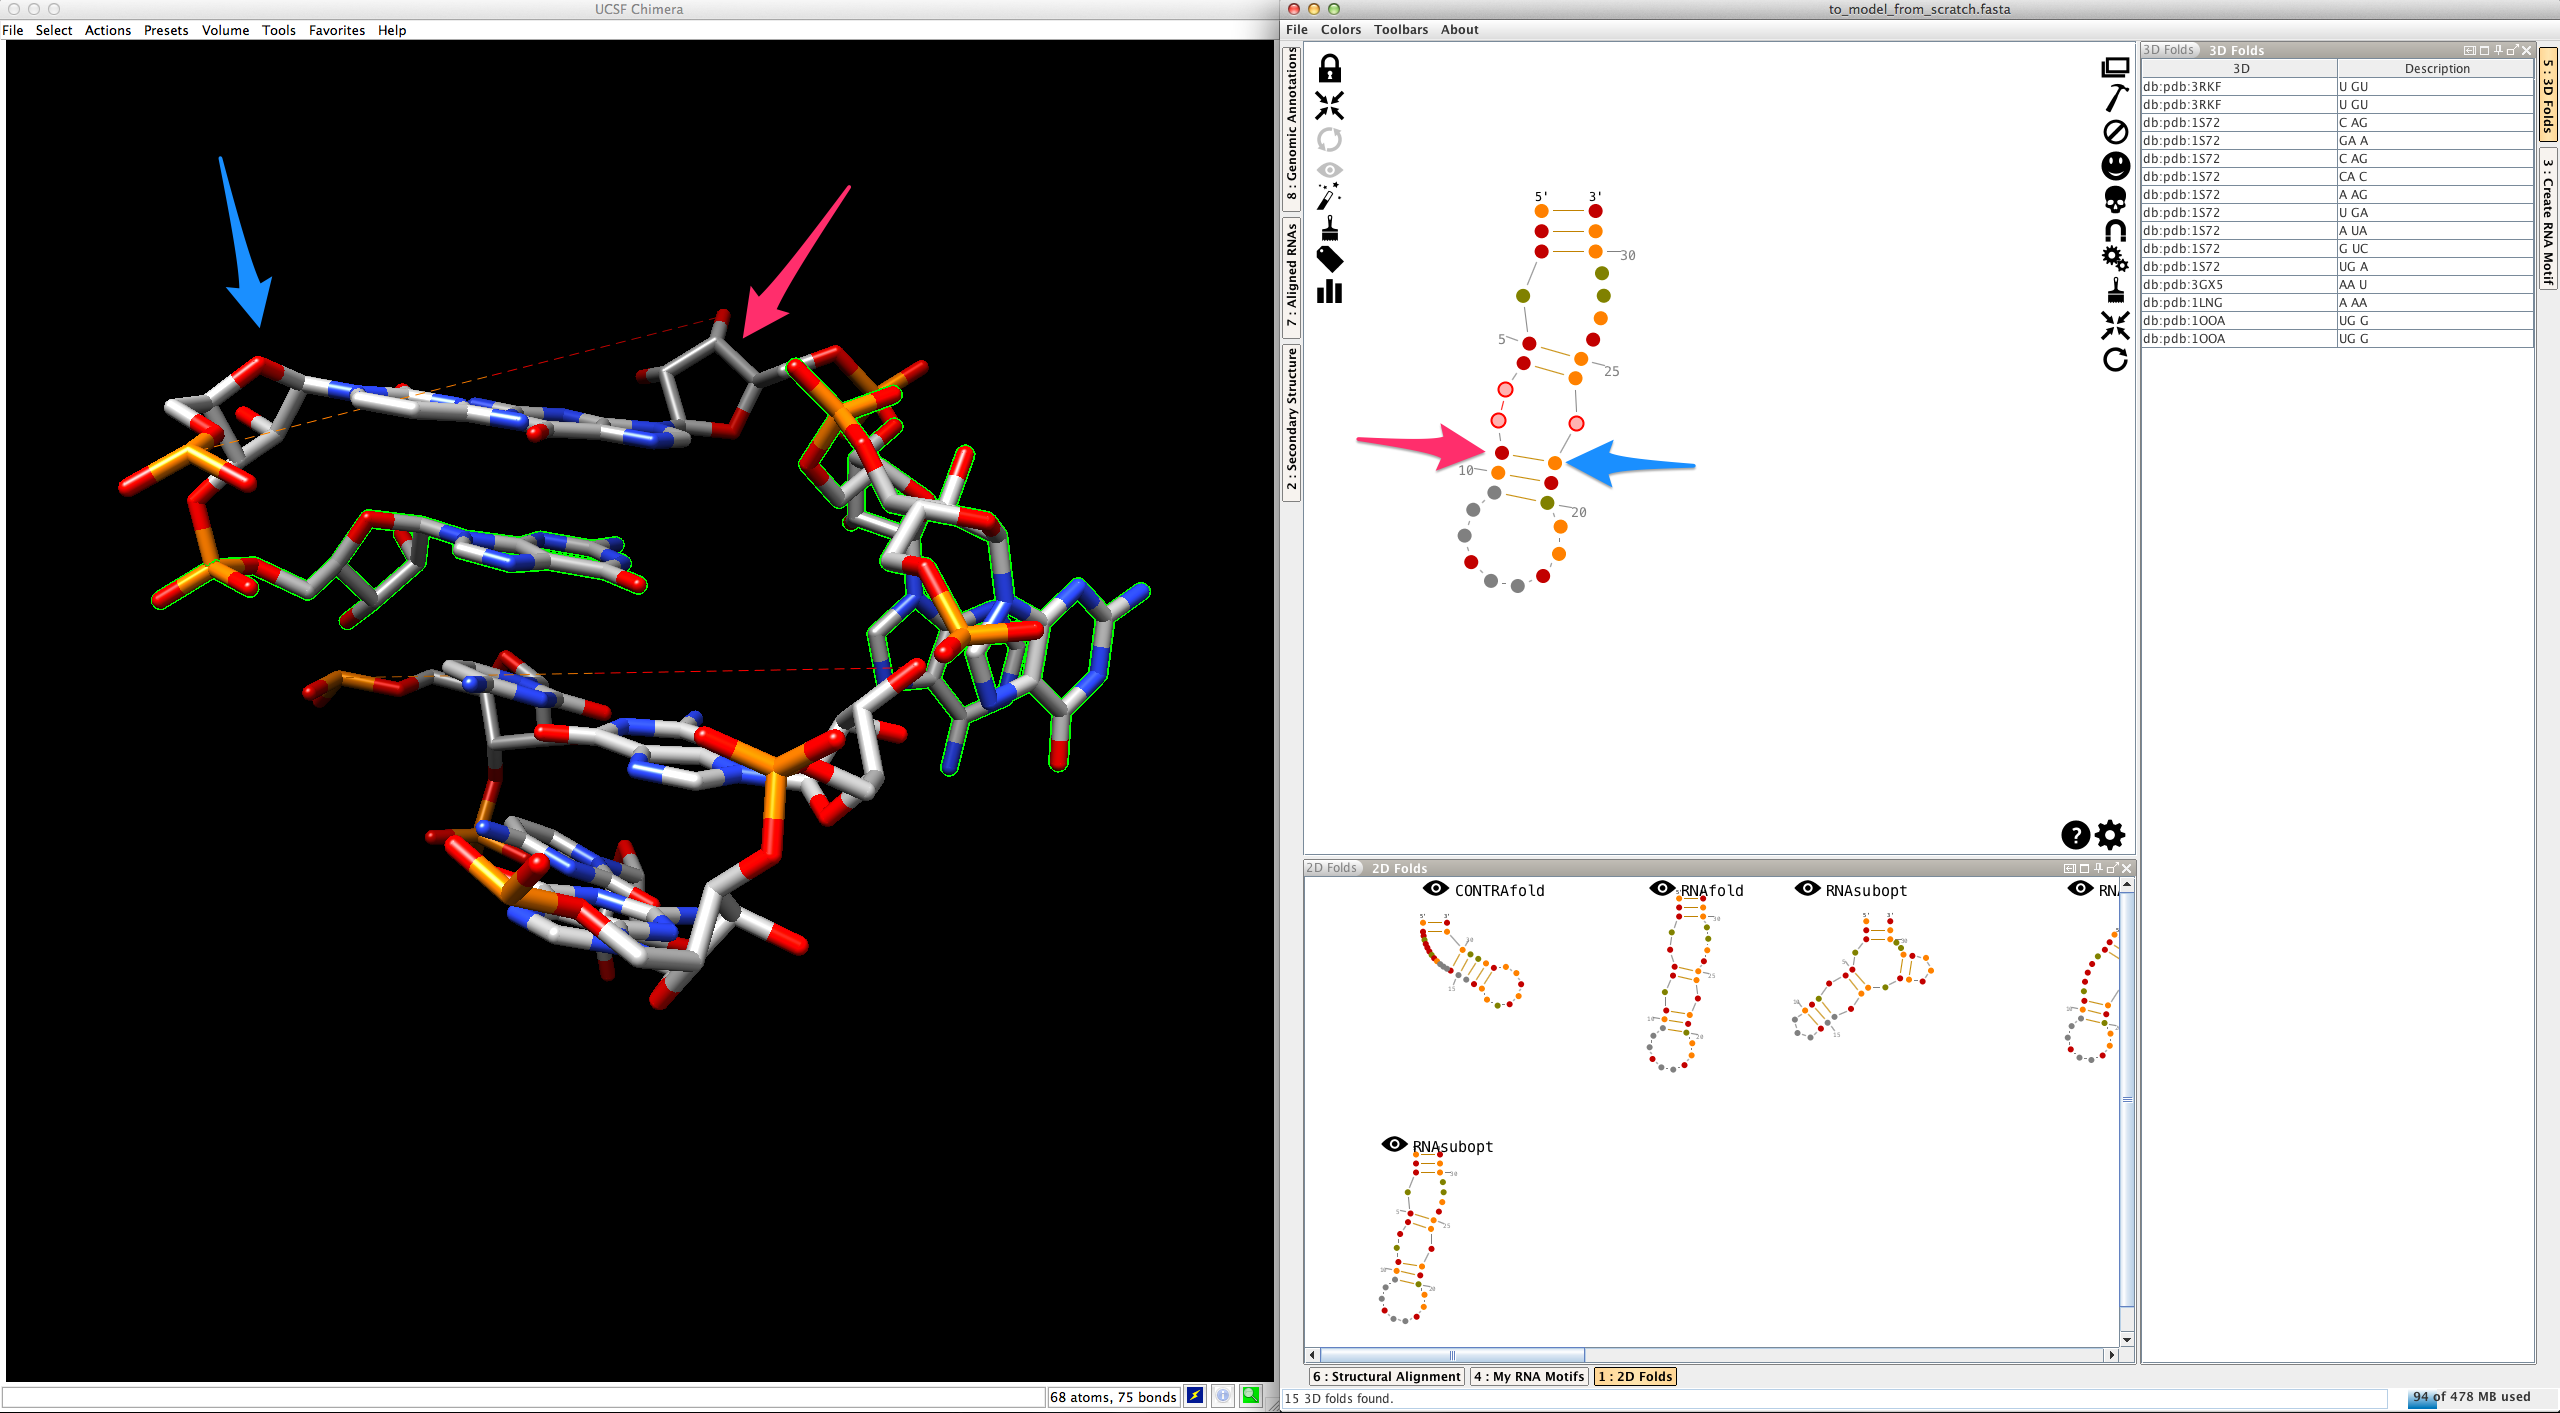
If you do the same for a different entry, Assemble2 removes the previous residues and display the newest ones:
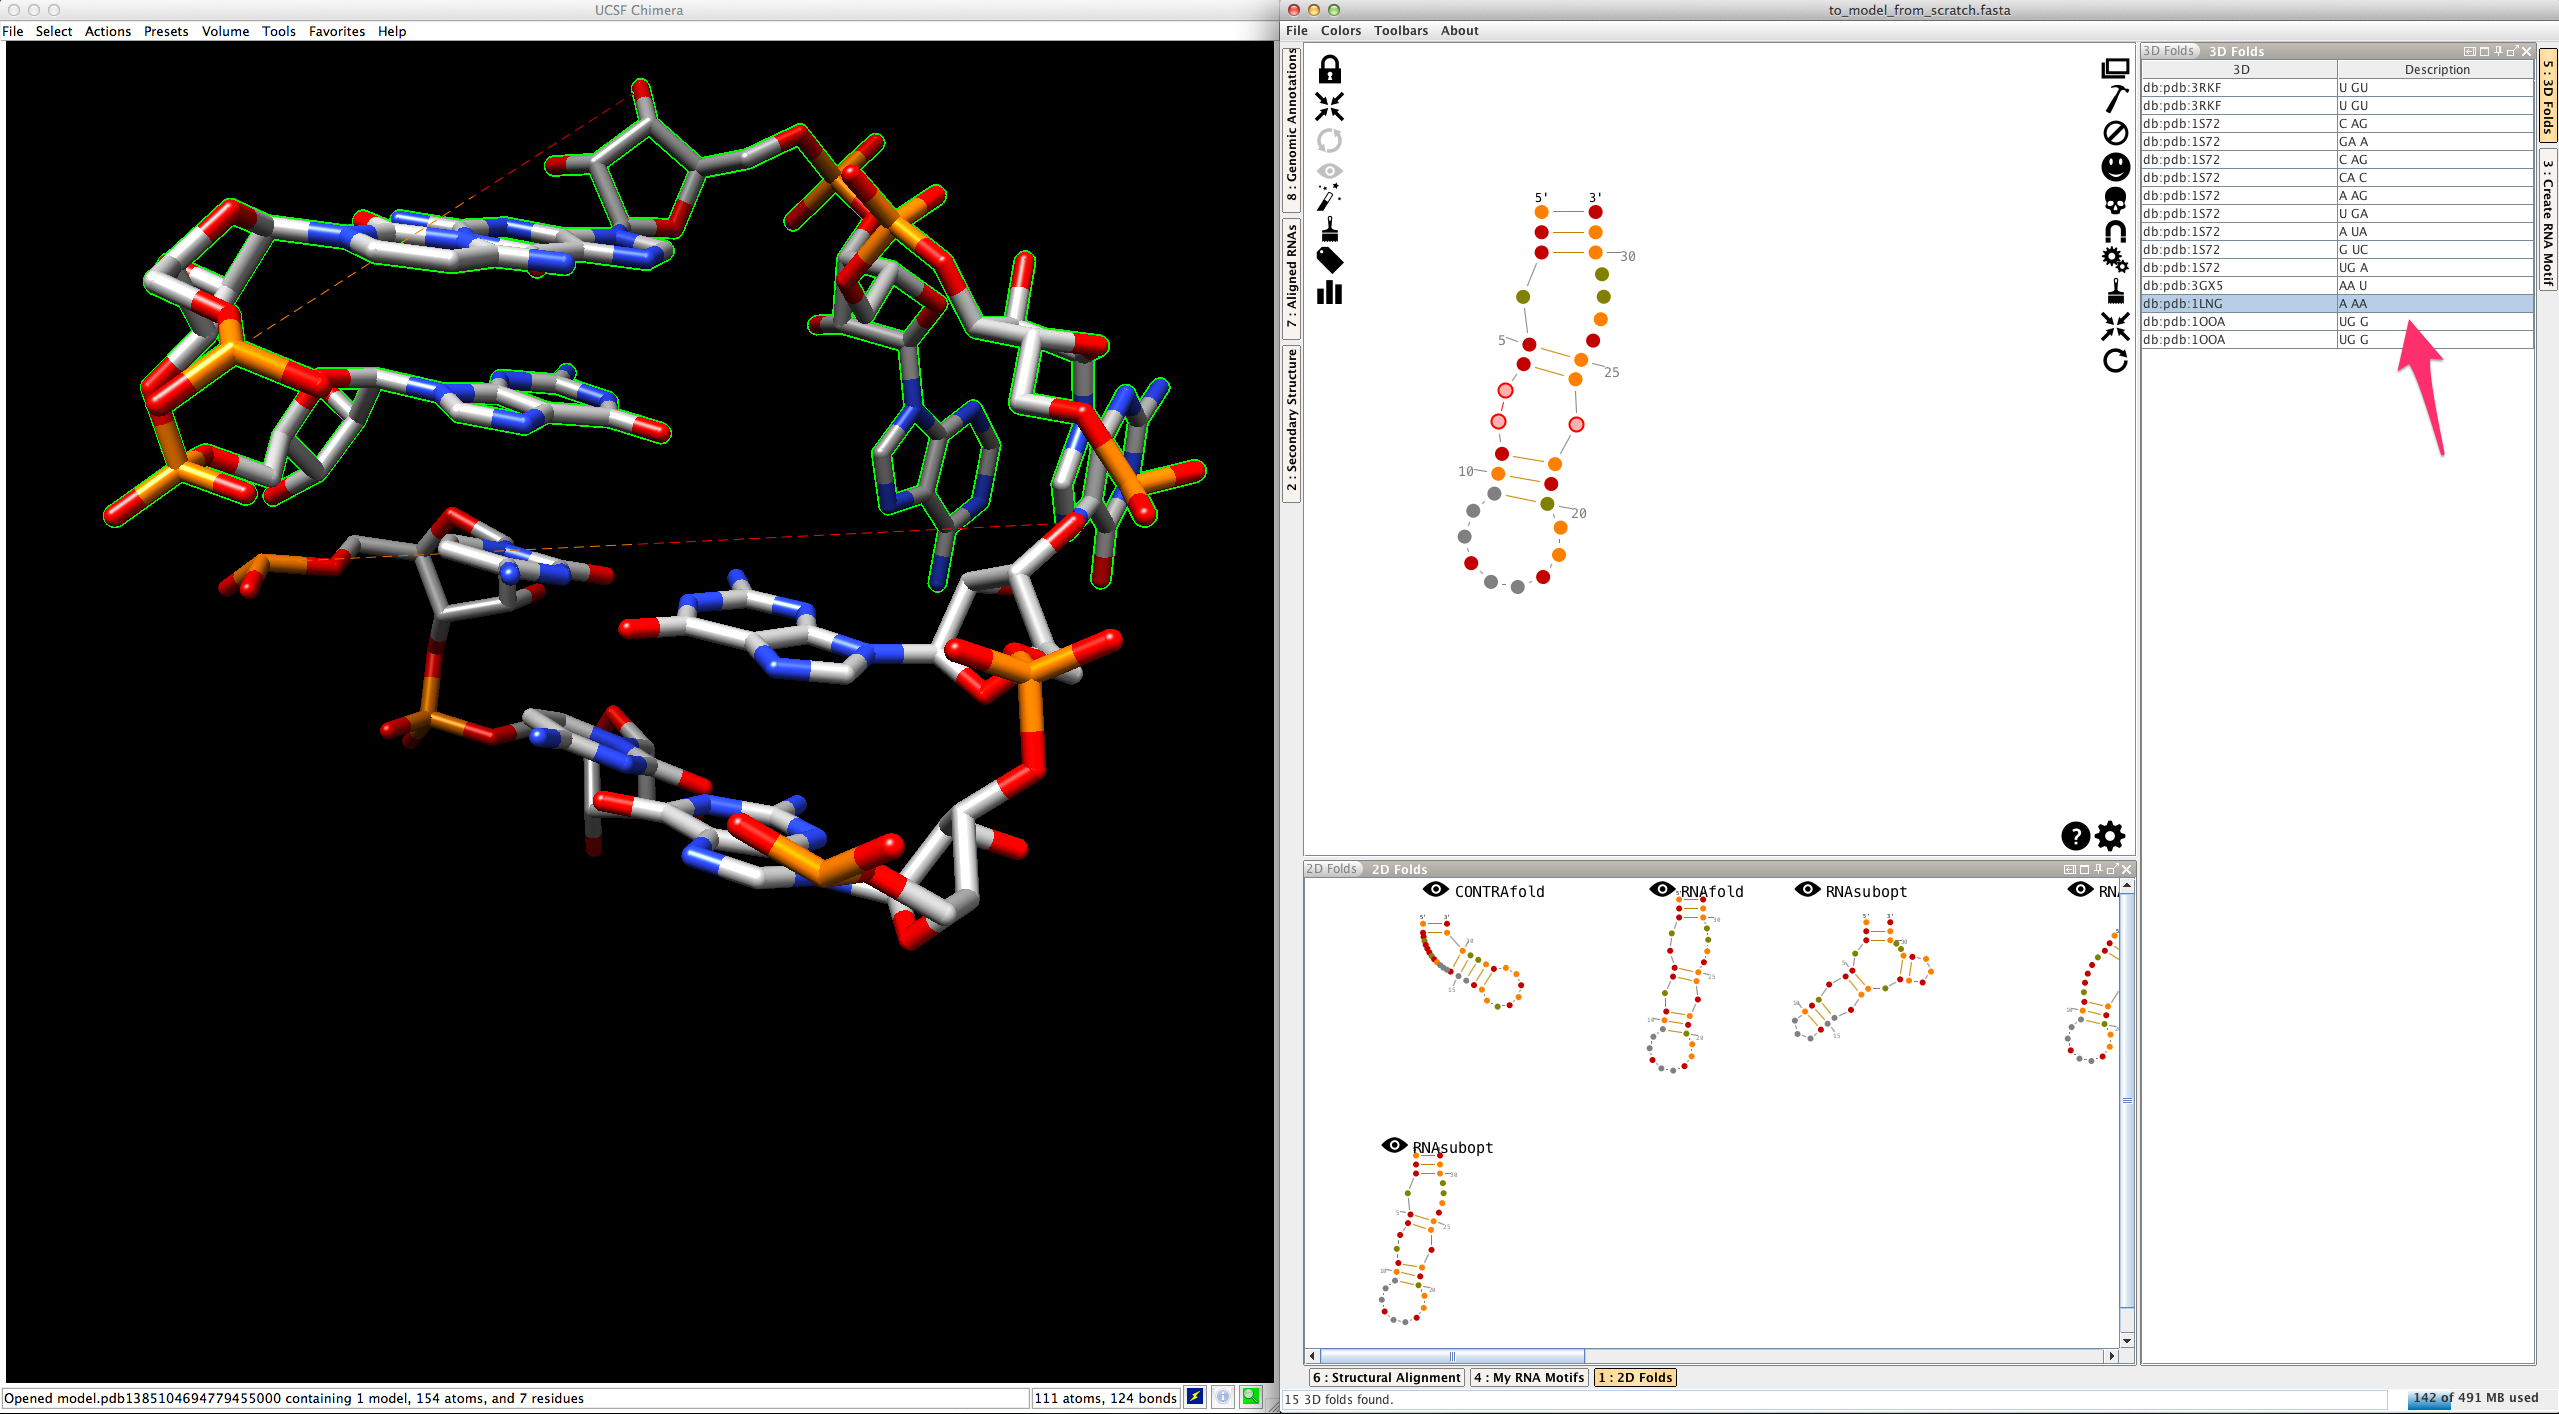
This allows you to easily switch and compare the different 3D folds available.
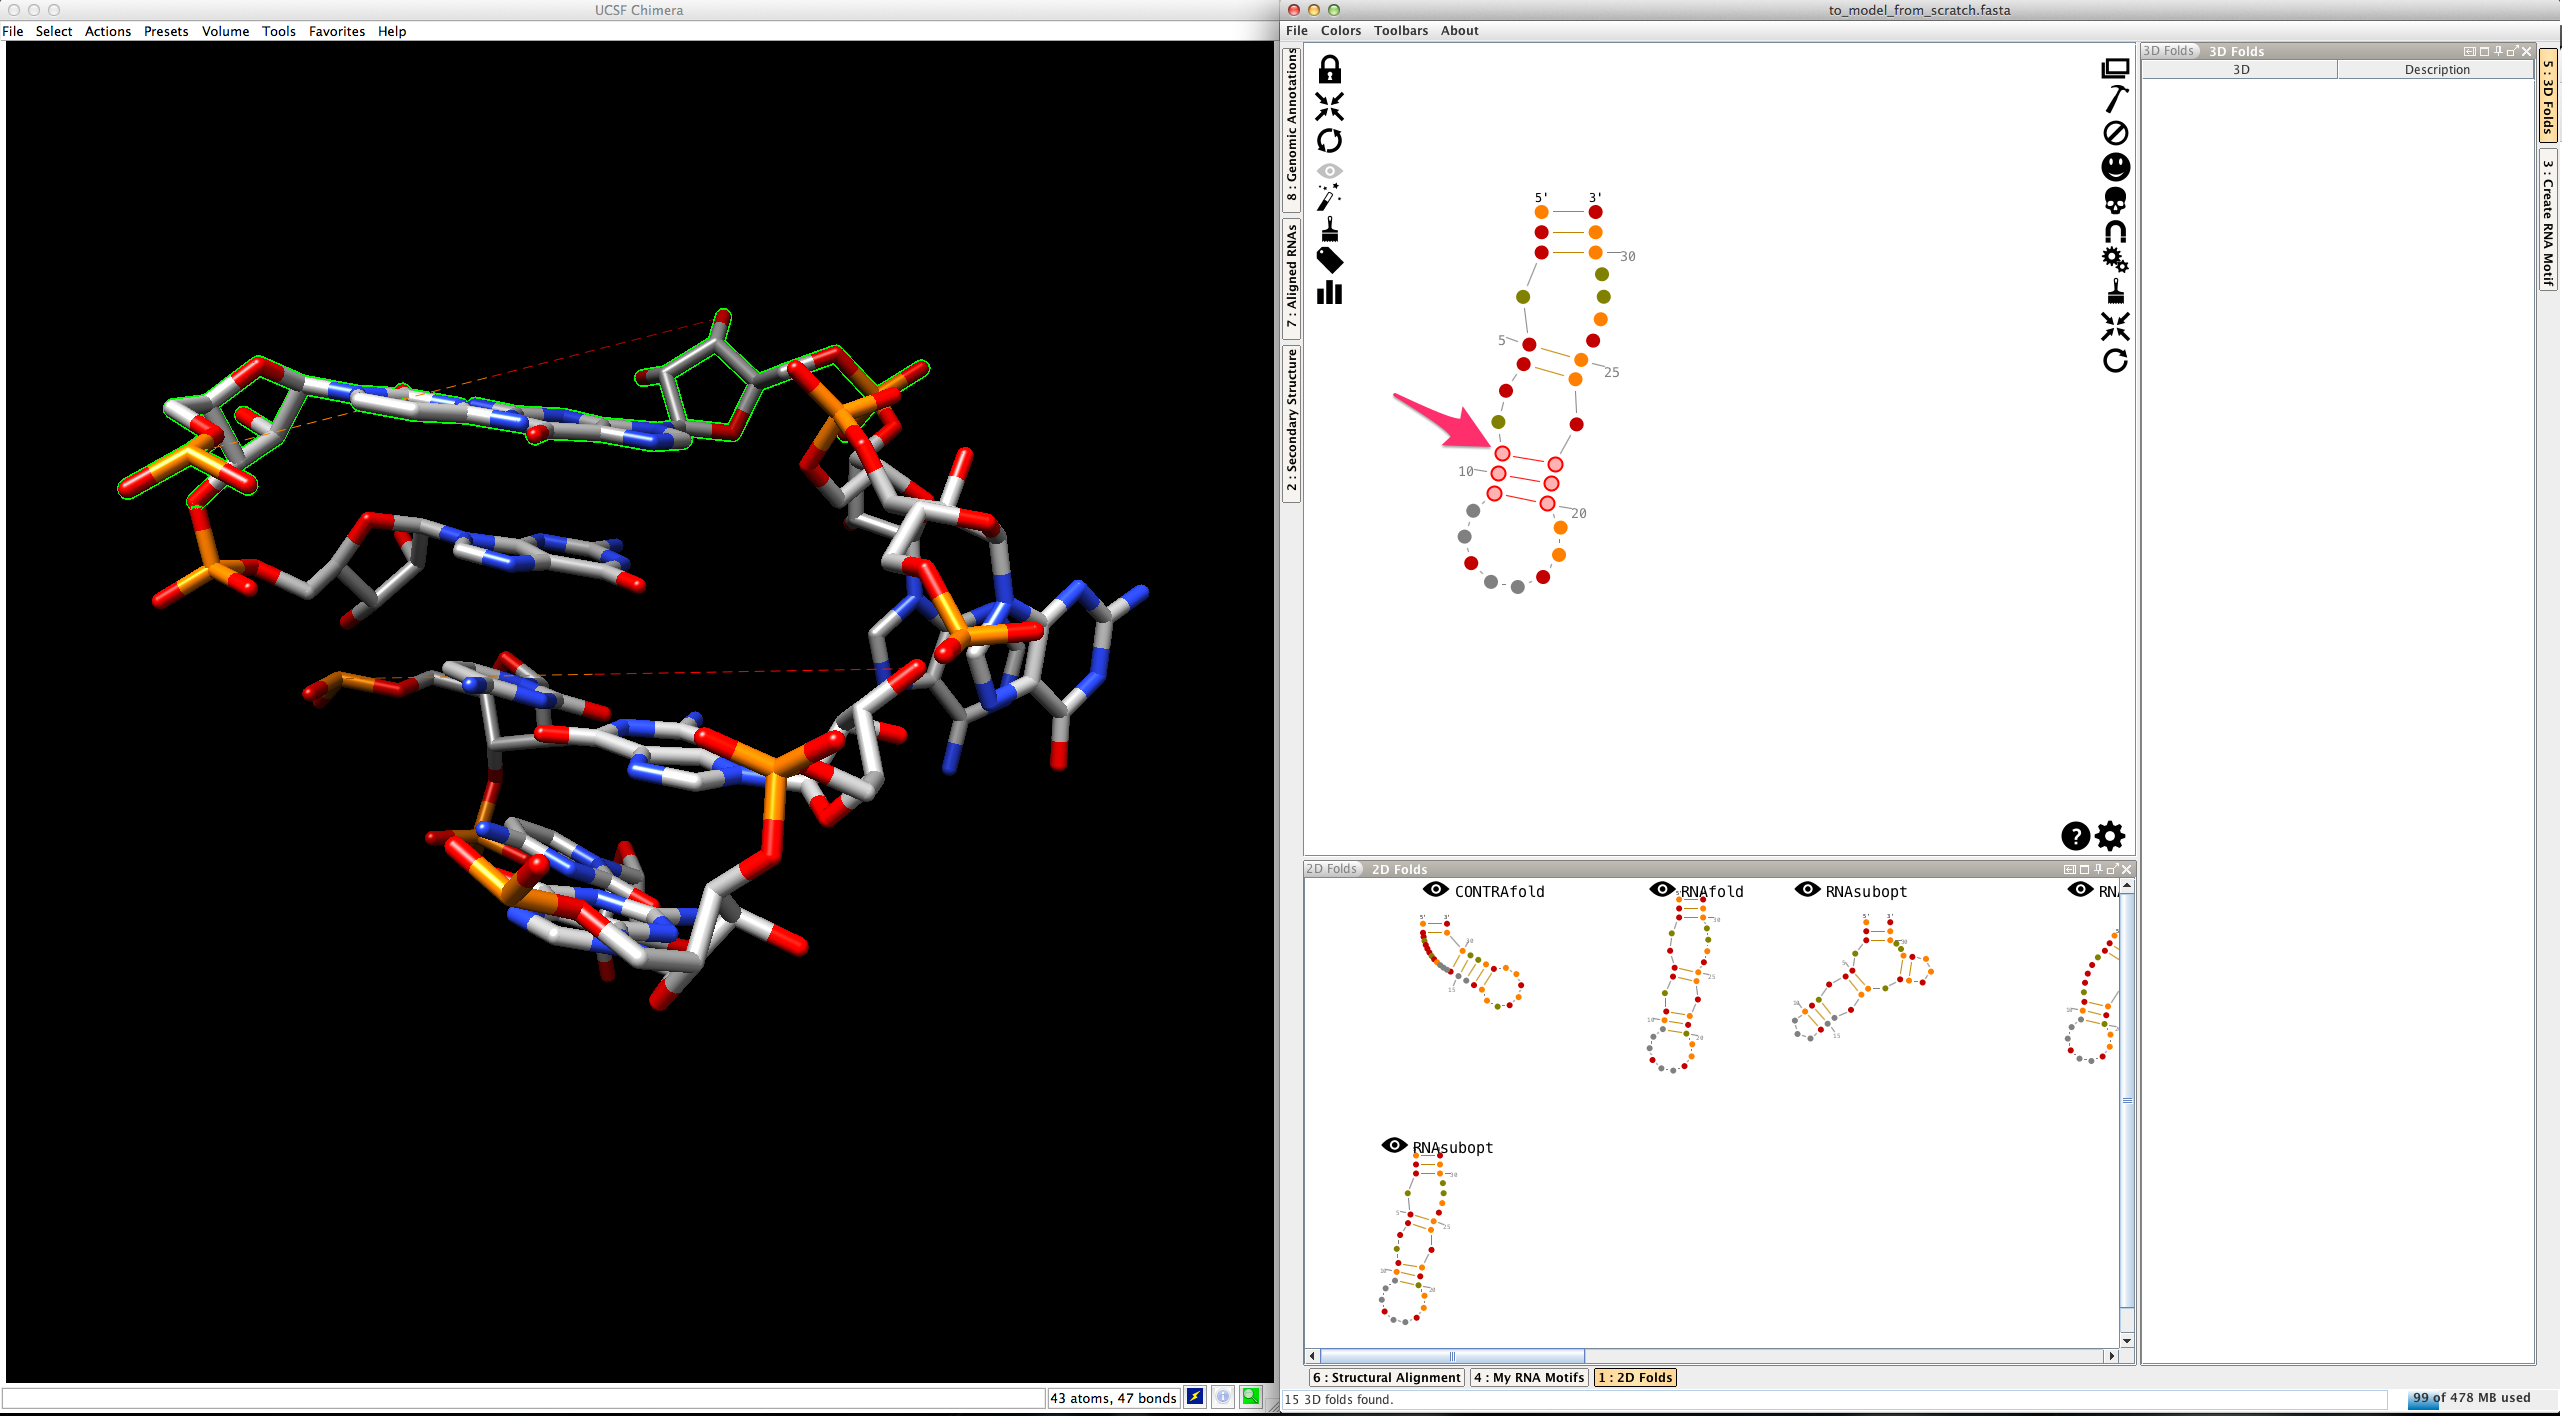
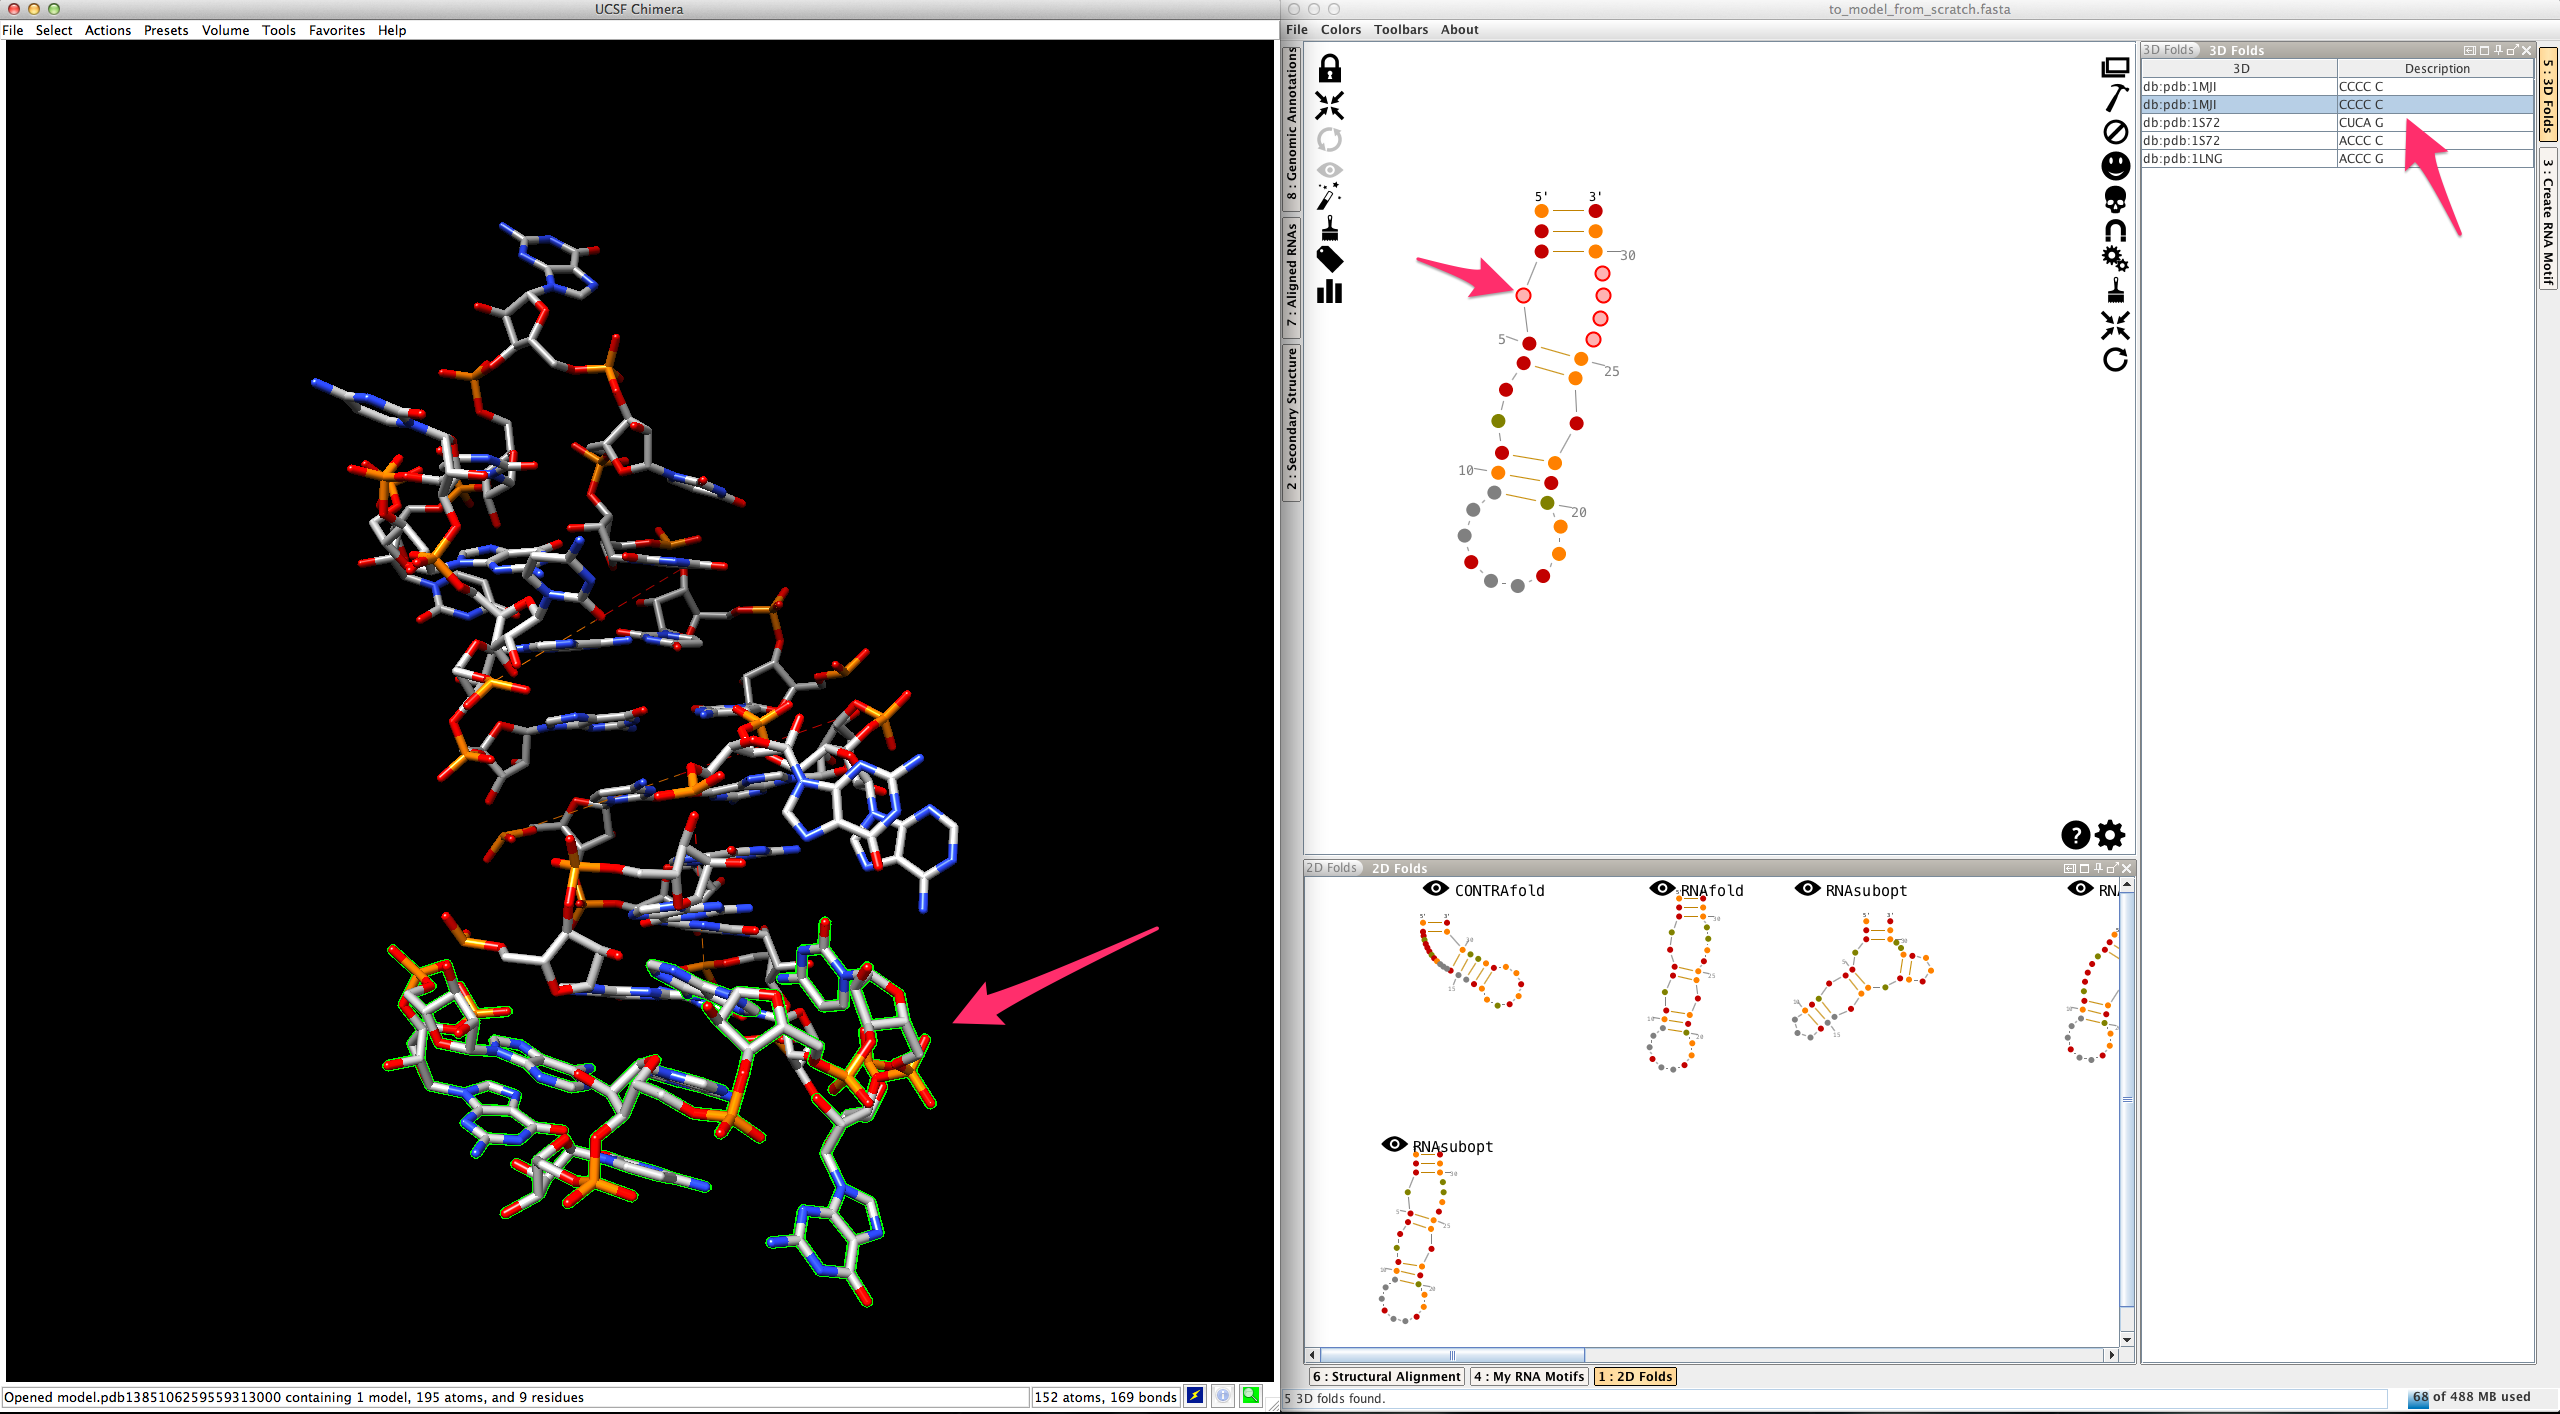
If, for any reason, no 3D fold fits your needs (or if Assemble2 is not able to find any 3D fold compatible with your selection), you still have the option to create your junction single-strand per single-strand. To do so, click several times on a residue and restrict the selection to a single-strand.
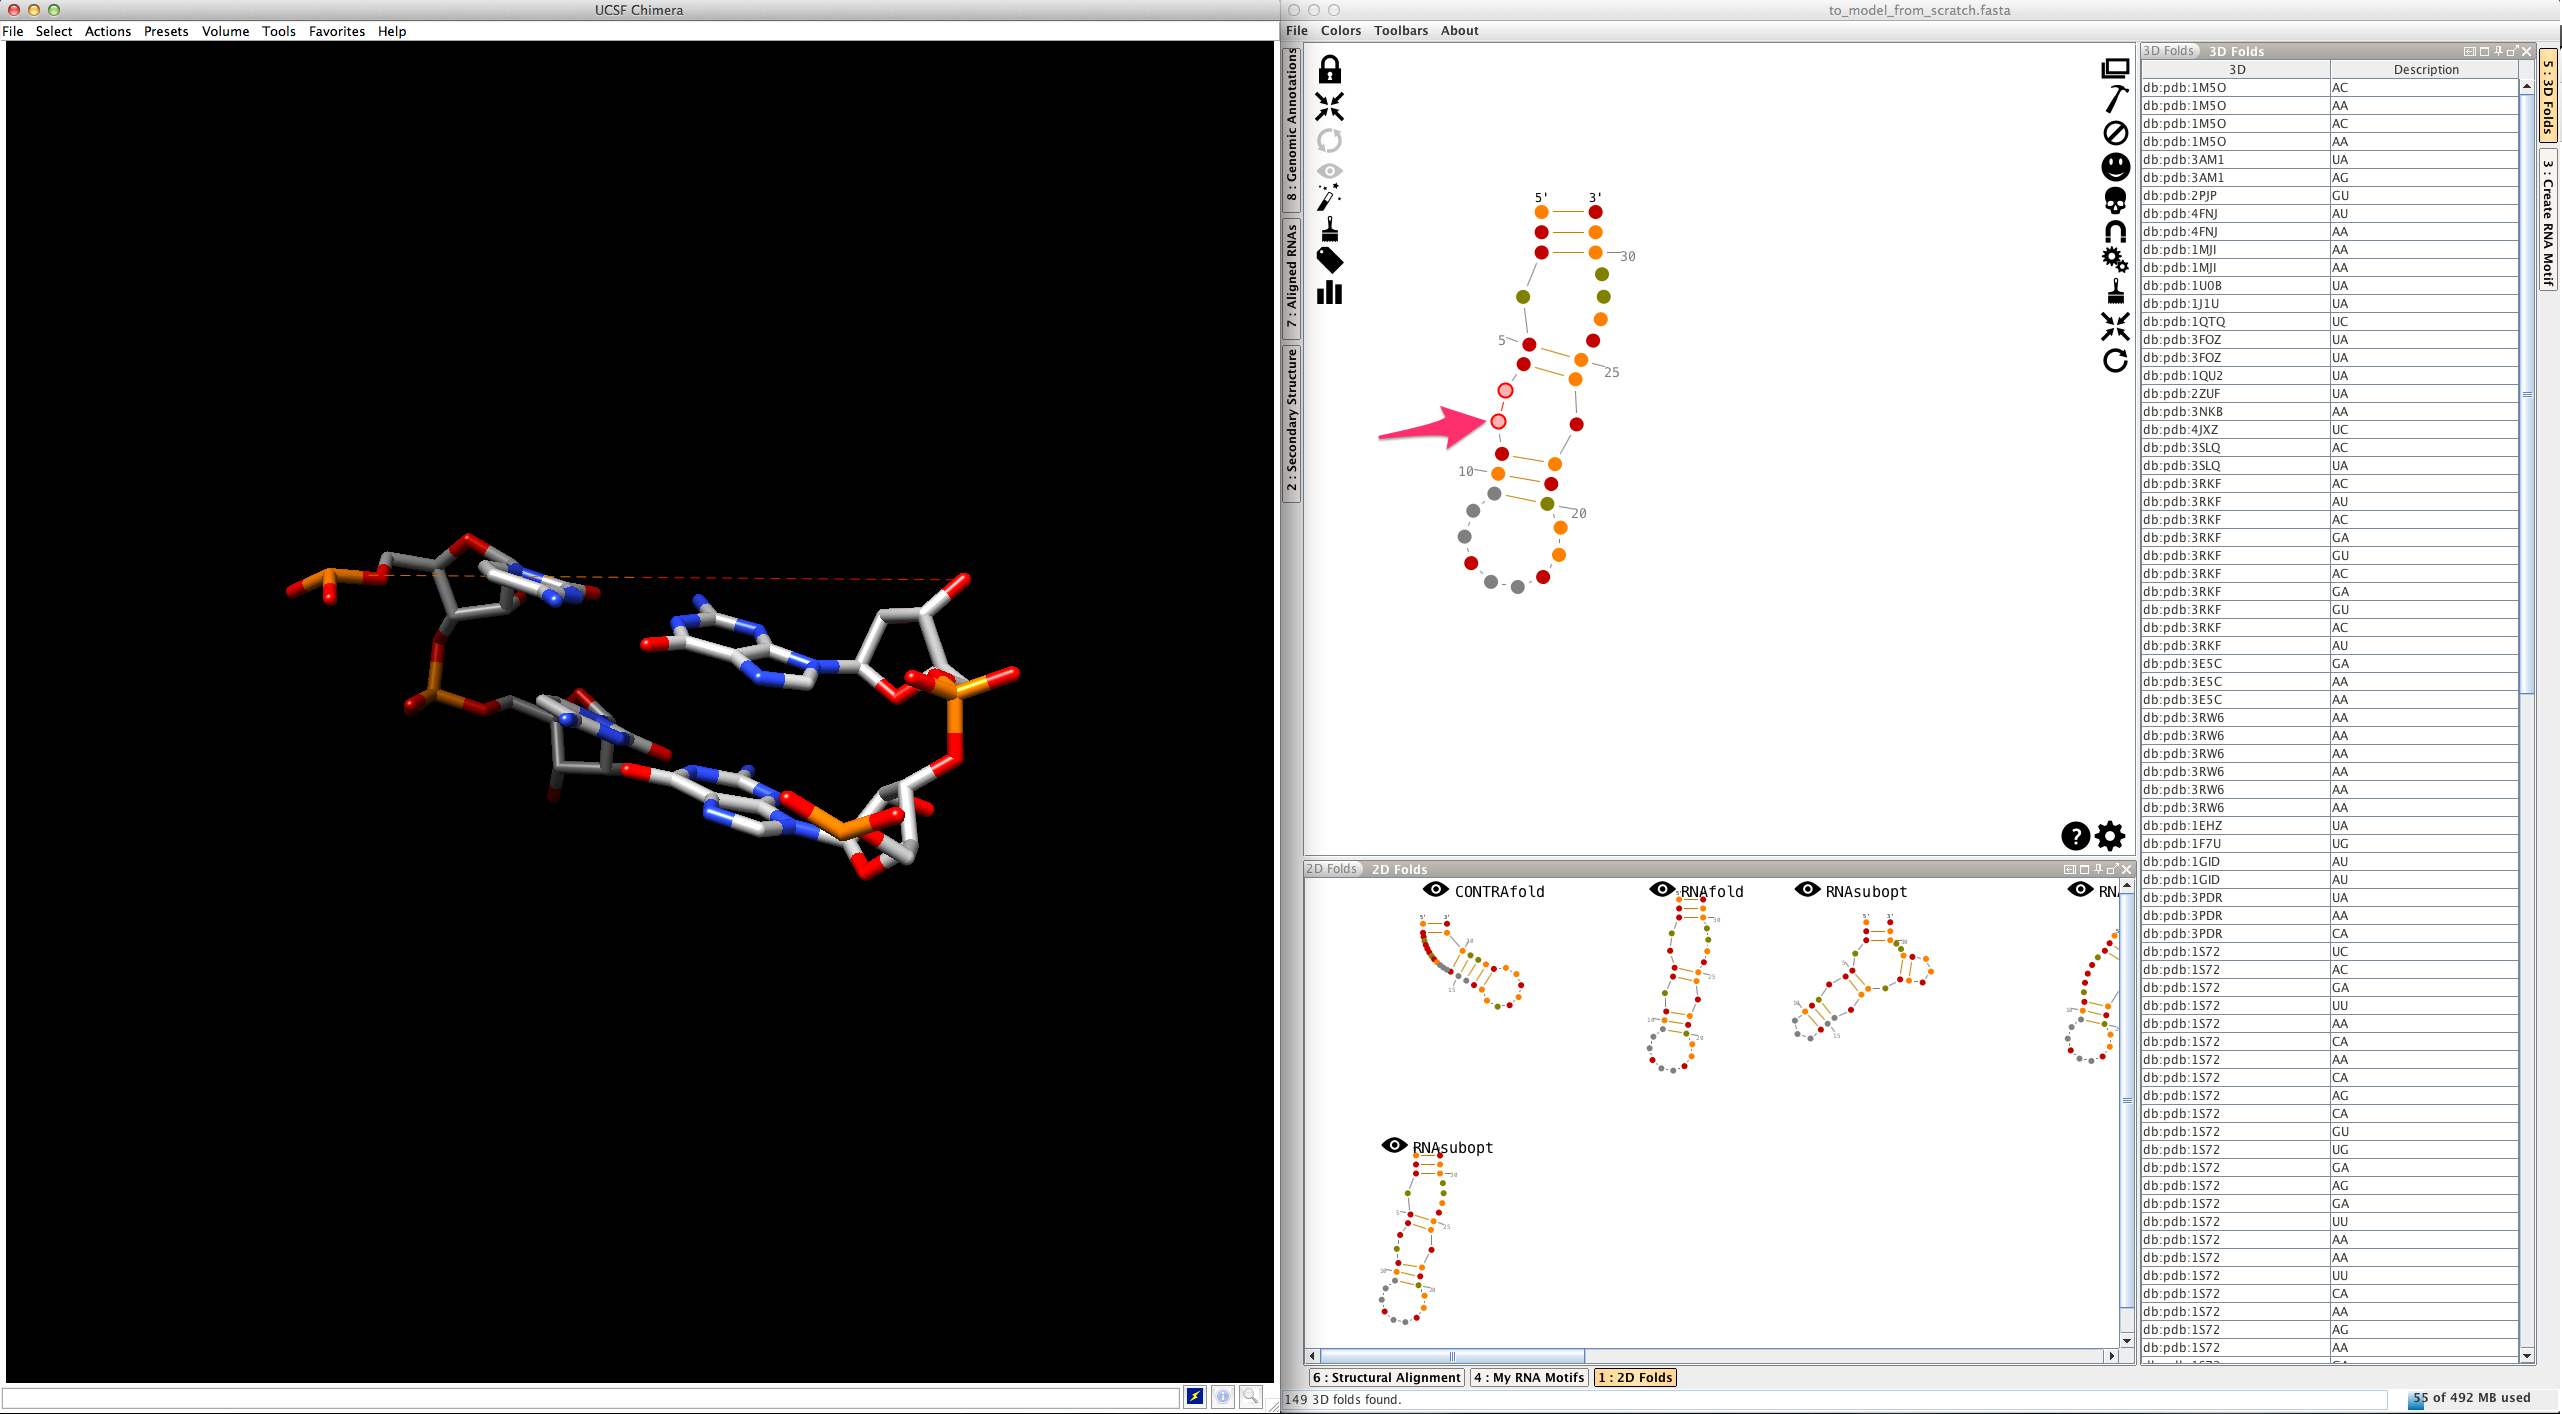
Assemble2 will open the lateral panel named "3D folds", listing single-strands extracted from solved tertiary structures and having compatible length.
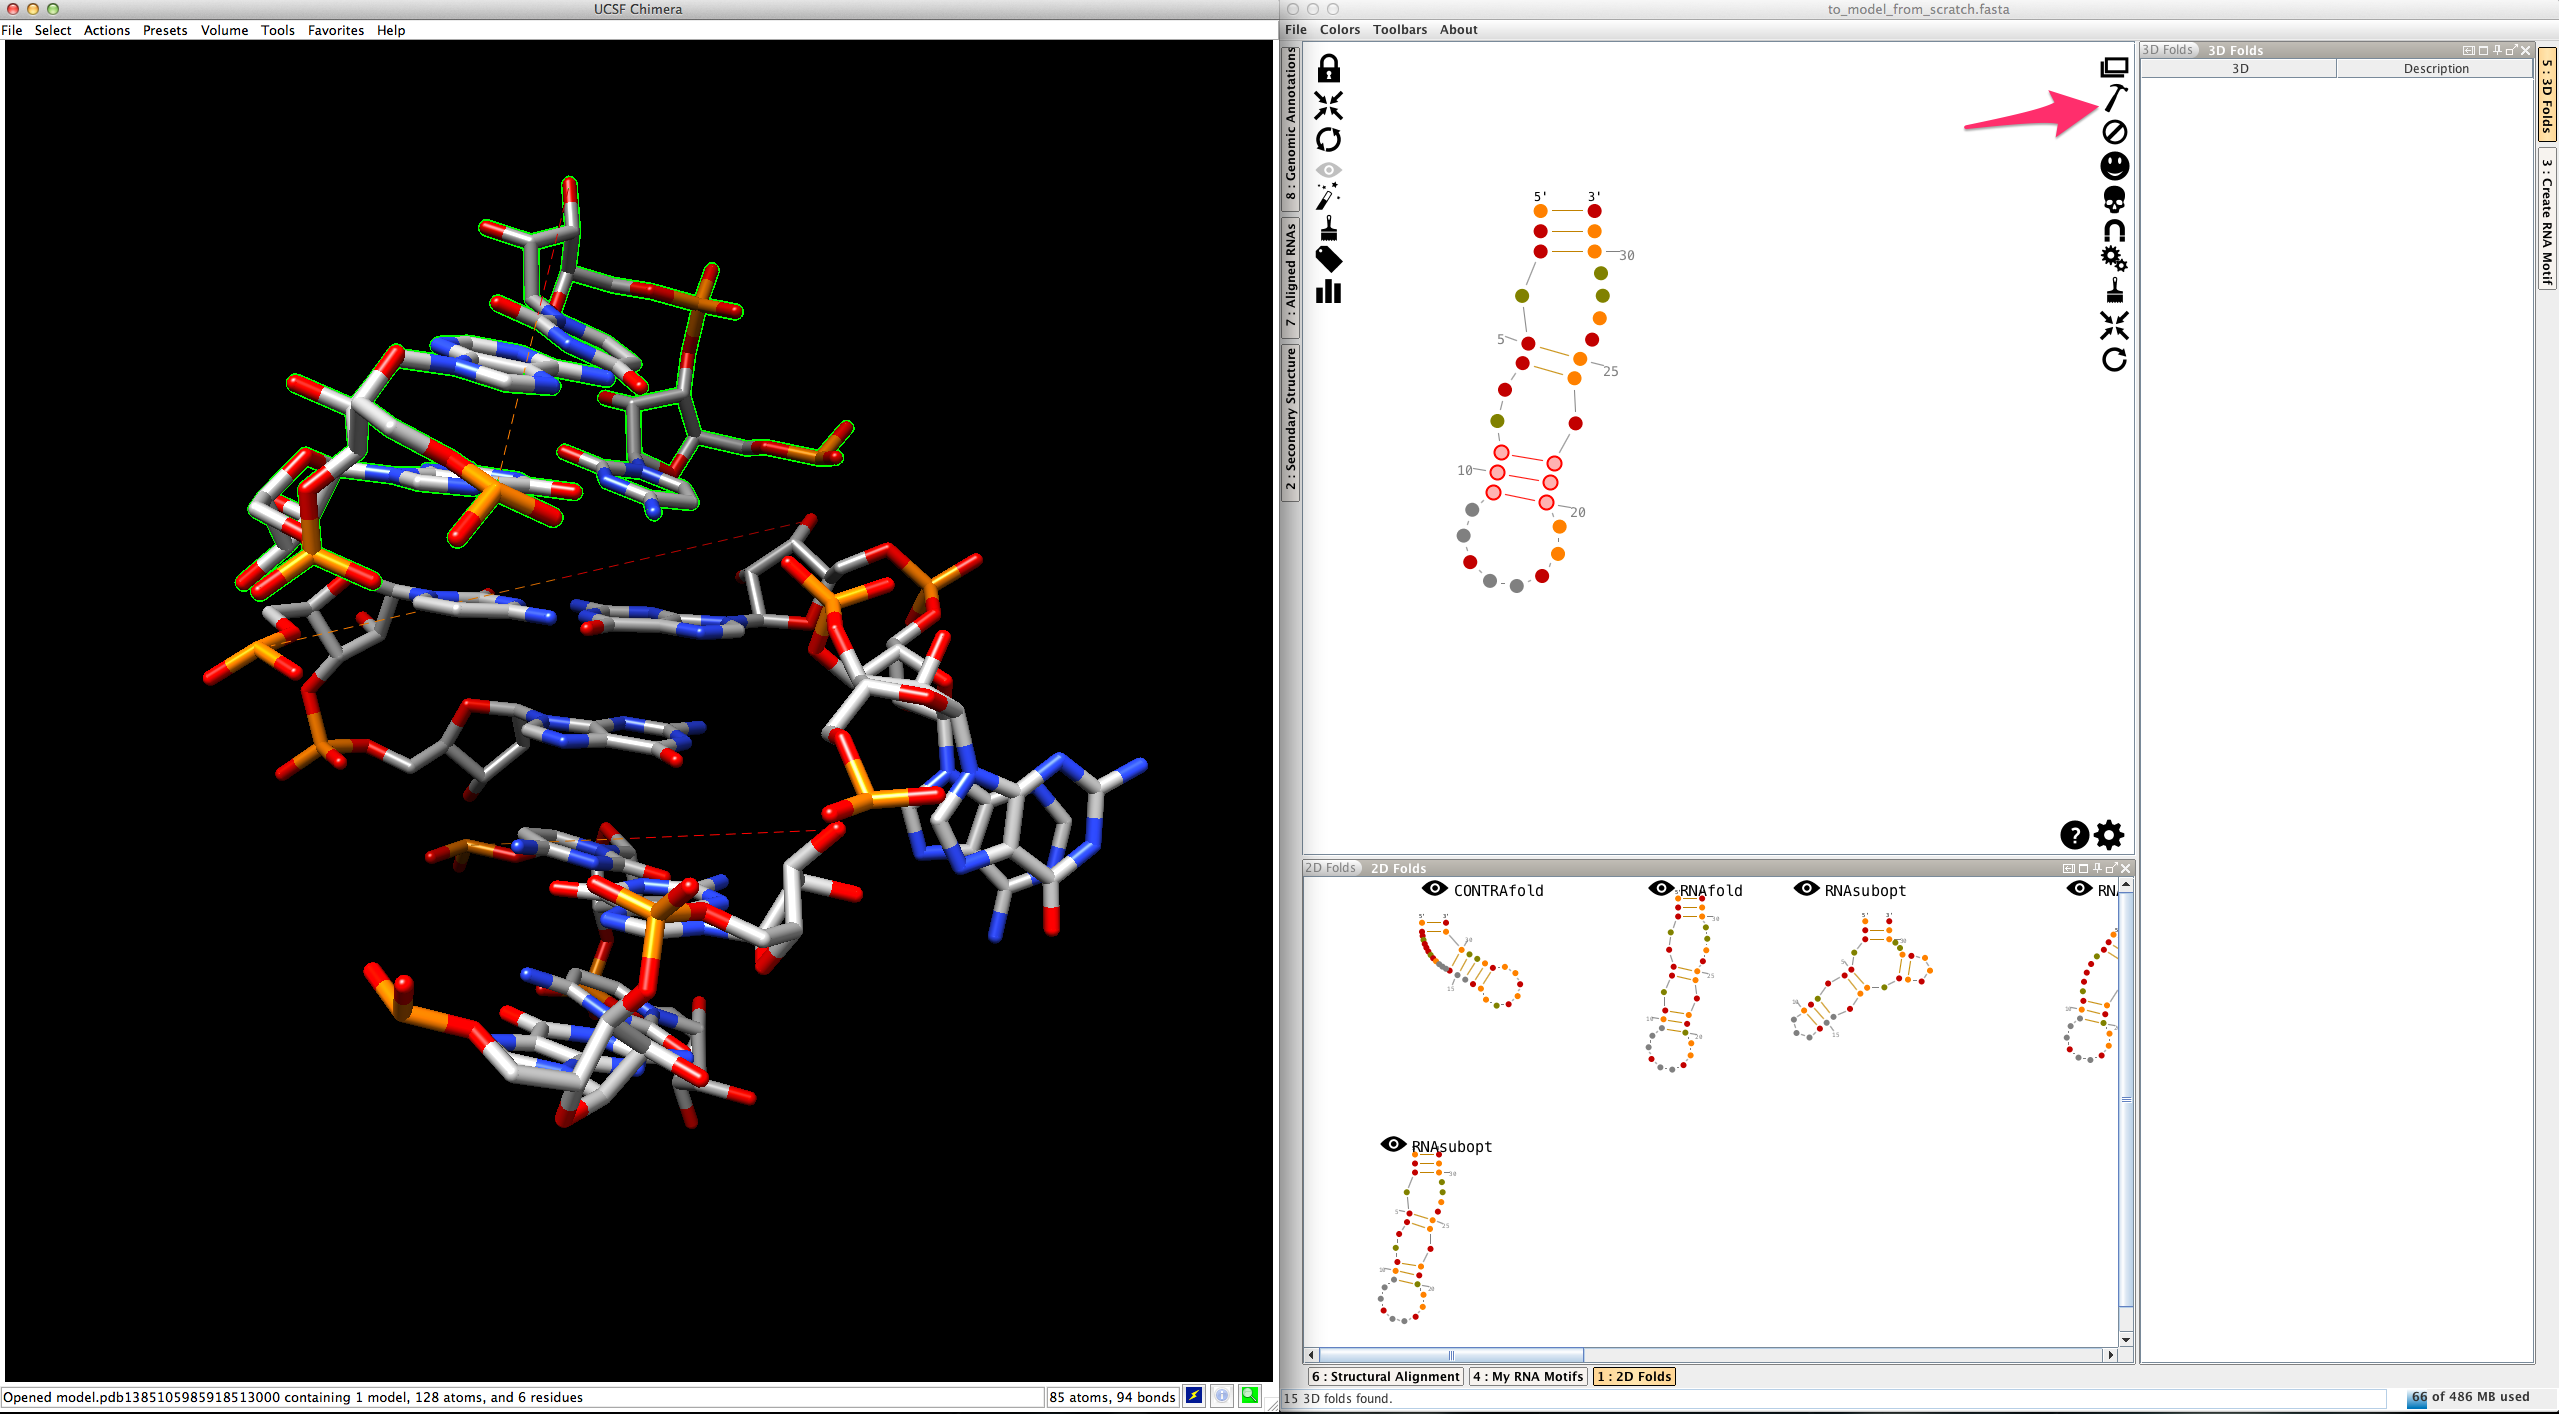
Select an entry in the list and click on
to apply its 3D fold to your selection and to export it in Chimera: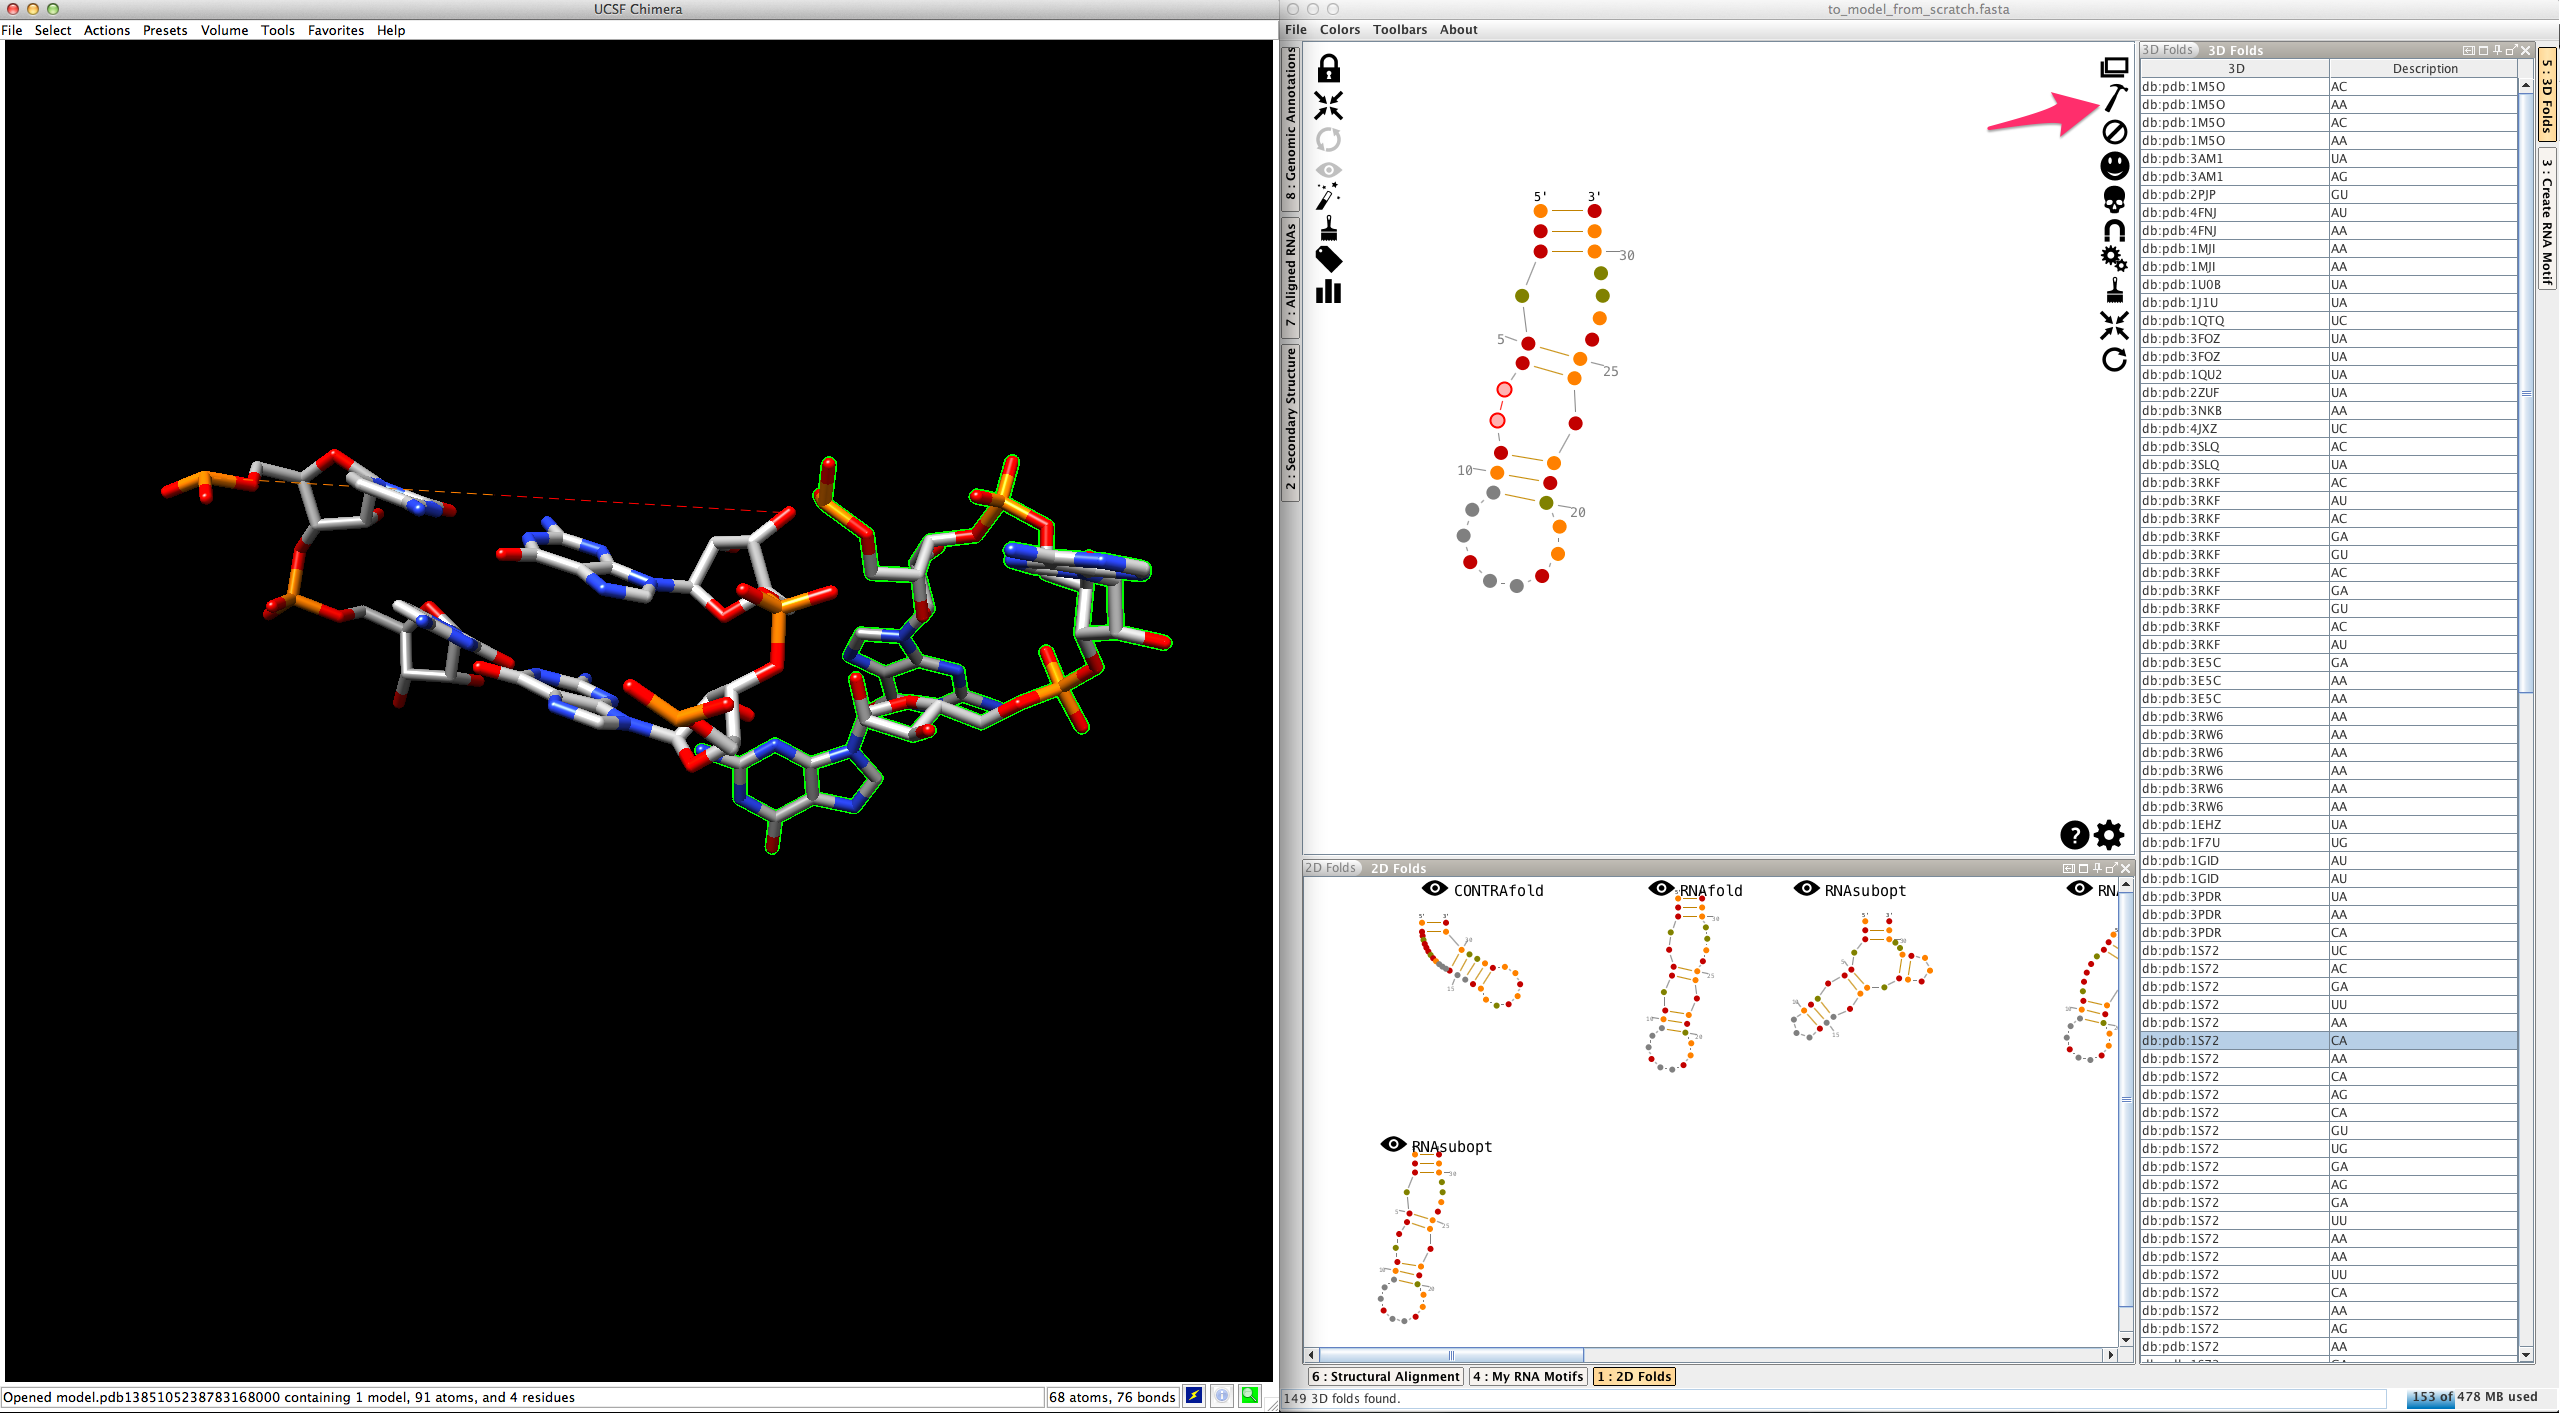
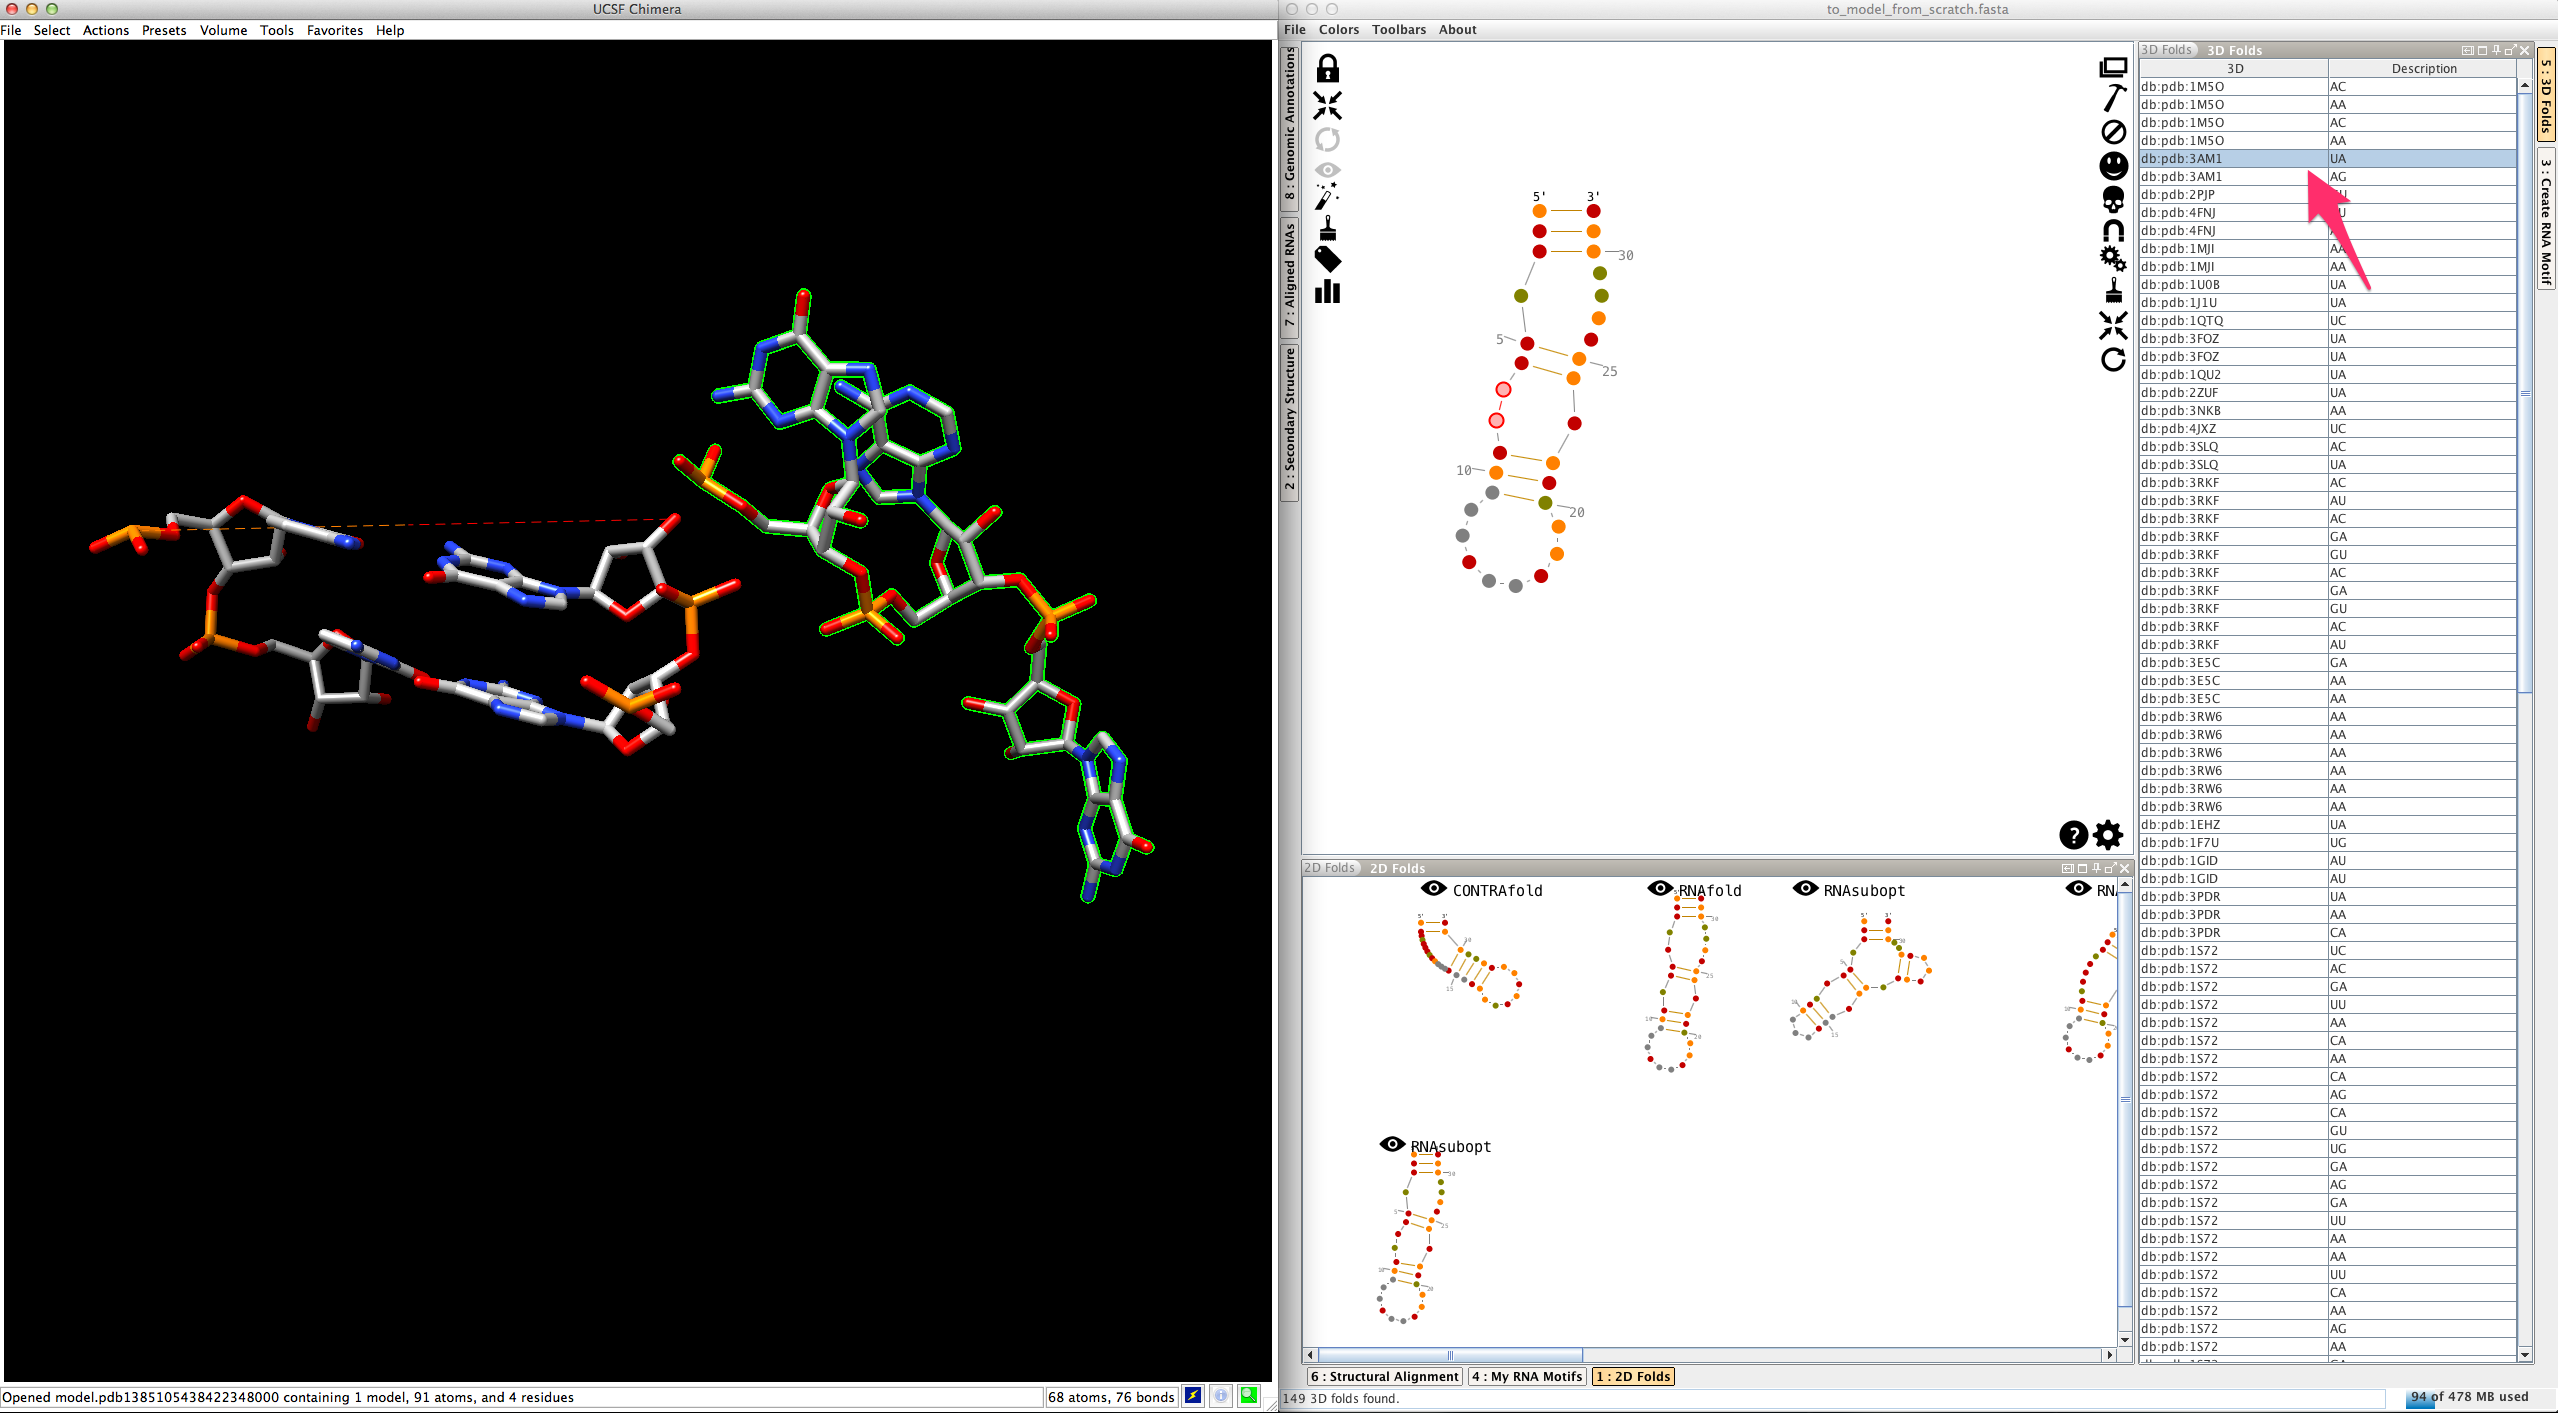
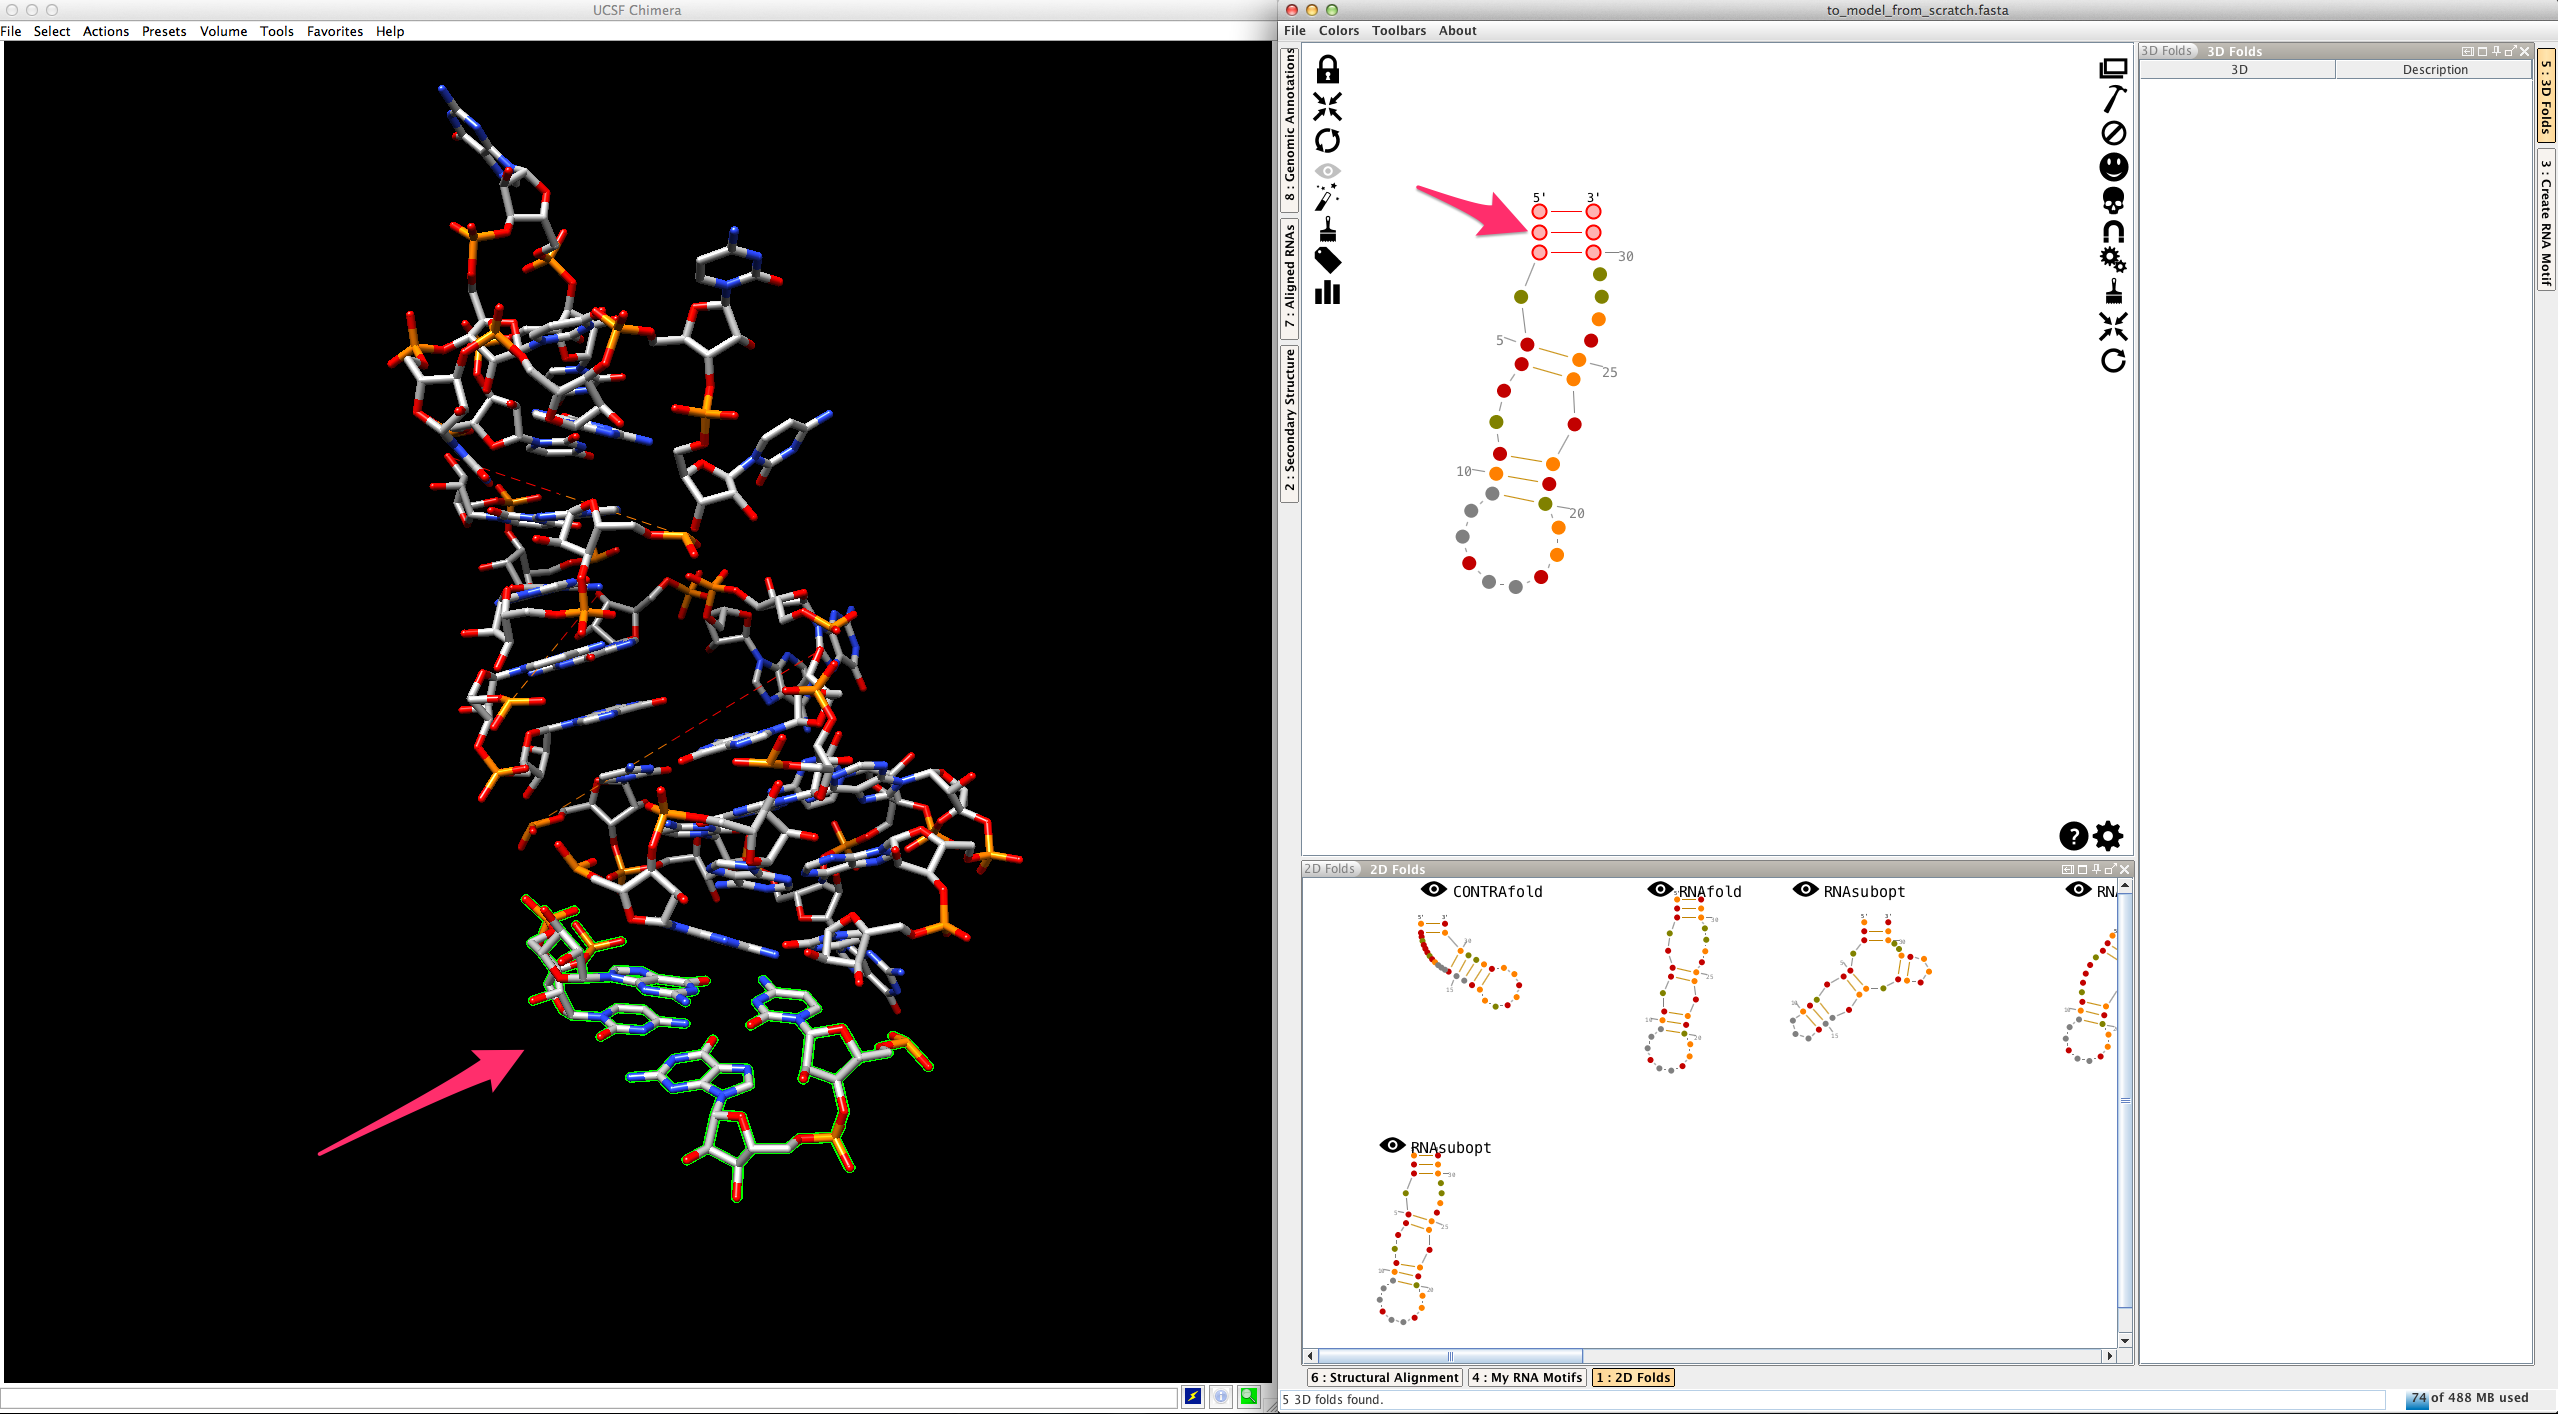
As for junctions, you can test a different entry afterwards:
Now you can do the same for the second single-strand making the junction:
As a last option, you can also create single-strands with a regular helical fold. To do so, once a single-strand selected, click on
without any selection in the panel "3D folds":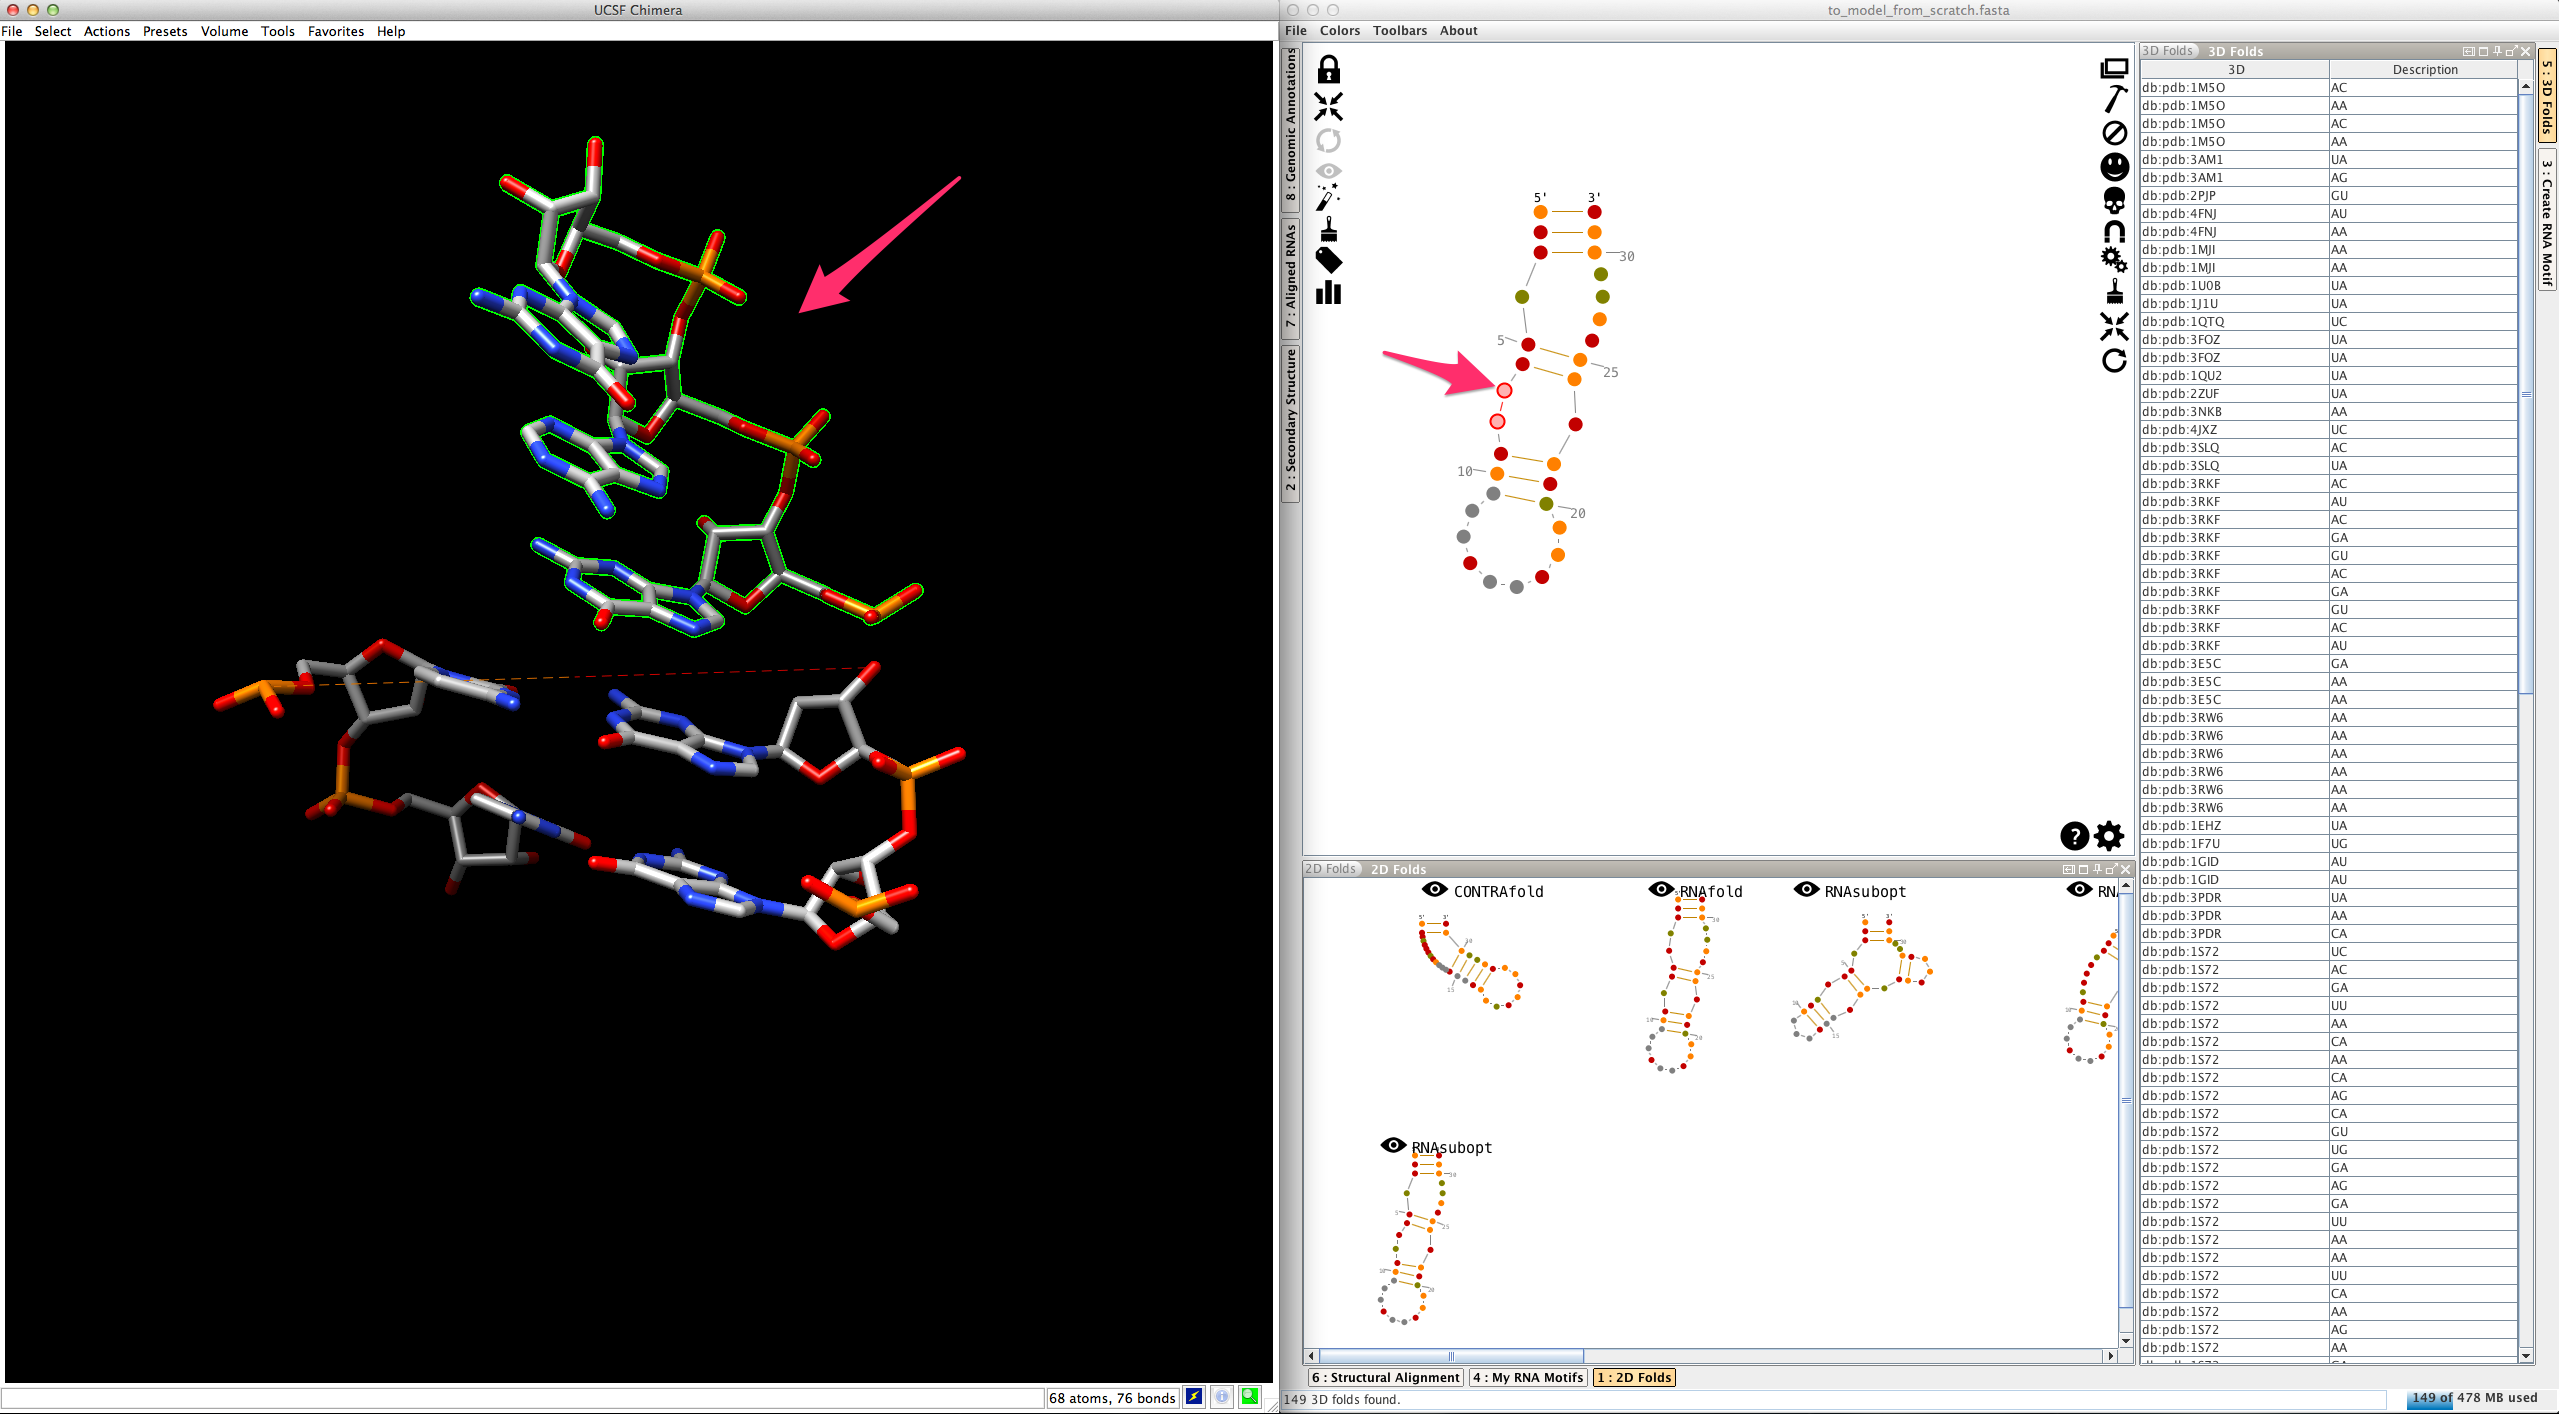
To pursue the modeling of your RNA, we will suppose that you have decided to create the junction as a single piece. You can see that Assemble2 has also created "sticky" residues that will be used to clip the next helix:
Select the next helix:
And create it. The new helix is automatically clipped to the 3D model:
Now, select and create the apical loop, using one of the 3D folds listed in the lateral panel:
Now we need to model the bottom part of your RNA. Select and create the last junction, using one of the 3D folds listed in the lateral panel:
And the last helix...
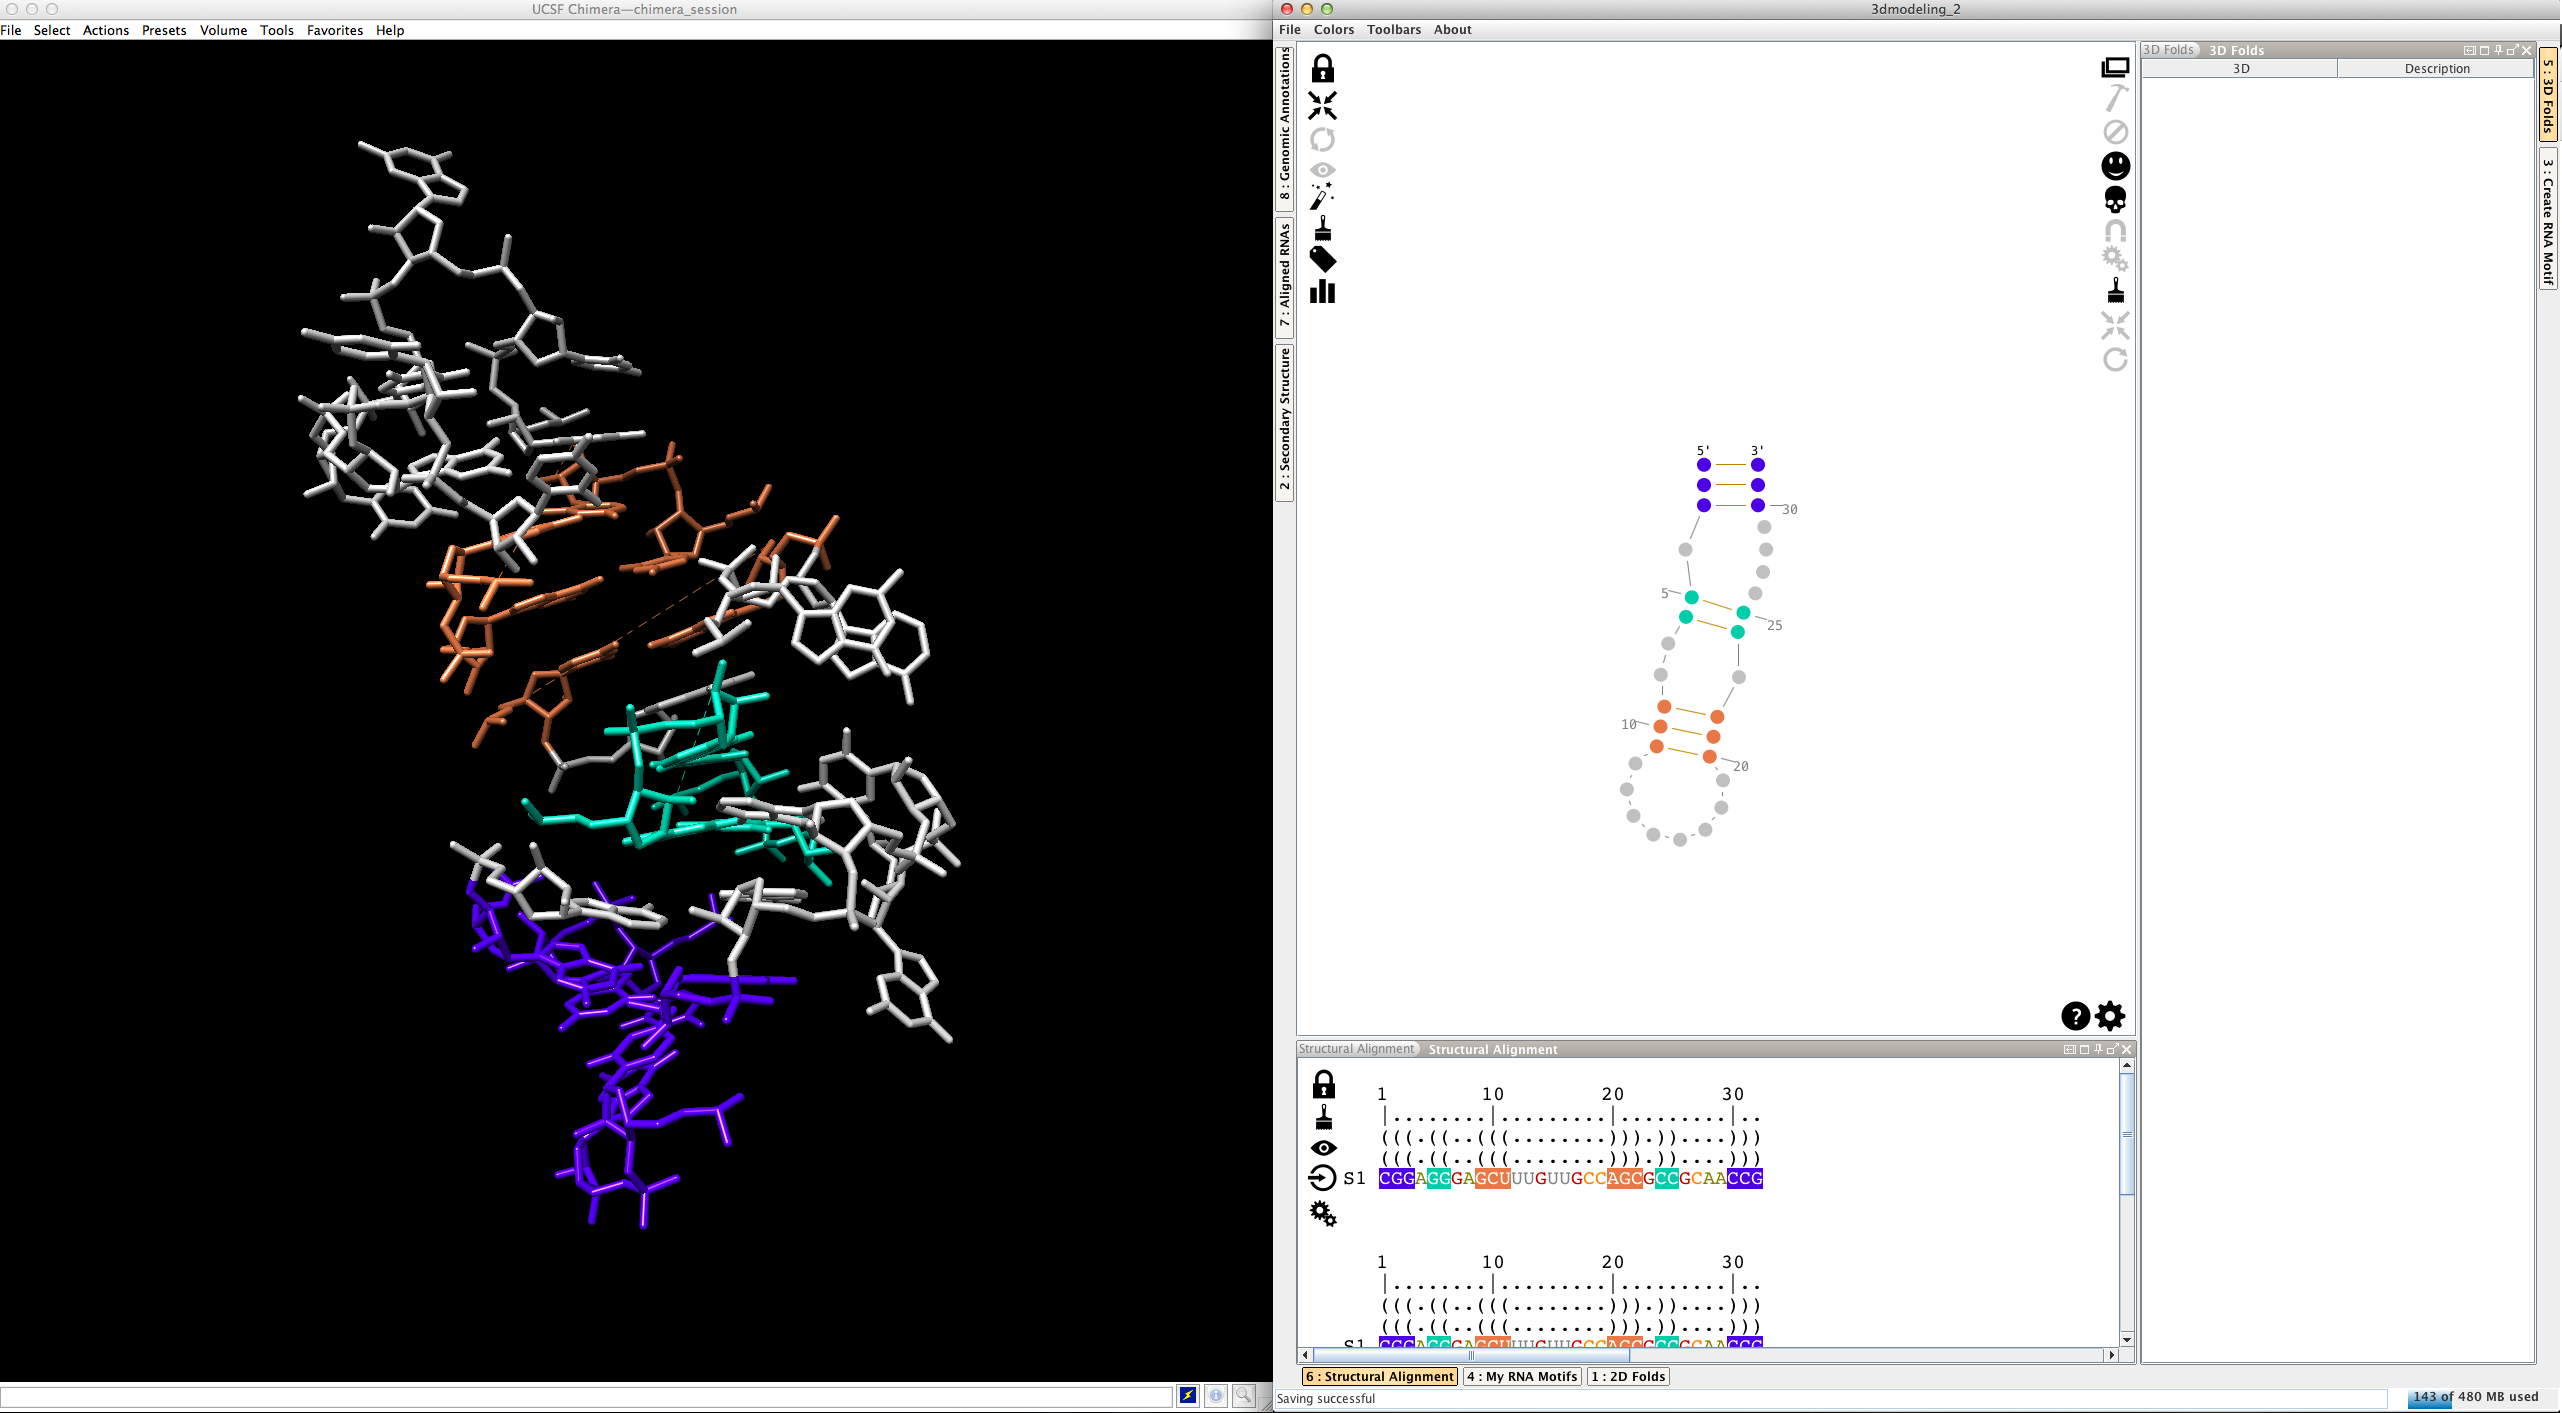
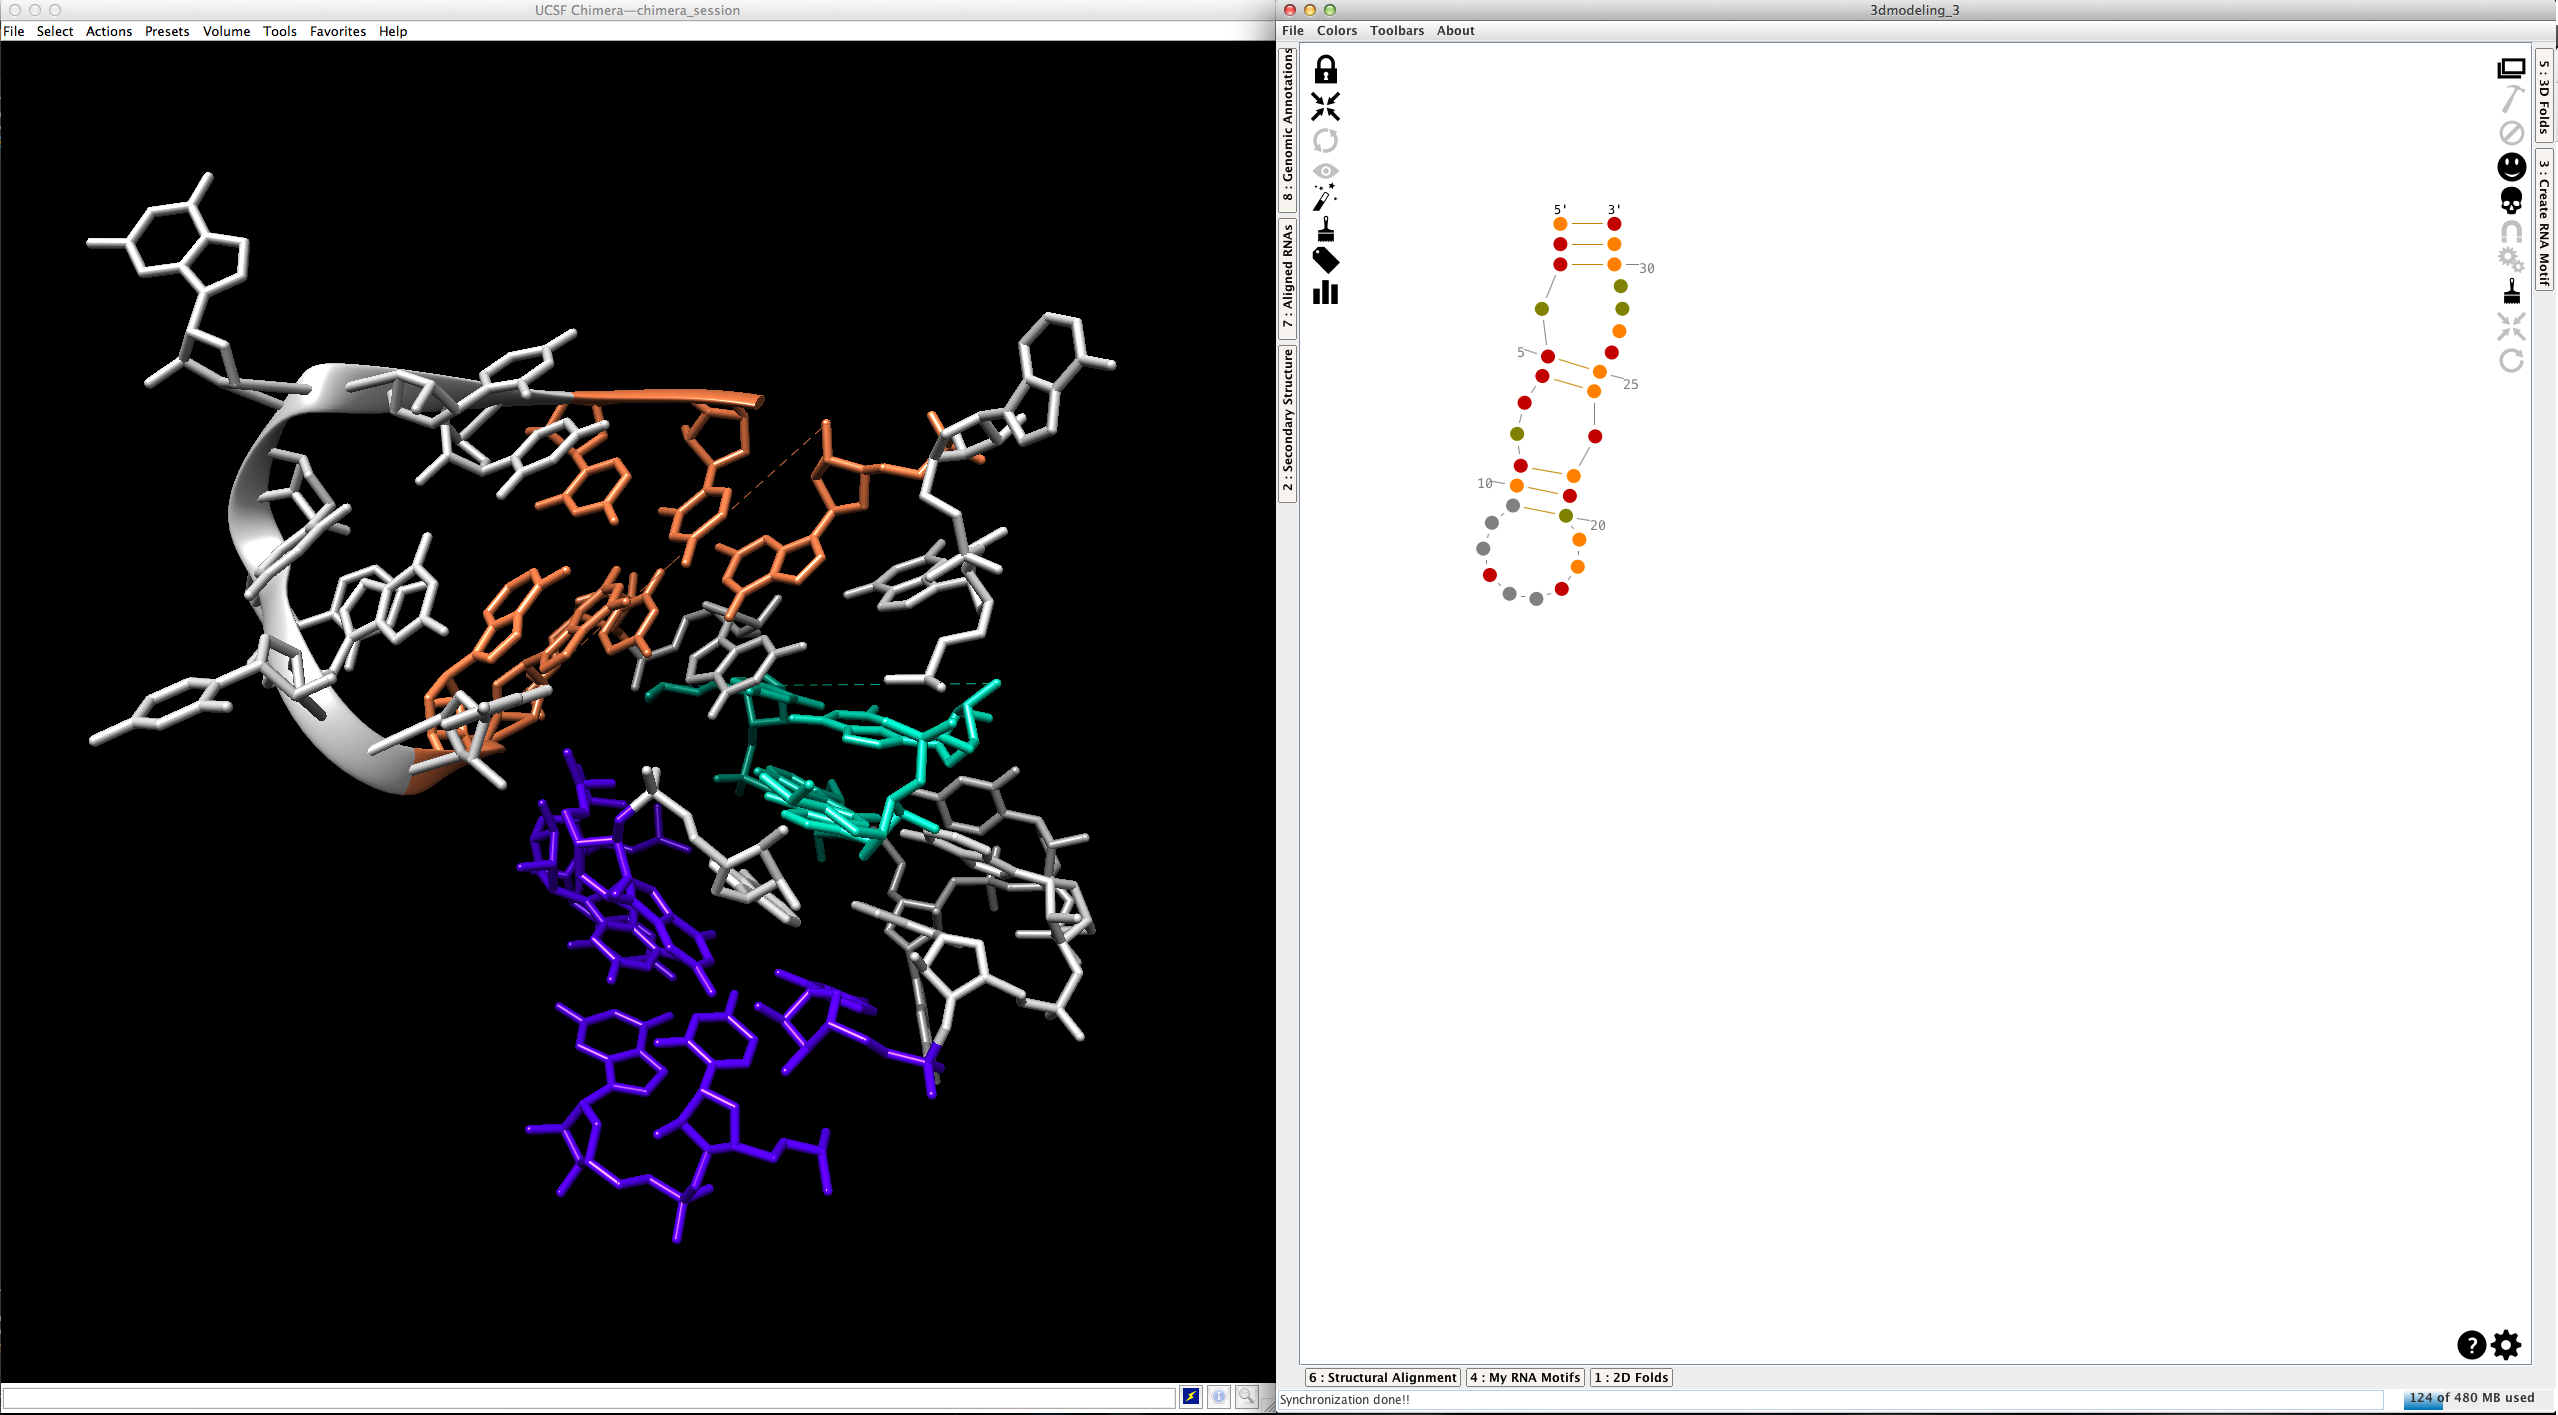
Now, we can use colors to highlights the different pieces created (the helices are colored, the single-strands and junctions are in grey, see here and here for details):
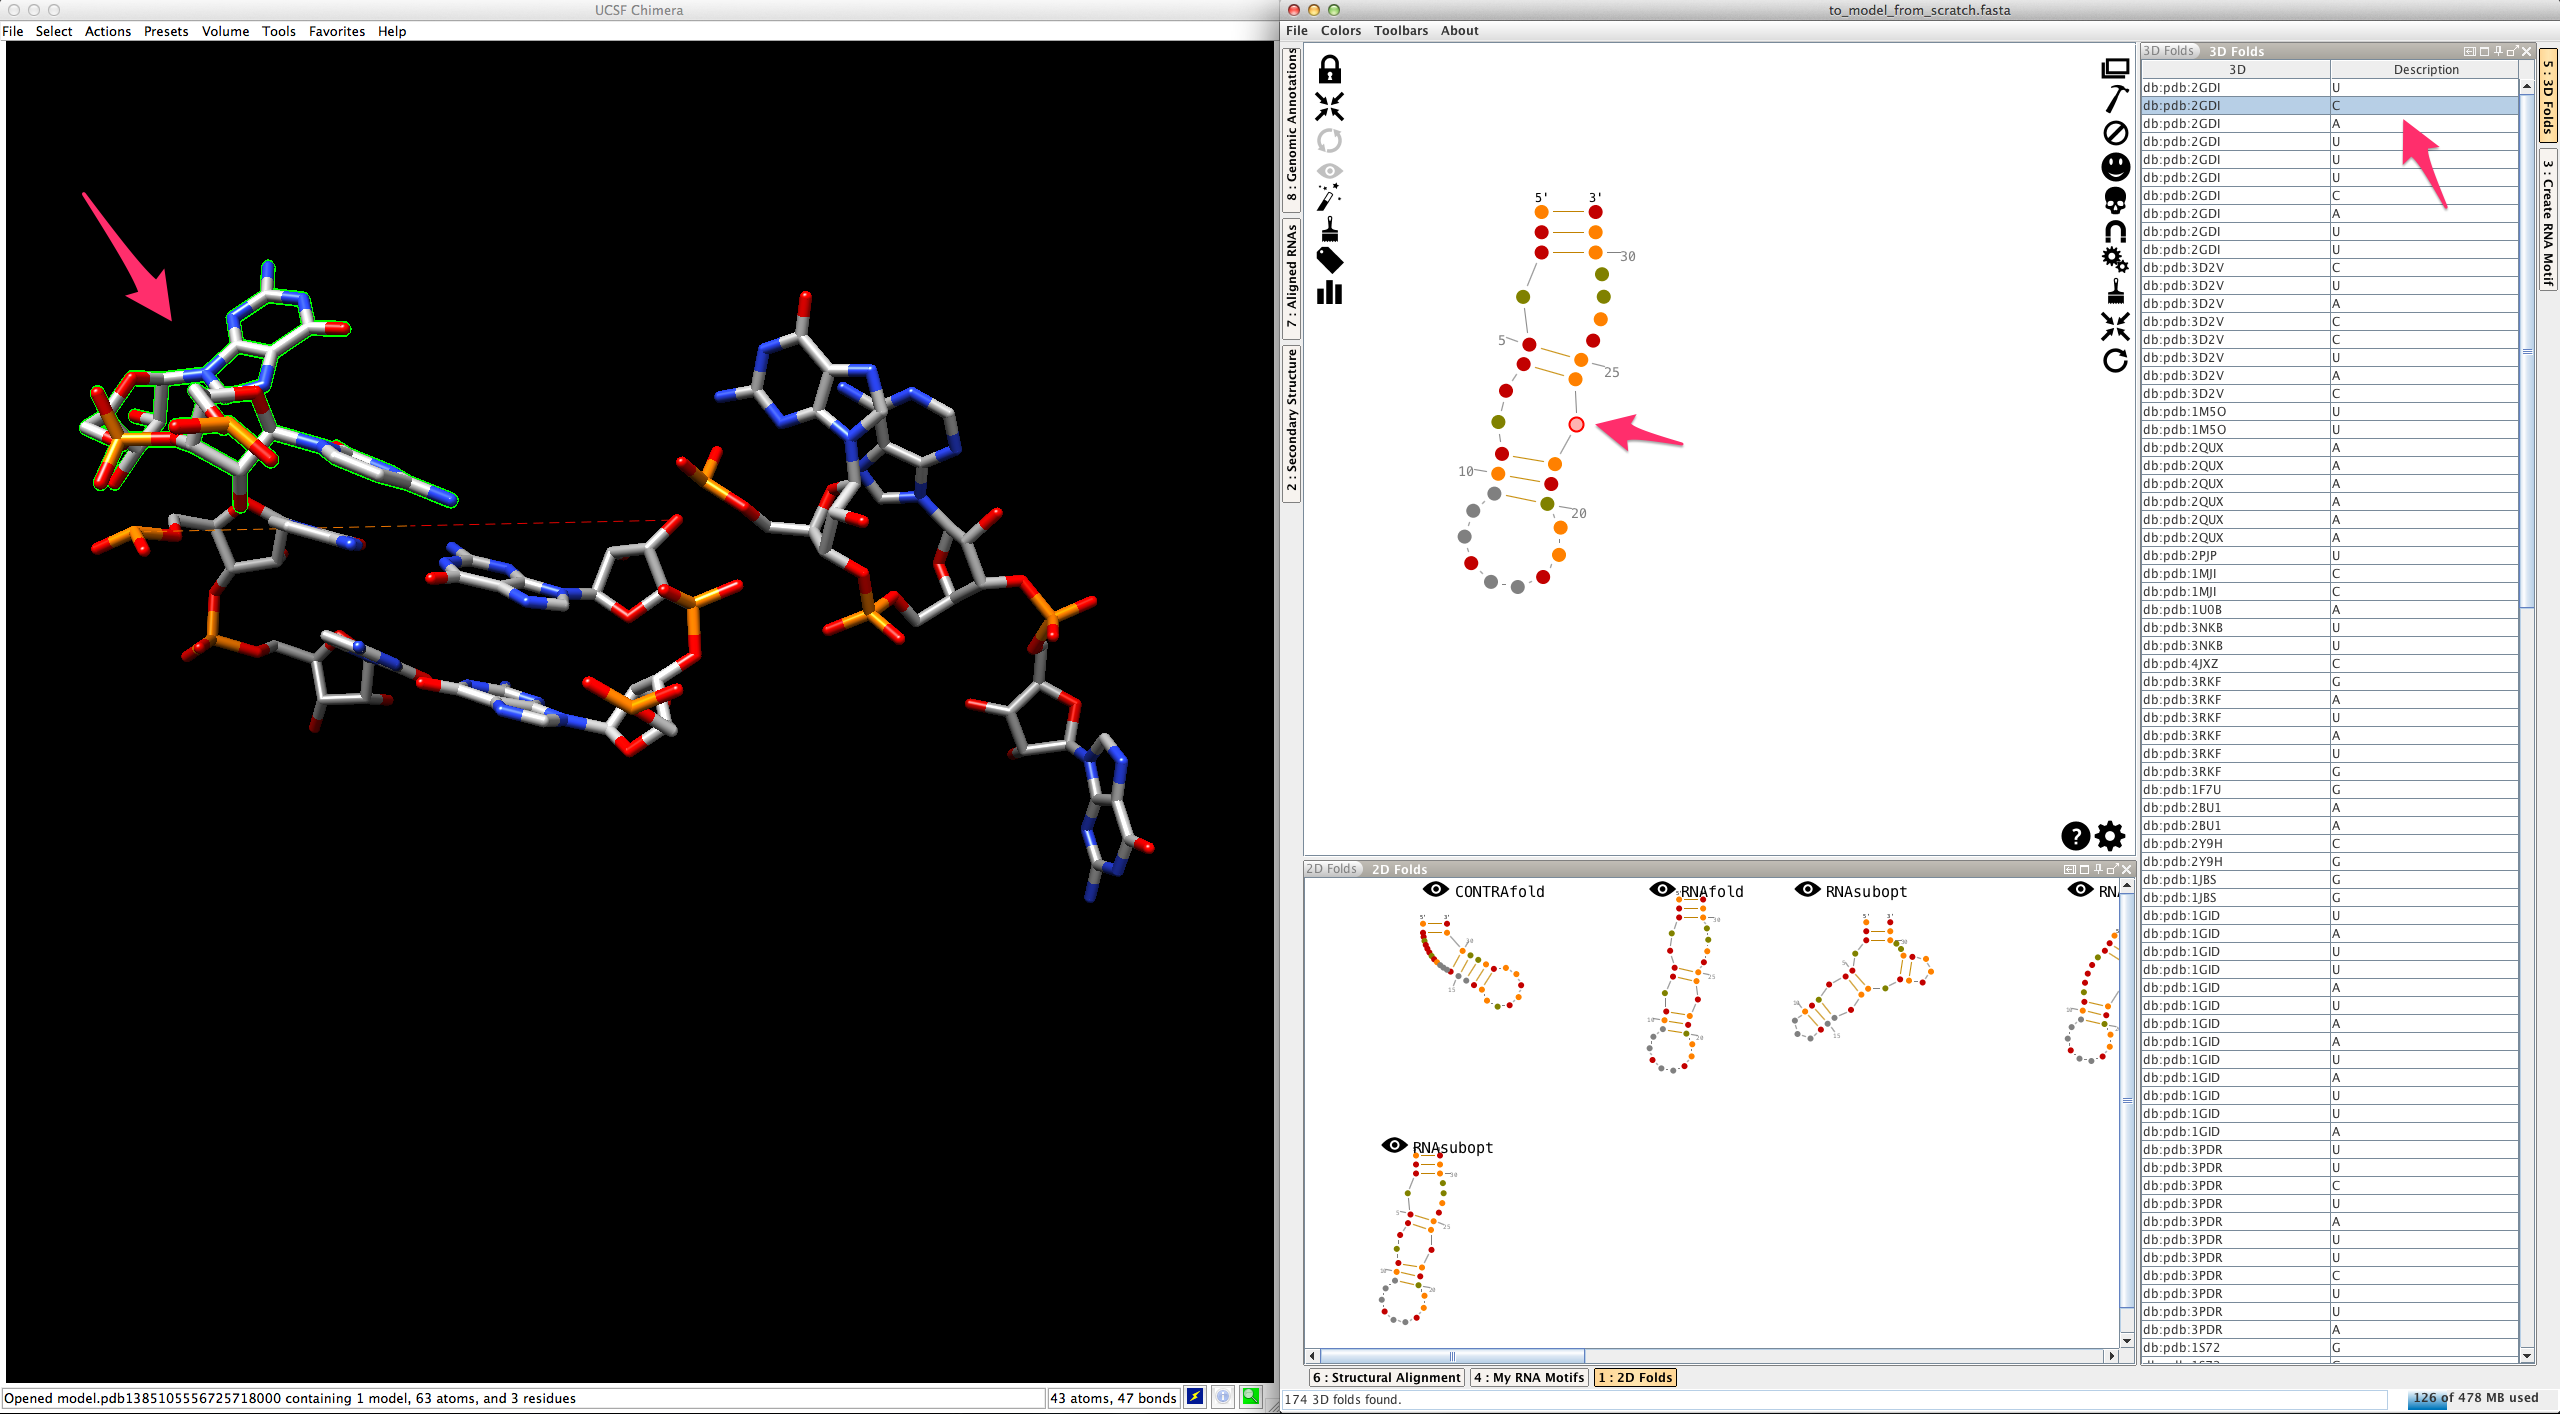
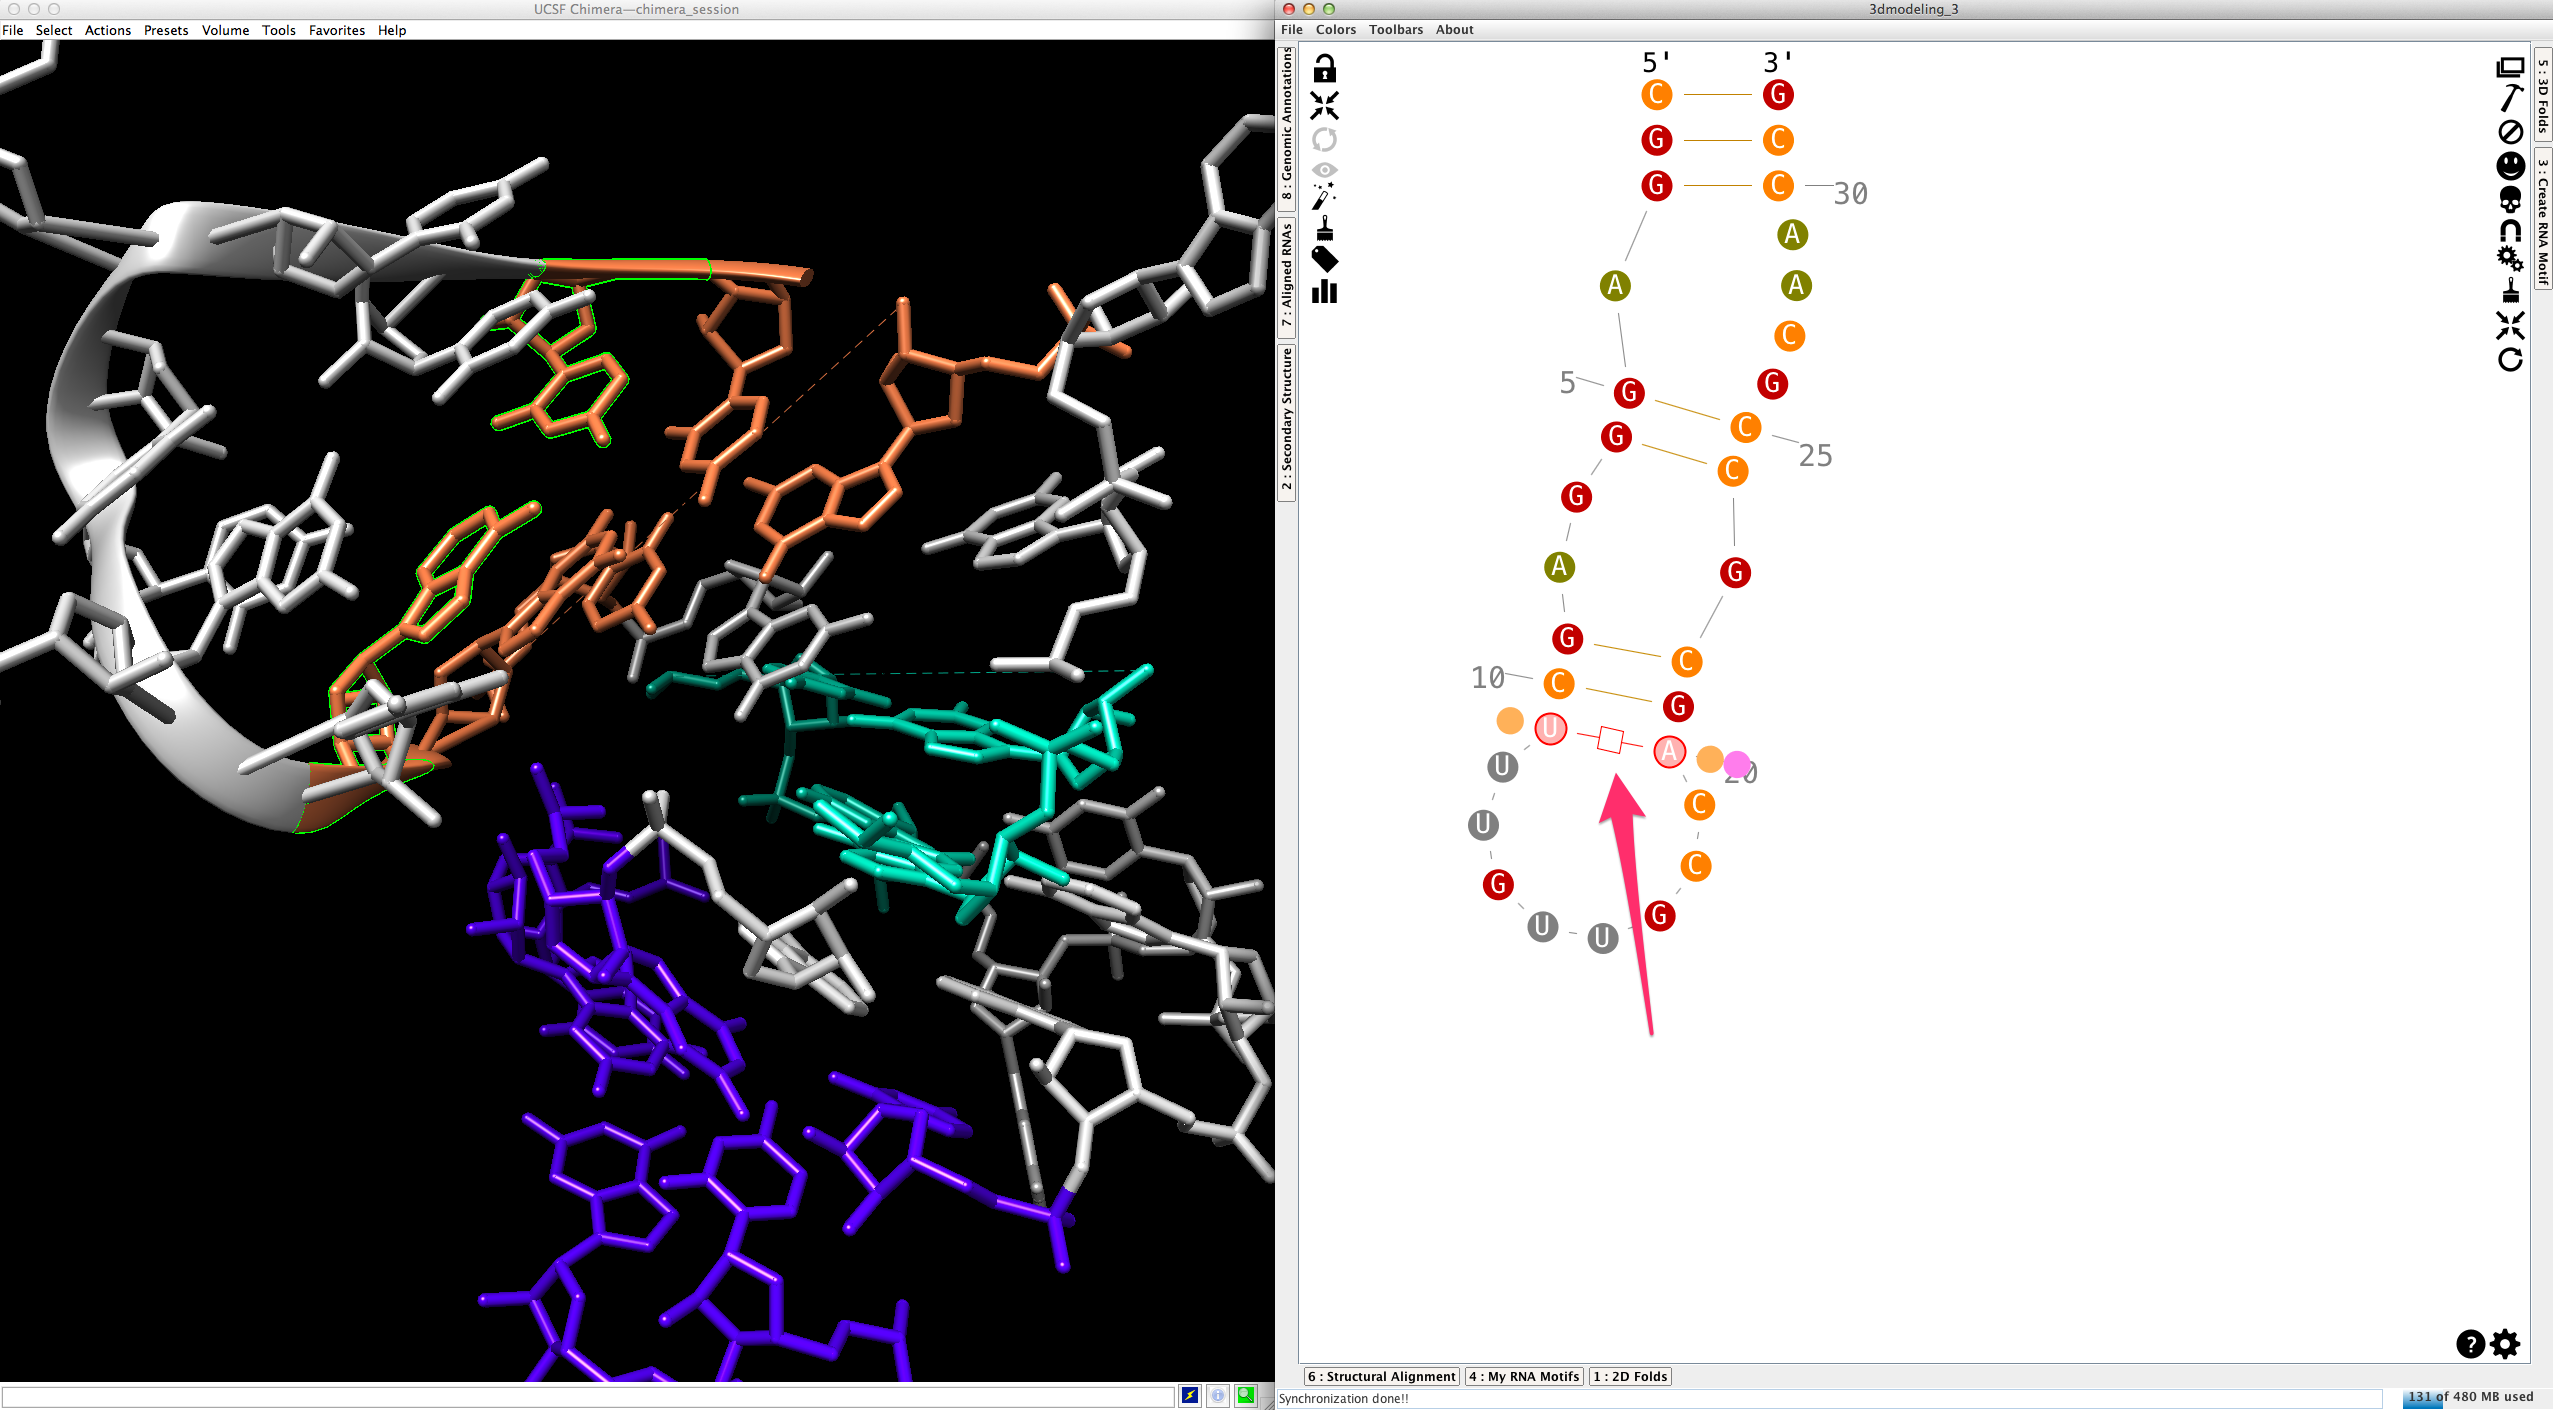
At any moment, you can apply a different 3D fold to a single-strand or a junction:
By doing so, the new 3D fold could produce a different local orientation, with the consequence that some residues are not clipped anymore:

To fix the 3D model, select the residues to be clipped (remember that the first base-pair has been re-created with the new 3D fold, and is consequently clipped):

And click on
 . All the residues selected are clipped to the residue directly upstream of the selection.
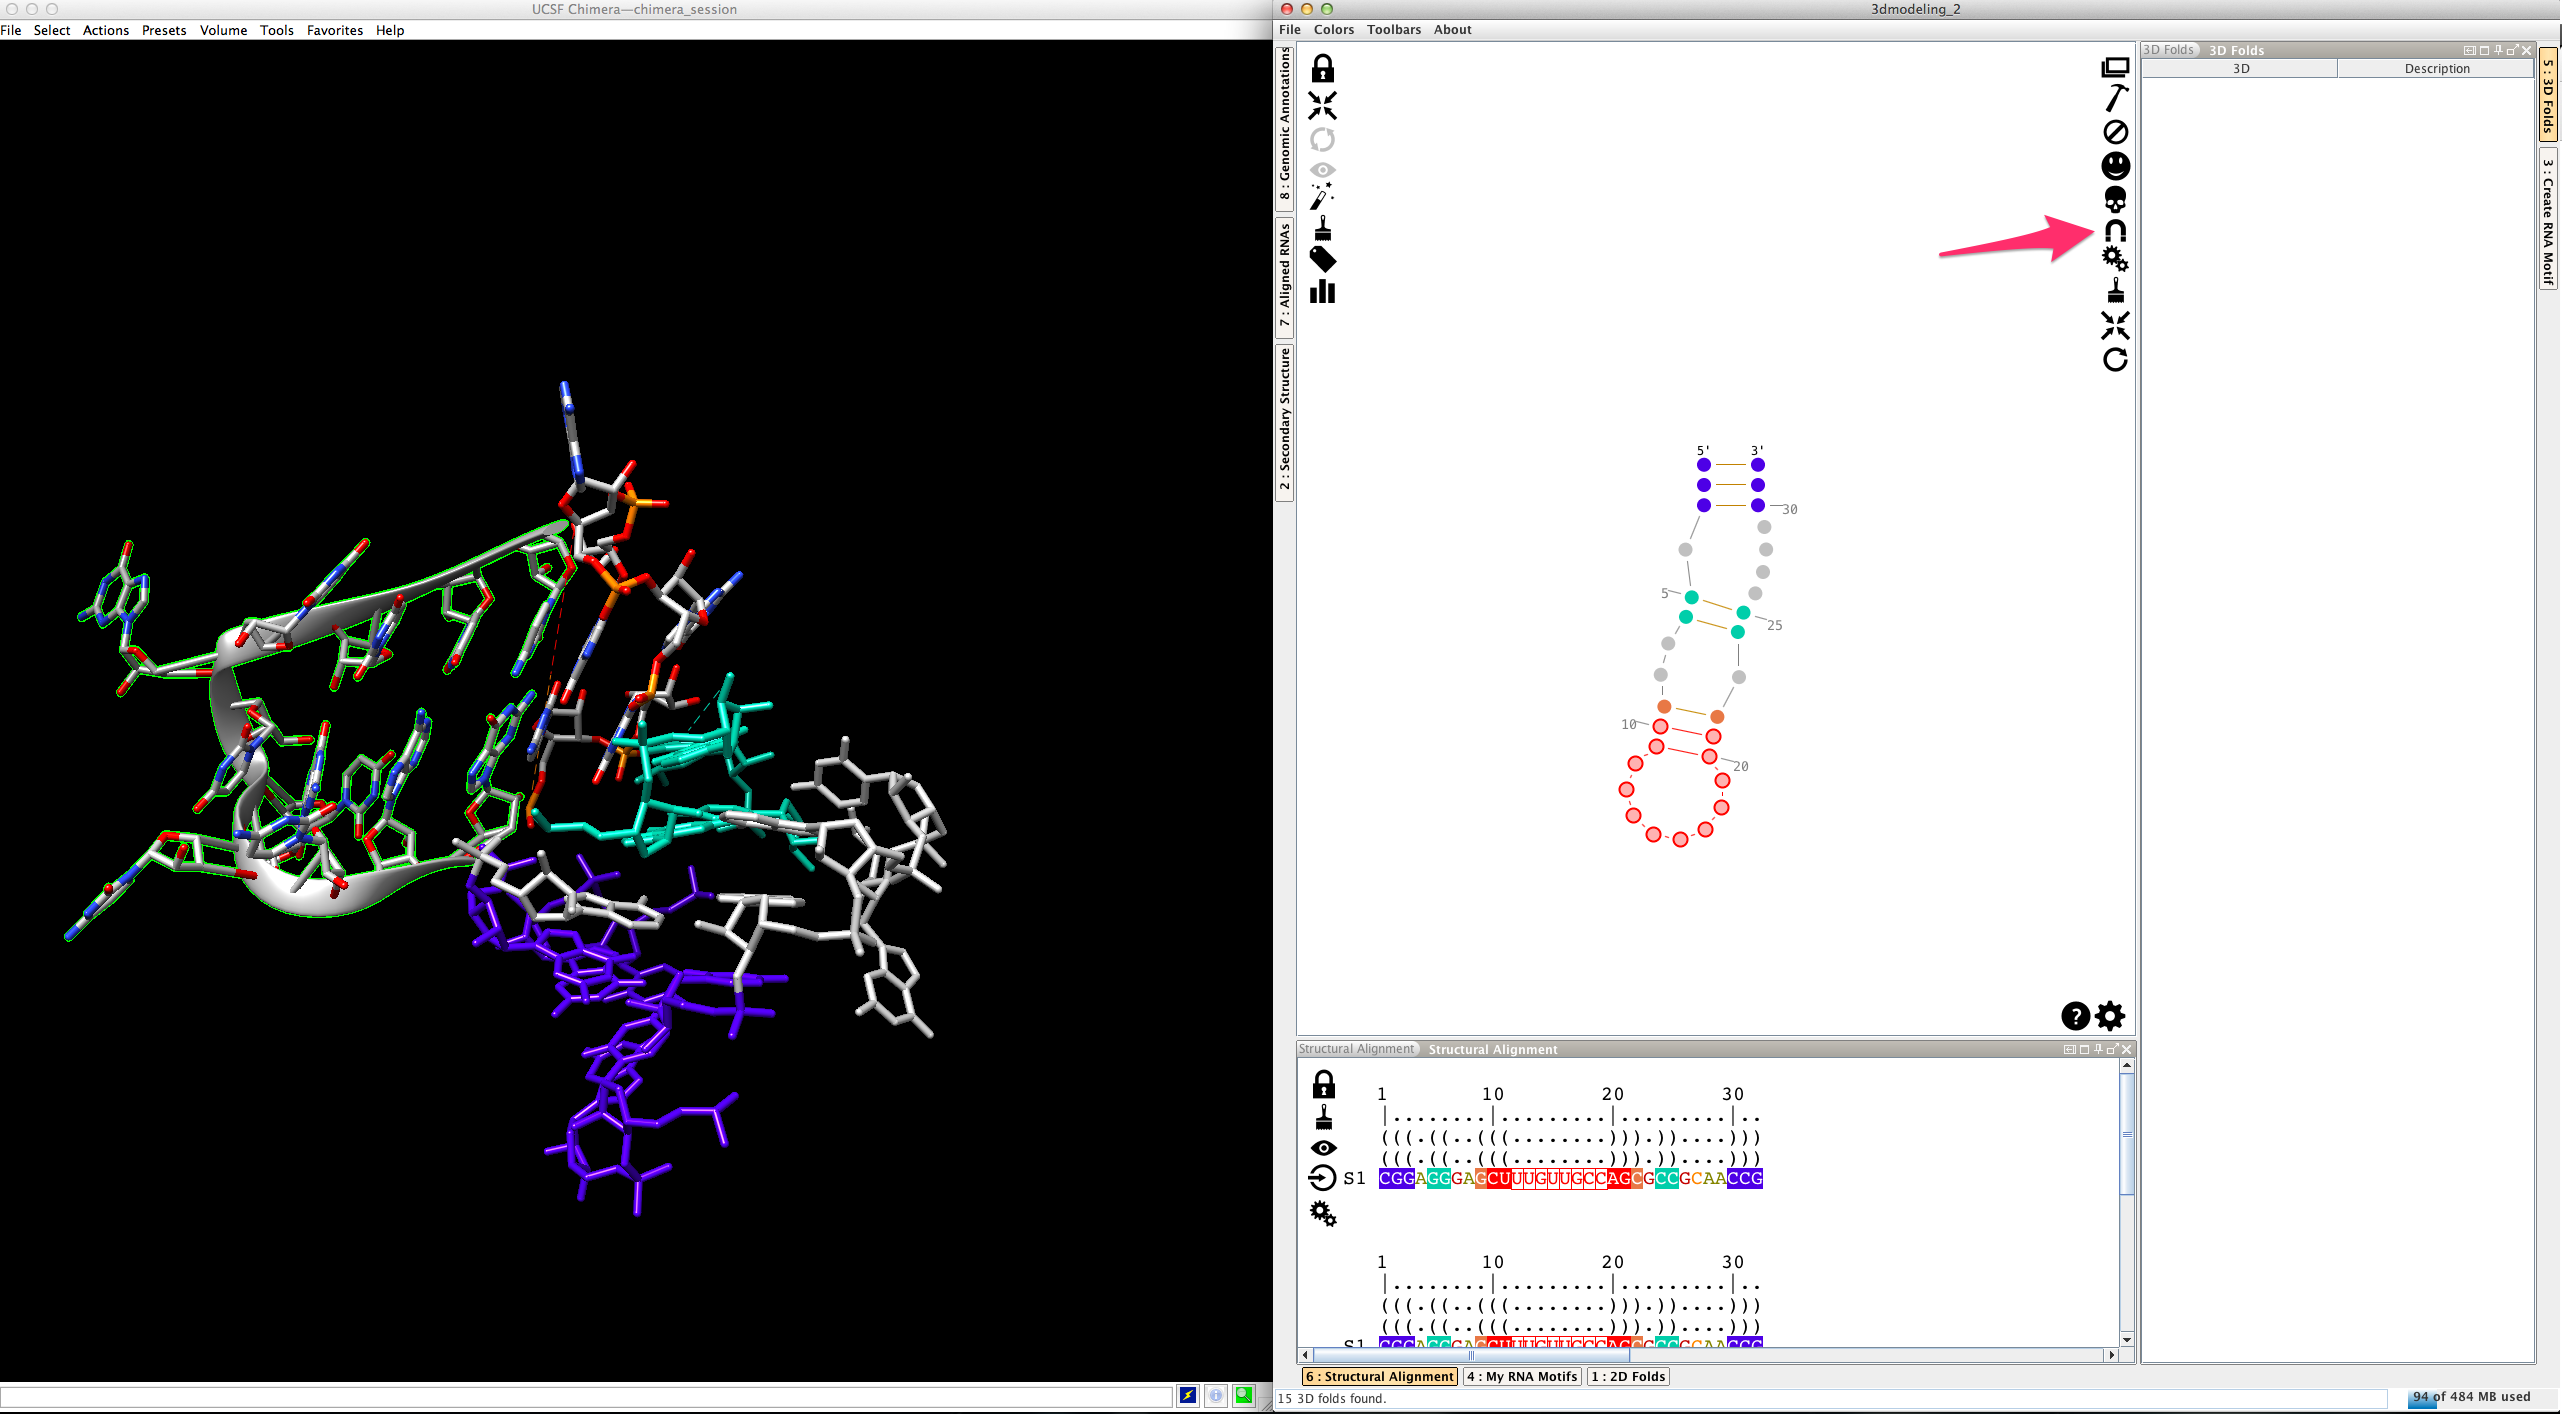
And now with the colors...

By default, helices are made exclusively with canonical cis-Watson-Crick/Watson-Crick base-pairs. Once a base-pair selected:

...you can change its type (see How to edit an RNA secondary structure?" for details):
...and substitute it for the new one by clicking on
(you can do the same for base-pairs in single-strands and junctions):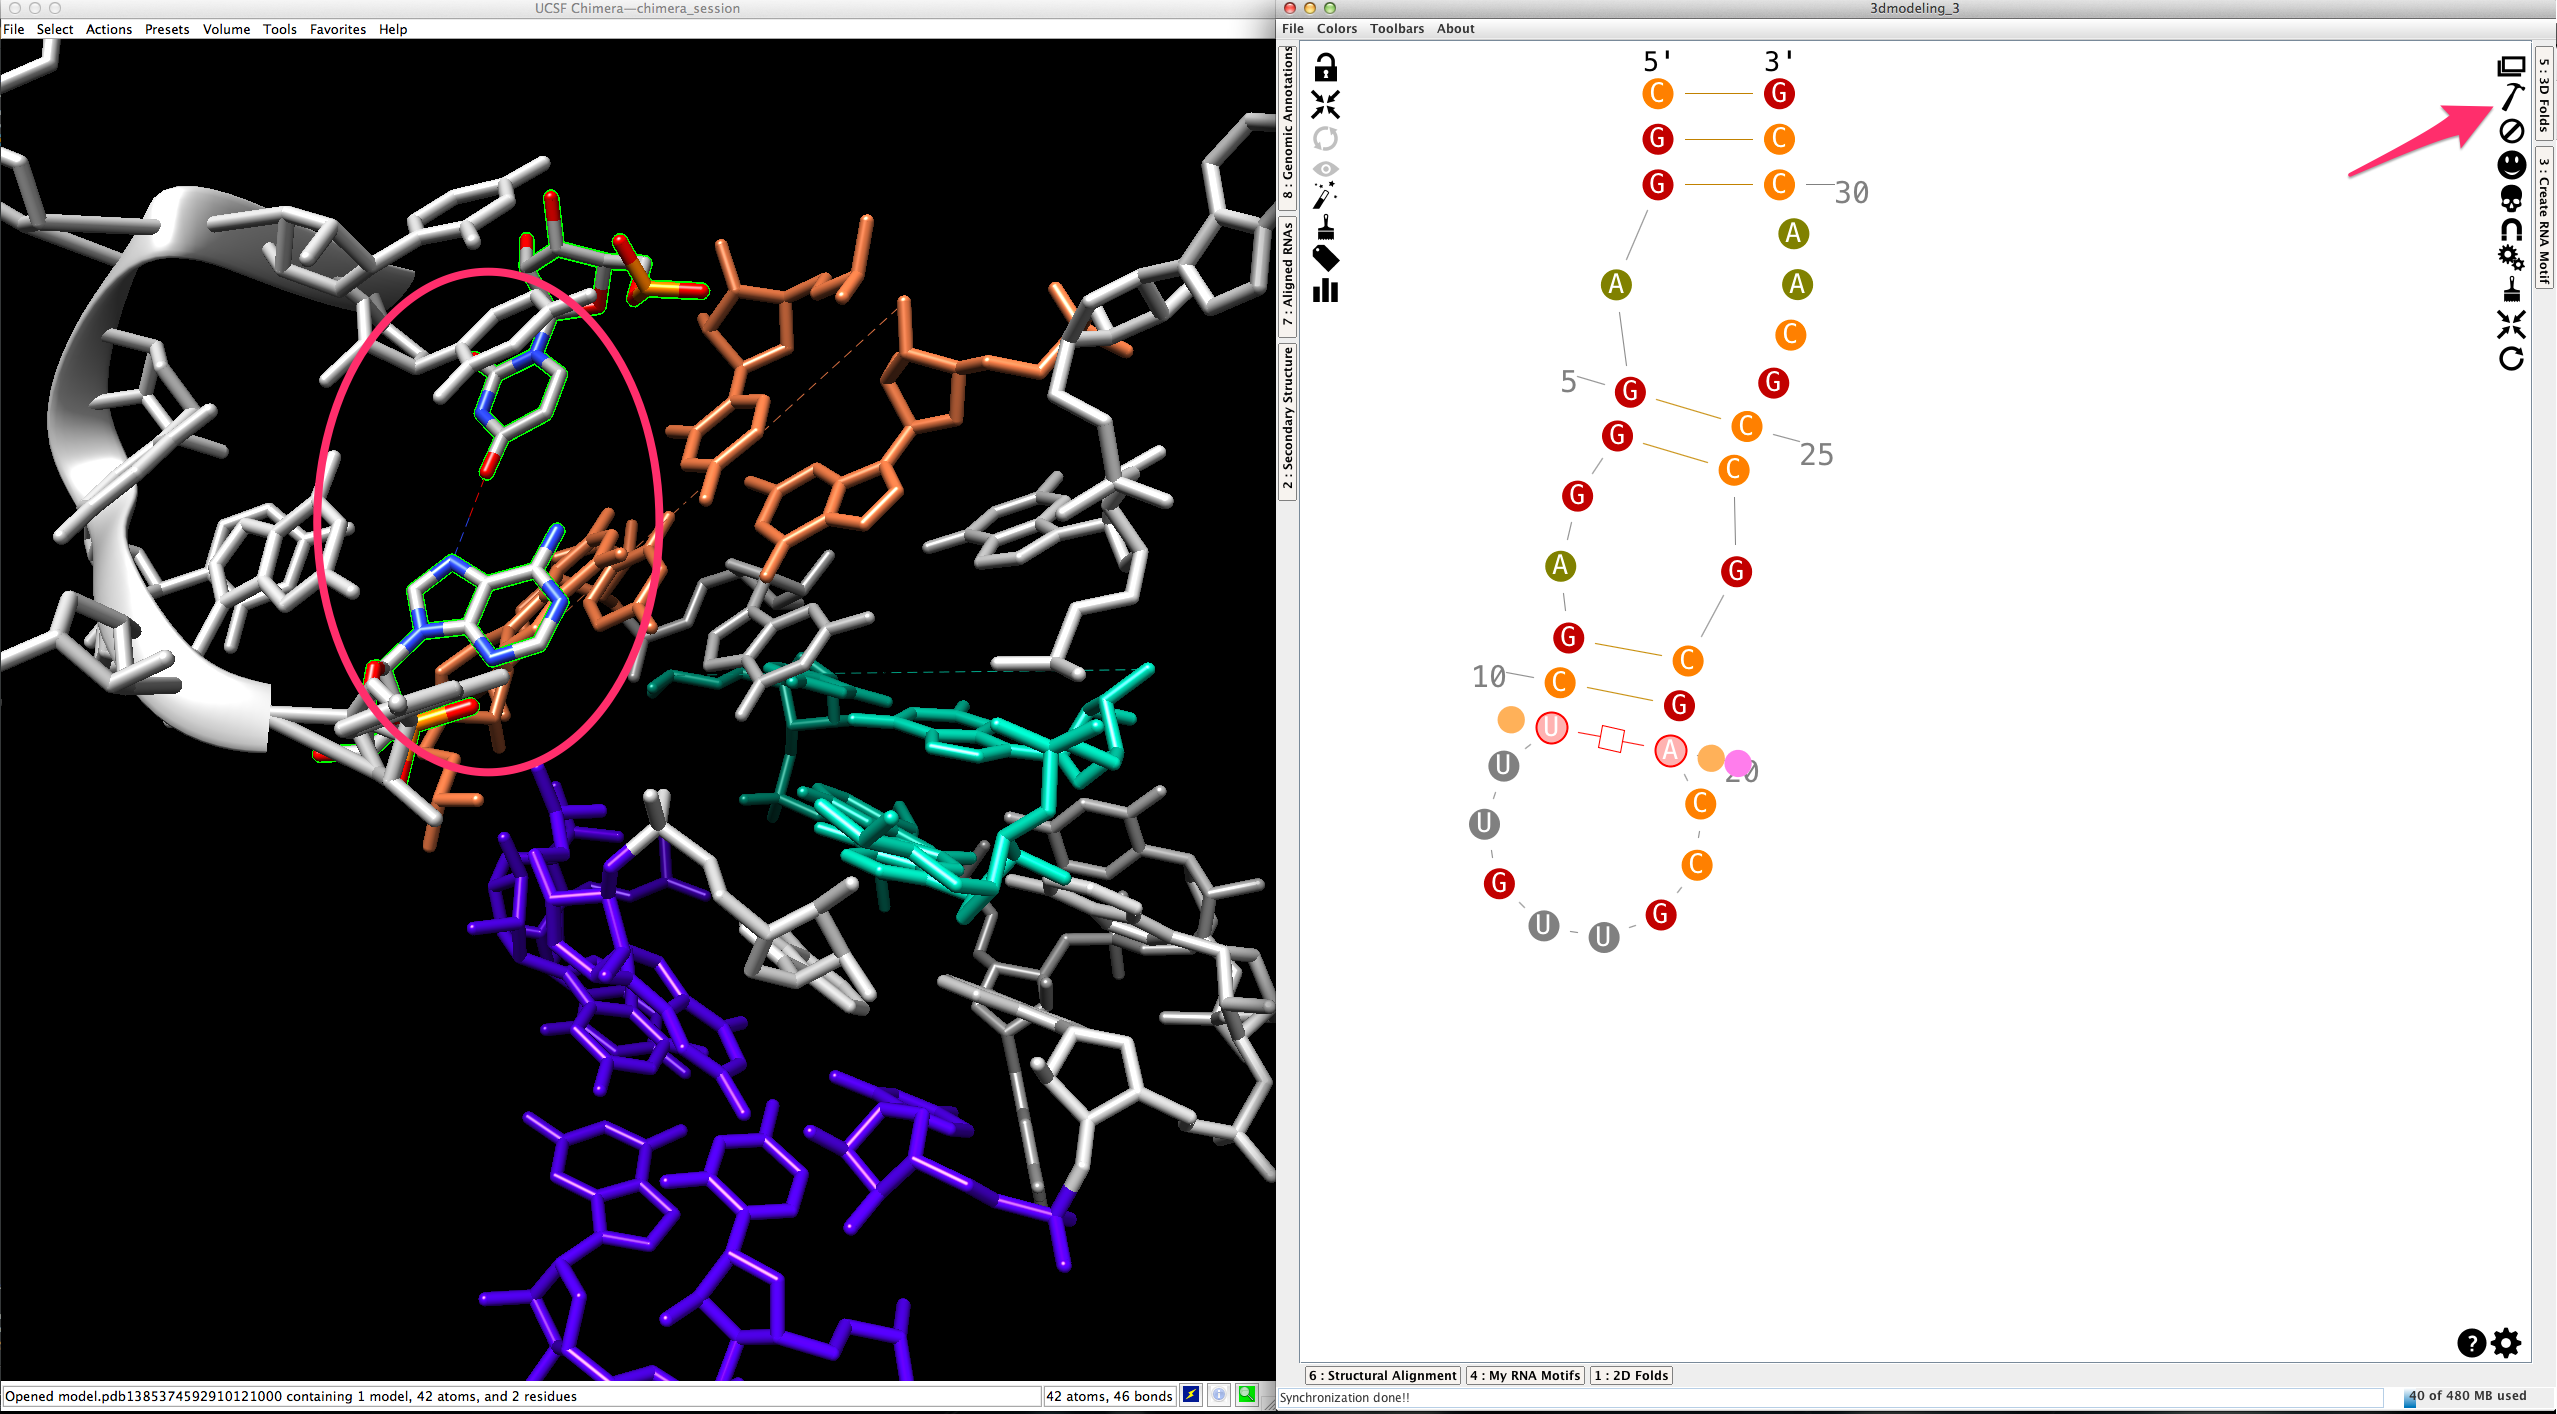
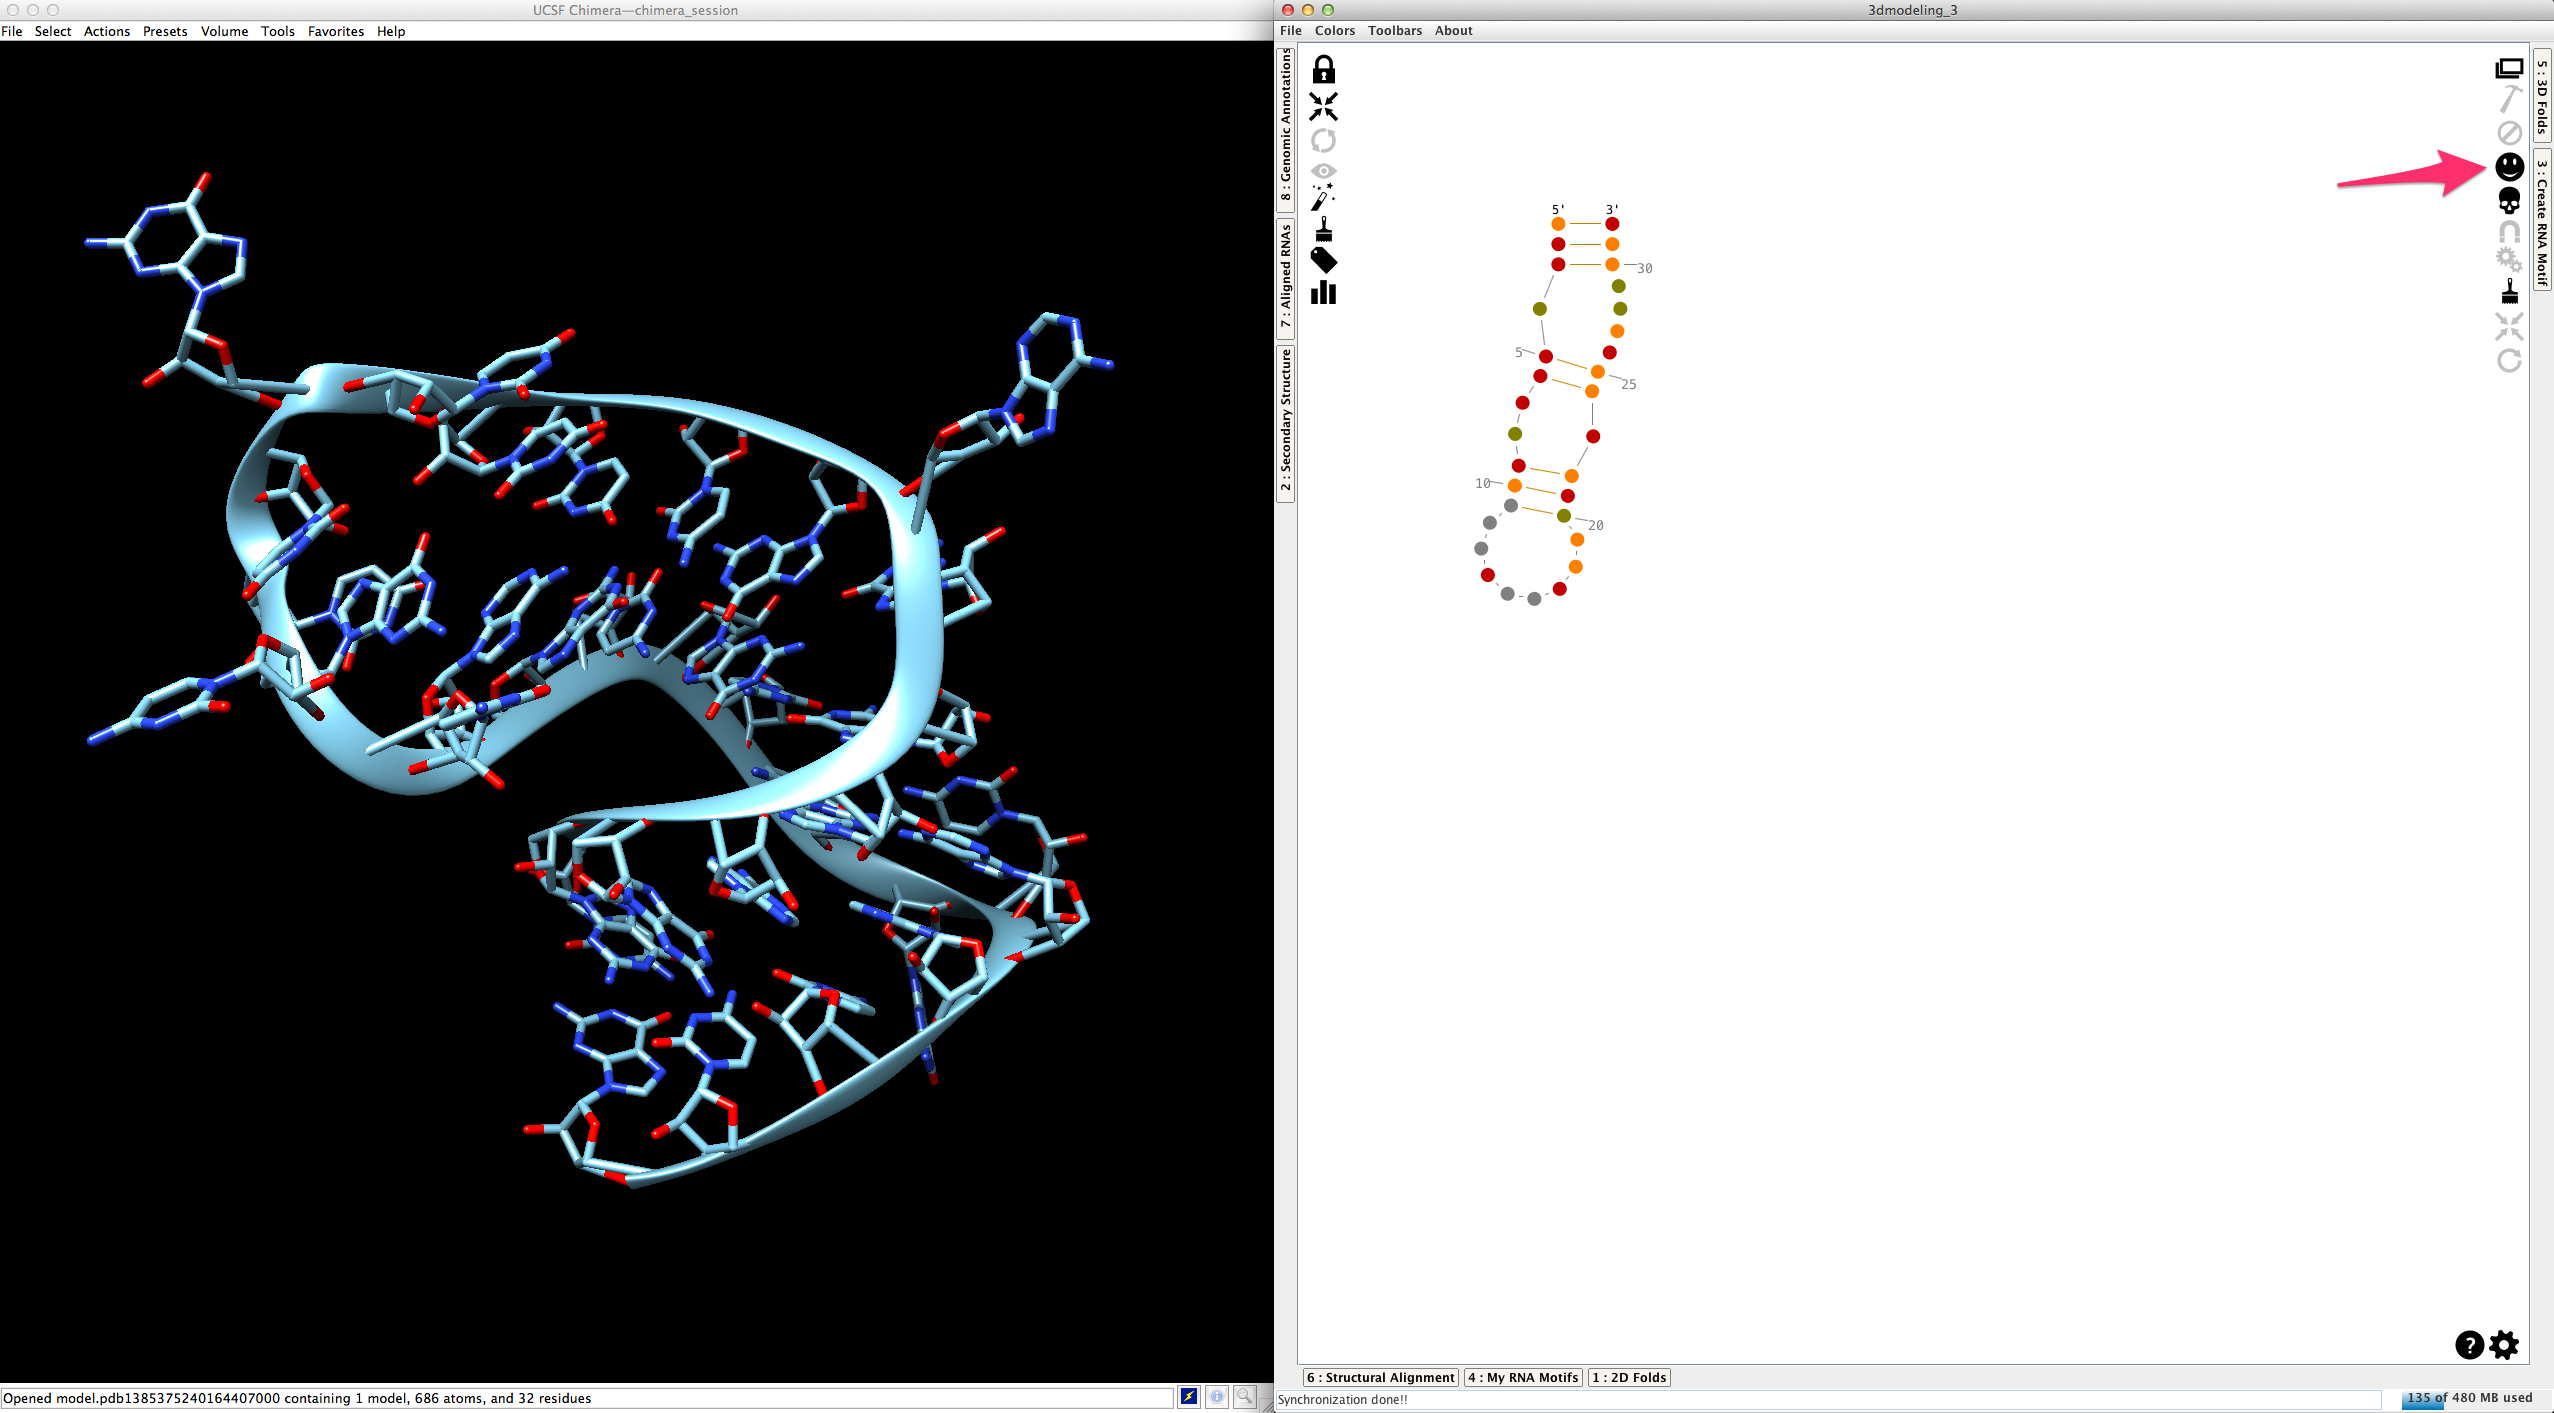
Last step... When you create 3D fragments in Chimera, each one is made with residues belonging to a different molecular chain (with a different name). This allows you to manipulate them independently. Once the 3D model done, you can merge them into a single molecular chain clicking on
 .
.Before:
After: